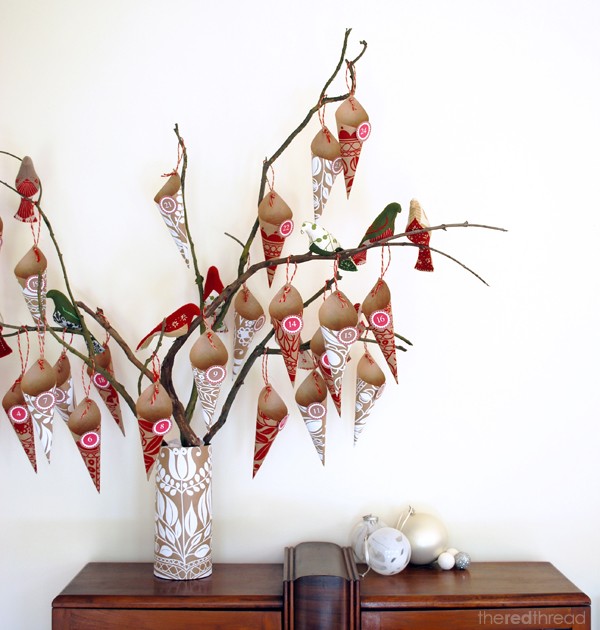
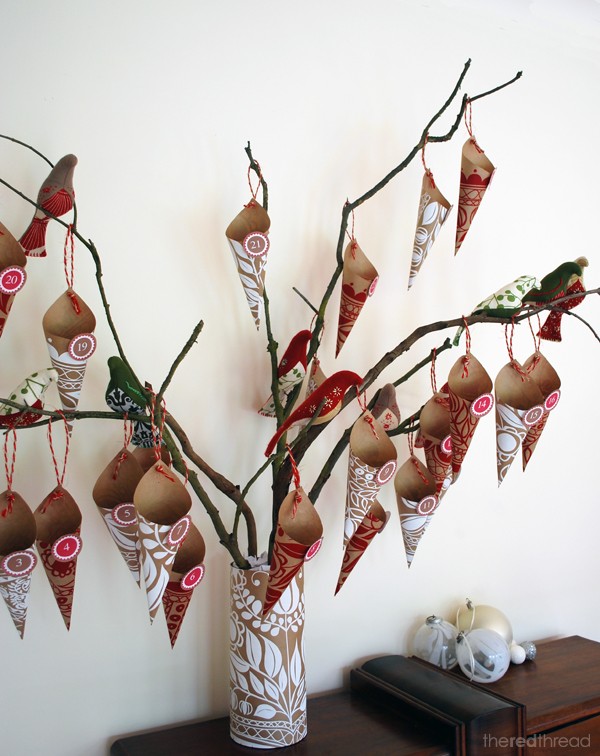
This advent calendar is rather big, and it makes a great sculptural focal point – complete with embroidered birds perching on the branches. It certainly has the ‘wow factor’ but it’s deceptively easy to make. The birds require some time and skill, but they are optional and could be replaced with store bought decorations.
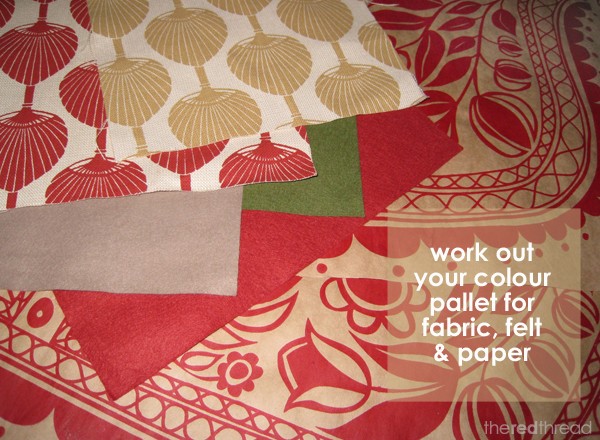
Before you start your advent calendar think about your colour palette and paper patterns and gather your materials with this in mind.
Materials
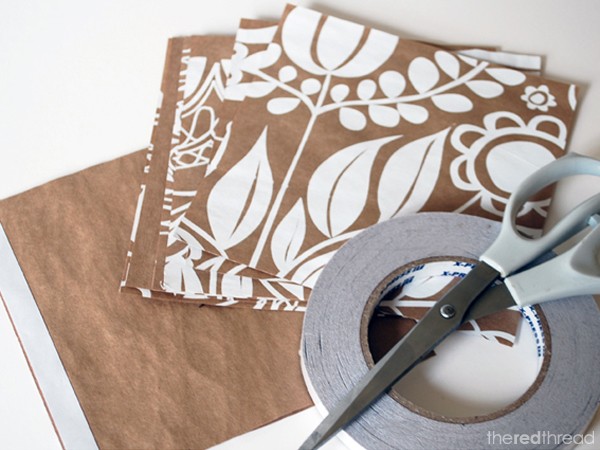
• 2 sheets of wrapping paper. You could also decorate plain paper with collage, paint or your children’s creations. Or just use plain coloured paper or scrapbook paperr. If your paper is on the thin side you might need to use a double layer.
• Double sided tape
• Ruler
• Scissors and/or a cutting knife and cutting mat
• Hole punch – standard office size
• Number tags (more about this later)
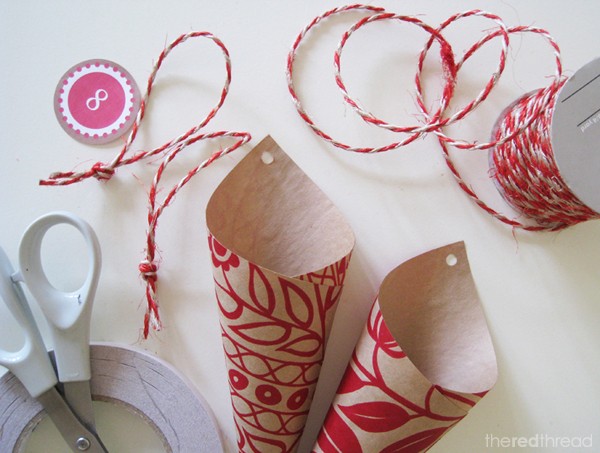
• String, twine or ribbon
• A tall vase – cylindrical will be the easiest to wrap. Or use one you don’t have to wrap.
• Branches – you could buy something from a florist, or Ikea sometimes has them, or use found branches like I did
• Newspaper and a few letter sized sheets of plain paper
Materials list for birds
• Fabric and/or wool felt
• Embroidery thread
• Toy stuffing
• Pattern – free to download here from Spool, you’ll see the pattern download in the side bar under the heading “free patterns”
Cones
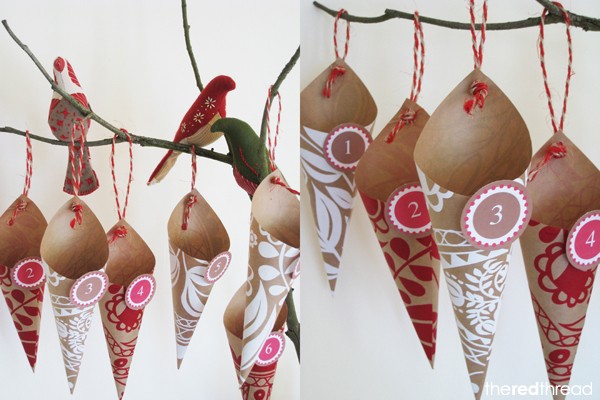
I made the 24 cones first by cutting 16cm (roughly 6 inch) squares from the wrapping paper – 12 each from the white and red papers. This makes quite big cones, so you can vary the size according to the size of your branches and the treats you want to put in the cones.
Run a strip of double sided tape down one edge of each square and roll them into cones.
Punch a hole in the top point of each cone.
Number Tags
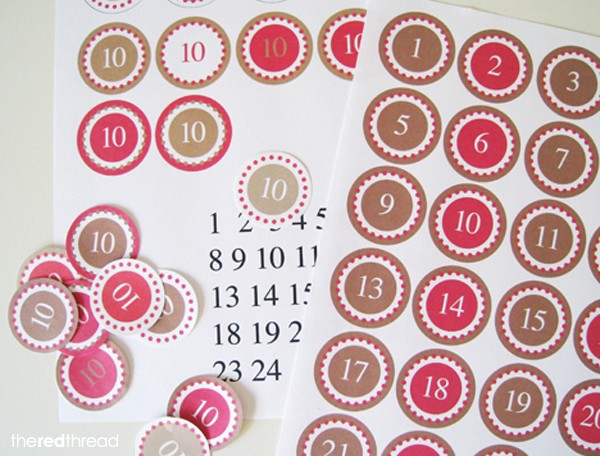
I made my number tags on the computer, printed them and cut them out.
Attach them to the cones with double sided tape.
Alternatively scrapbooking supply shops have a big range of rub down and sticker numbers and patterned papers which you could use. They could be any shape or size you like.
Click here if you’d like to read more about how I created my tags.
Birds
The instructions for making the birds appear on the Spool pattern.
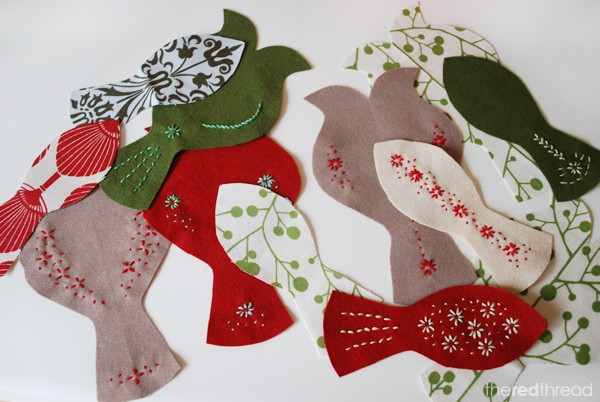
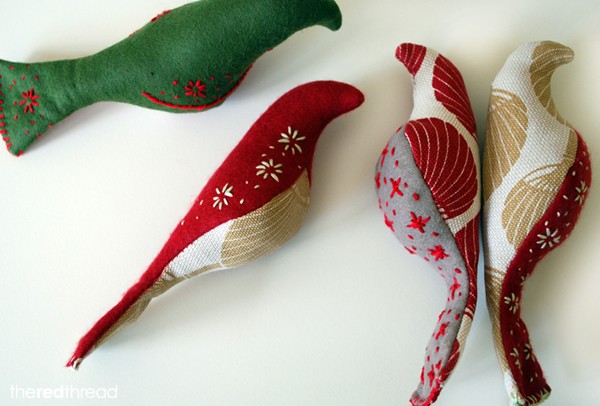
I made some of my birds from wool felt and embroidered the cut fabric pieces first before sewing the birds together. I didn’t use a pattern for the embroidery, I just made random star shapes and little dots.
When you make the birds there will only be a small opening through the tail section making them a bit tricky to turn right way out and stuff. I used a chopstick to gently push the fabric through the opening. And when stuffing I only used a small piece of stuffing at a time, pushing it in with the chopstick and making sure I filled the beak and then the head first. The disposable chopsticks can be a bit rough – I used a ‘good’ chopstick. I stuffed my birds until they were firm and looked like they were well fed. Don’t put any stuffing in the tail or it won’t sit well.
My advent calendar has 9 birds on it.
Vase
Measure your vase and cut a piece of wrapping paper to size, leaving about 3cm to overlap at the back. Attach a piece of double sided tape along one of the vertical edges. Lay the vase down on the paper and roll the paper around it, securing it with the tape.
Assembling the branches
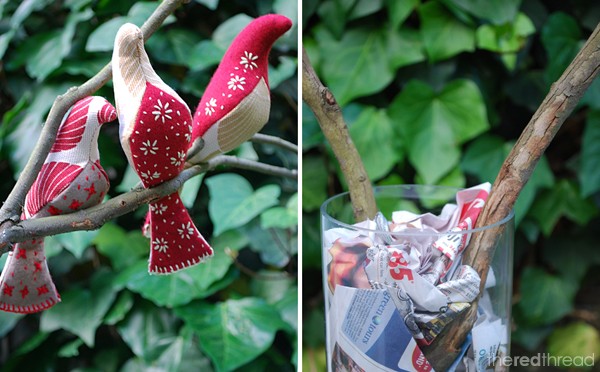
Arrange the branches in your vase and secure them in place using scrunched up newspaper. Then scrunch up some plain white paper for the top layer. You may need to take the branches out again to attach your birds, but you’ll first need to judge where you want your birds to perch.
My little birdies managed to perch on the branches without me having to attach them. If you need to attach your birds to make them stay put sew through the belly of the bird and wrap the thread around the branch. Do this in 2 places so that it looks like it’s the bird’s feet.
Decide where you want your cones to hang and cut pieces of twine to the right lengths. Mine were roughly 30cm (12 inch) long pieces. I folded my cut twine in half and tied a knot in the end, then threaded the loop end through the hole I’d punched in the top of the cone, leaving the knot showing at the front.
Hang your numbered cones in sequential order on the branches.
Treats
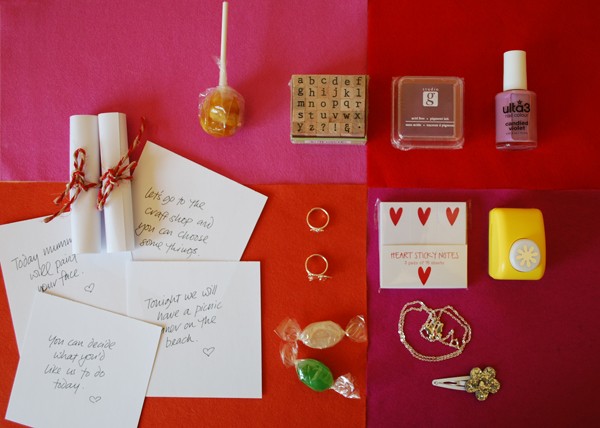
As well as the usual chocolate and candy treats, little toys, packets of beads, etc, I include notes that describe a treat – like a trip to the craft store to buy some new supplies, a trip to the zoo, or dinner at my daughter’s favourite restaurant, etc. I plan to do some swapping each night after she goes to bed to make sure the promised treat fits in with our schedule the following day!
Now just wait until December 1st and watch your little one’s face light up with excitement and delight each morning. Actually it would also be a lovely thing to do for your partner… just think of all the treats they’d love to find described on a little piece of paper each morning!
Don’t forget if you’re making your own advent calendar I’d love to see it! Tag me on social media, email me, show me!
If you’d to like link to this tutorial that would be lovely – I’m always happy and grateful for that and I’m all about sharing. But first please take a look at the FAQ page about using my content. Thanks!
