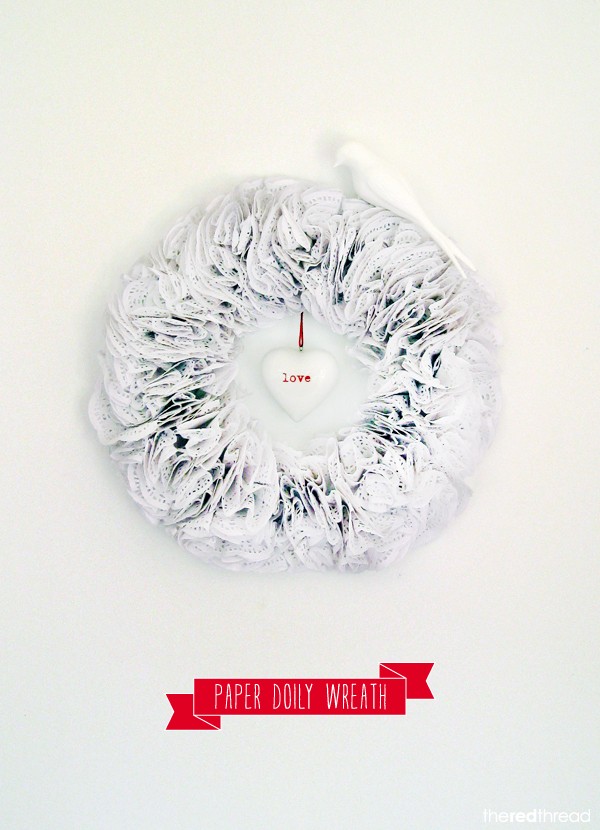
You will need:
* Small paper doilies. I used about 200, but my wreath might be just a bit too dense I think. If you’d like yours to be more ruffly use less and let them fan out a bit more. See what you think as you go along. The paper doilies cost a few dollars for 100, so it will still be a budget wreath whether you use 100 or 300.
* Cardboard to make the backing ring. I used ivory card, but as it will be hidden you could use any light weight cardboard.
* Scissors
* Stapler
* Pencil or pen
* Bowls or plates to trace around
* Blu Tac to hang your wreath
* Optional additional decorations, embellishments, ribbon to hang the wreath.
1. Trace around your bowls or plates to create the wreath shape on cardboard – directions are here if you need them – and cut it out.
2. Pinch your paper doilies in the center so the edges curl up and together. Make sure you only crease the doily in the center so the edges aren’t flattened. Get a pile of a few dozen ready before you start the wreath.
2. Now you can start assembling the wreath.
Staple 2 doilies onto opposite edges of your cardboard ring. The open edges of the outer doily should be facing diagonally up and to the outer edge of the ring and the inner doily’s edges will face up and diagonally into the center of the ring. You could also use a hot glue gun to attach the doilies… but I realise not everyone has the same tools as Martha Stewart!
3. Add doilies to fill in the space between the first two. The top edges of these will face up the ring.
4. Continue adding doilies around the ring in the same way: 2 on the outside edges first, then fill in the space between them. The stapled points of the doilies should always point in the same direction: down the wreath for the inside doilies, and diagonally downwards and towards the center of the ring for the outer doilies.
As you go you’ll get an idea of how close you want to place the doilies to each other. Just make sure that you spread out the edges when you’ve finished so none of the cardboard ring is visible between them.
Add decorations if you like, or stick to the minimal white look if you prefer. An interesting variation might also be to add some colour with light strokes of a paintbrush over the edges of the doilies. Or a light spray of metallic paint could look fantastic too.
The finished wreath is so light you can hang it with Blu Tac.
Happy creating!
If you’d like to link to this tutorial that would be lovely – I’m always happy and grateful for that and I’m all about sharing. But first please take a look at the FAQ page about using my content. Thanks!


