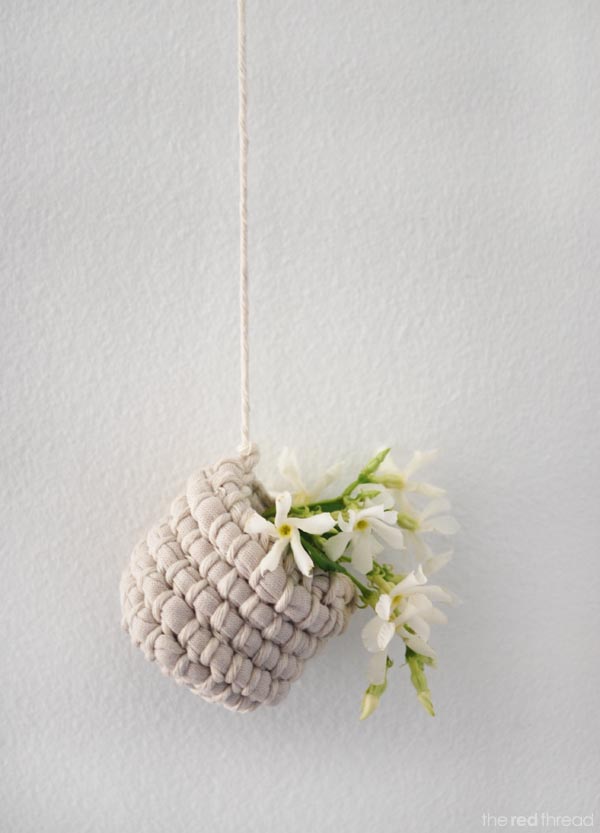
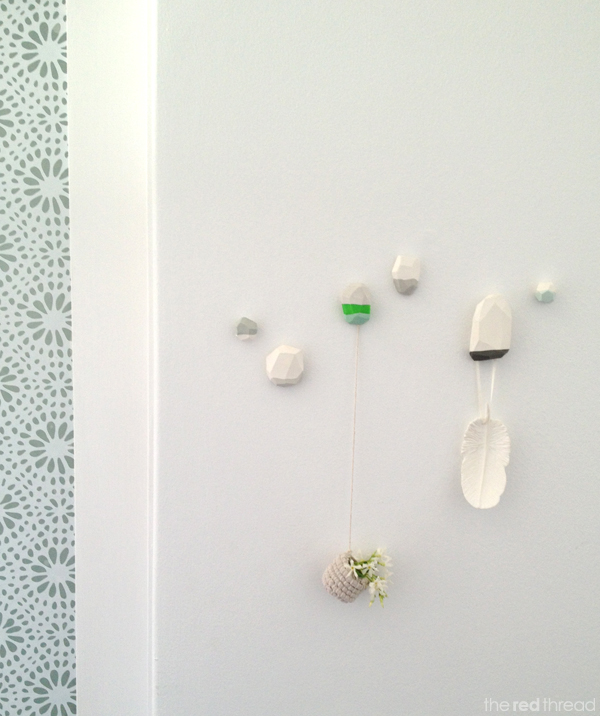
These decorative hooks are easy to make with Polymer clay. Choose a colour pallet to suit your space or keep them neutral with a splash of neon brights. I’m using my hooks to hang jewellery and little bits and pieces and I made a teeny tiny basket from yesterday’s coil bowl tutorial to add extra interest.
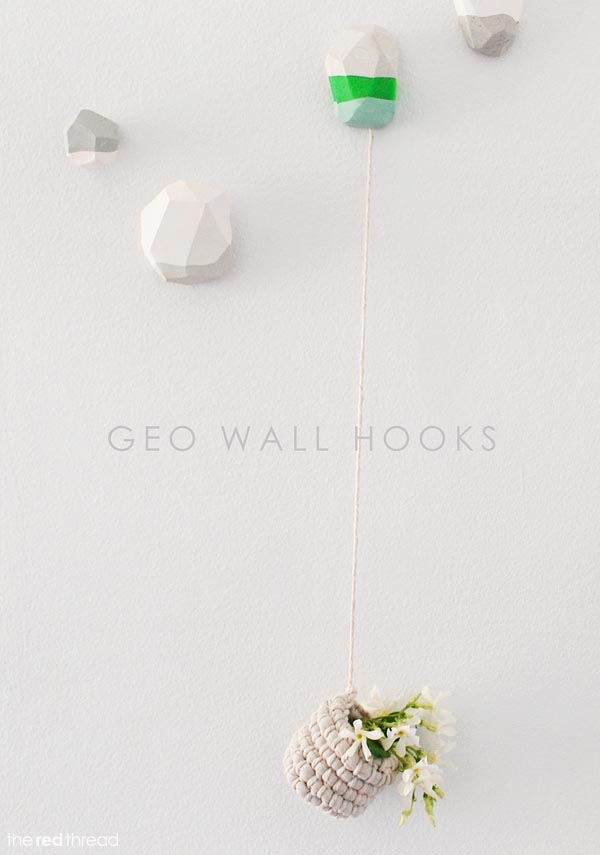
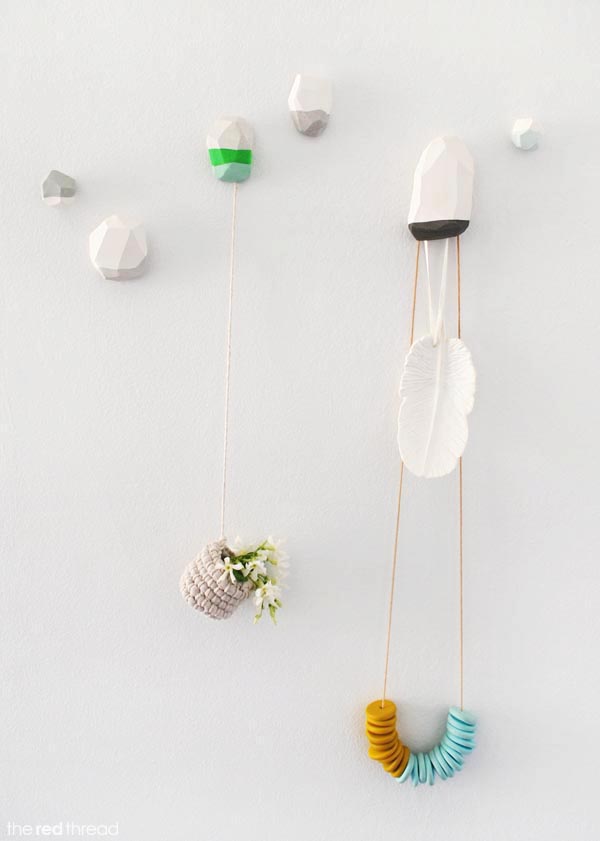
Click on the ‘read more’ link below to read more and see the full instructions.
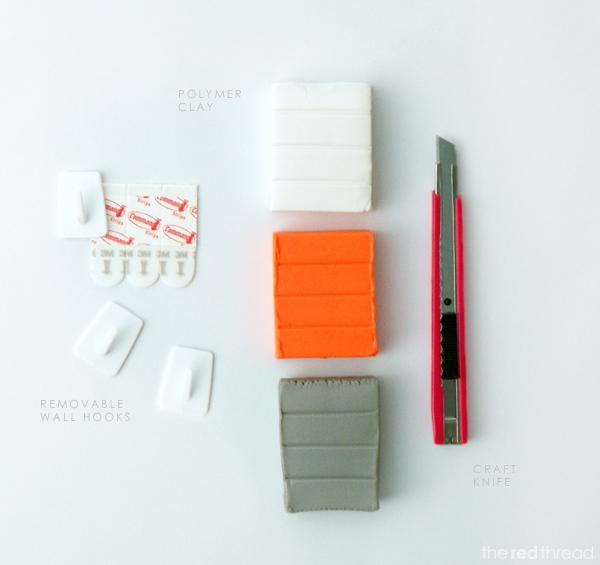
You’ll need:
Polymer clay
A craft knife
3M removable wall hooks
Strong glue to bond the polymer clay with the hooks. (not shown)
Bul Tac (optional)
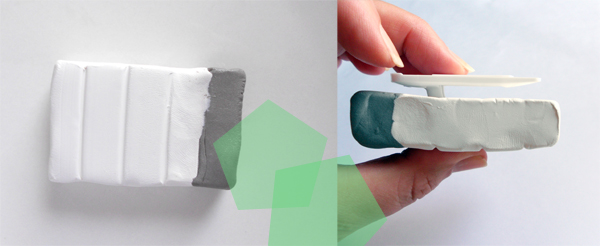
Choose the two colours you’ll be using for the first geo shape and press them together. Make sure they are firmly attached. The more you press and roll them together the more curved your join line between the two colours will be. For the example illustrated I wanted a straight join. Take your hook and position it on the back of the polymer clay, so that it’s pretty much centered. That way you’ll be able to carve away from all sides without exposing the hook. With the polymer clay on your work surface (I only held it up so I could photograph it) push the hook into the clay. You need to push it in far enough that you make a decent indent, but you also need to make sure that there is a space left between the hook and the polymer clay.
Remove the hook. If your craft knife has a retractable blade extend it out so you have a larger cutting surface. Start randomly cutting the top, sides and corners until you have a good shape. Make sure it stays bigger than the base of the hook. Try to hold the clay on the same two sides and cut those sides last so there are no fingerprints on the final piece.
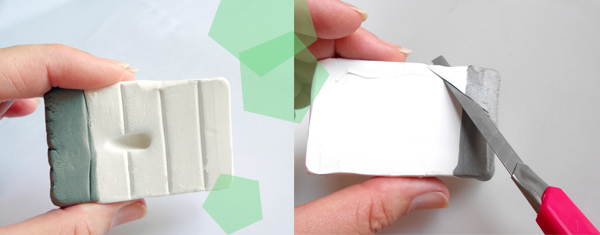
Before you bake the geo shapes turn them over and make sure that the hook still fits in the indent you made. You may have accidentally squashed it while you were carving. Bake according to the instructions on the pack. When the shapes are cool grab some Blu Tac and work out the arrangement and positioning on the wall. When you’re happy with the position of all your geo shapes mark their placement with a pencil. Remove the geo shapes one at a time and put the hooks in place on the wall. Then attach the geo shapes to the hooks using the glue. Wait until they are well and truly dry before you use them.
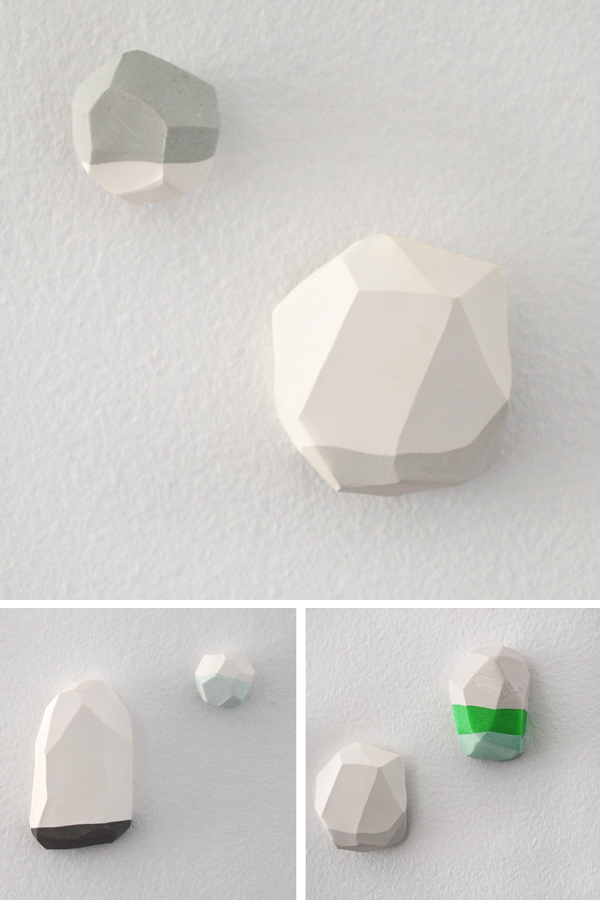
I made the greys and pale aqua colours and didn’t worry about thoroughly mixing the colours so my geo shapes have swirls in them making them look more rock-like. And as you can see I changed my mind about using the orange after I took the ‘materials’ shot. The smaller shapes in the photos aren’t hooks, I just made some smaller shapes and attached them to the wall with Blu Tac to add interest.
I hope you enjoy making these!
If you’d like to link to this tutorial that would be lovely – I’m always happy and grateful for that and I’m all about sharing. But first please take a look at the FAQ page about using my content. Thanks!