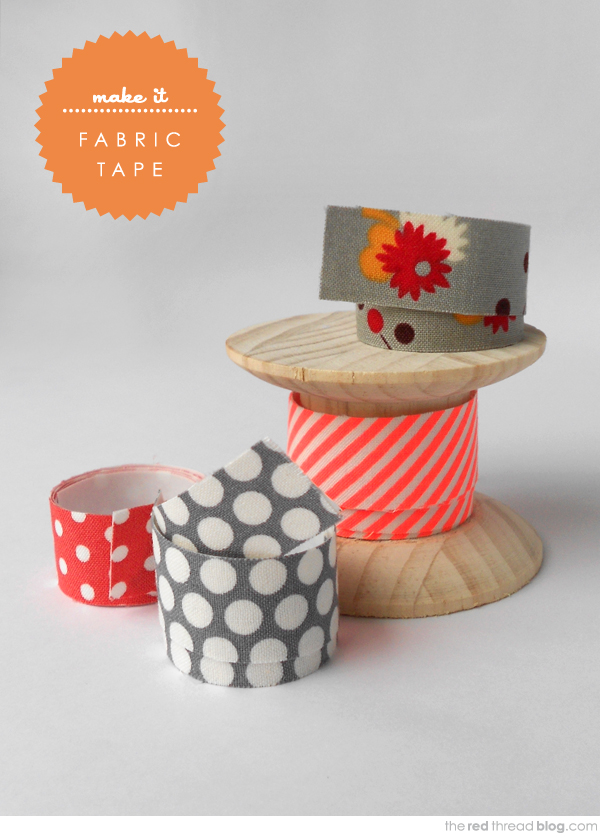
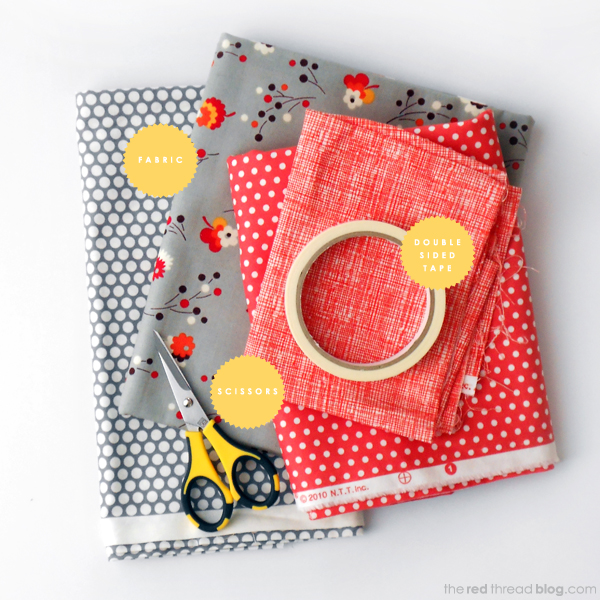
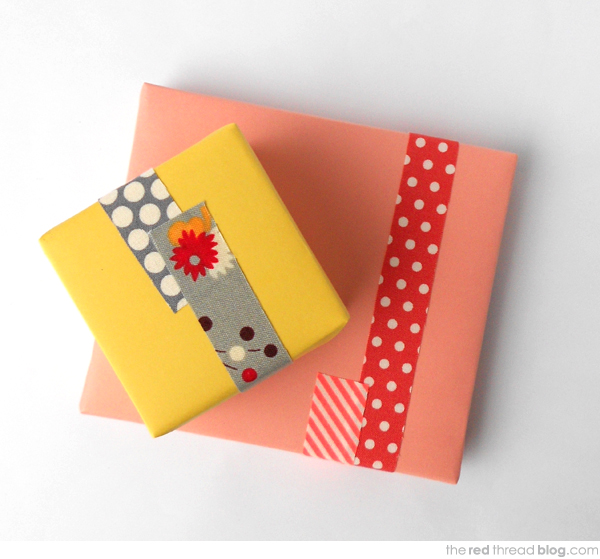
As part of my recent transition to WordPress and the new look blog I am revisiting and updating all my old tutorials and then adding them to the tutorials index page. The image size on the old posts is much smaller and also my photography and styling has improved in the last few years, so it’s time to update. I created my fabric tape tutorial way back in May 2010 – it’s super easy and the great part is that you can totally customise it.
And the process is easy:
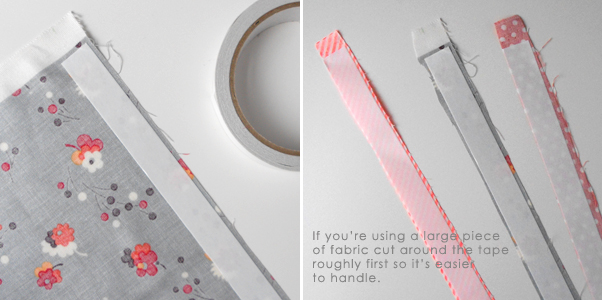
Just run the double sided tape near the edge of the fabric and rub it down firmly. Then cut it out neatly along the edge of the tape (the messy cutting in the image above is the rough cut if you are using a large piece of fabric). If you sew you may have a cutting mat, quilting ruler and rotary cutter – great, use them for a really straight cut. Otherwise scissors will do the job.
And voila! Fabric tape. Roll it up and secure it with a paper clip or clothes peg to store it, or wrap it around a wooden cotton reel. Short lengths can be stored flat.


