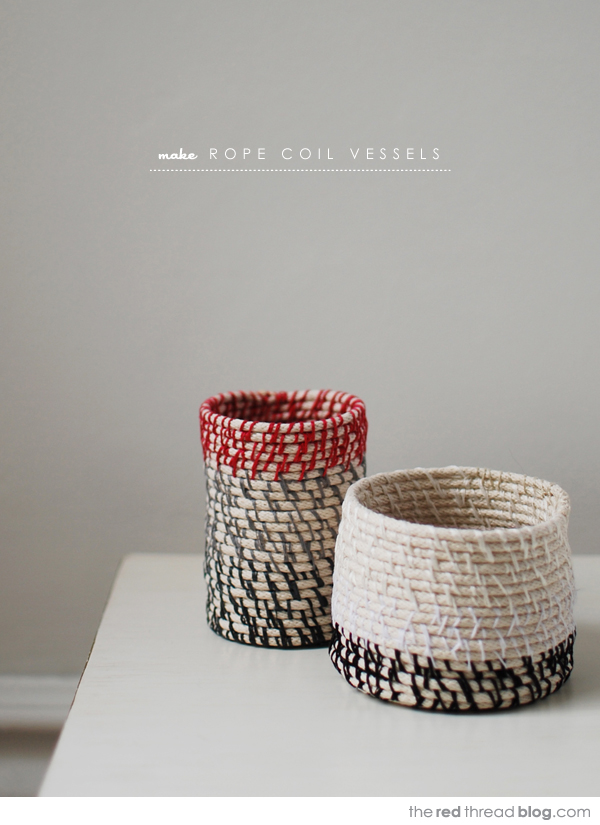
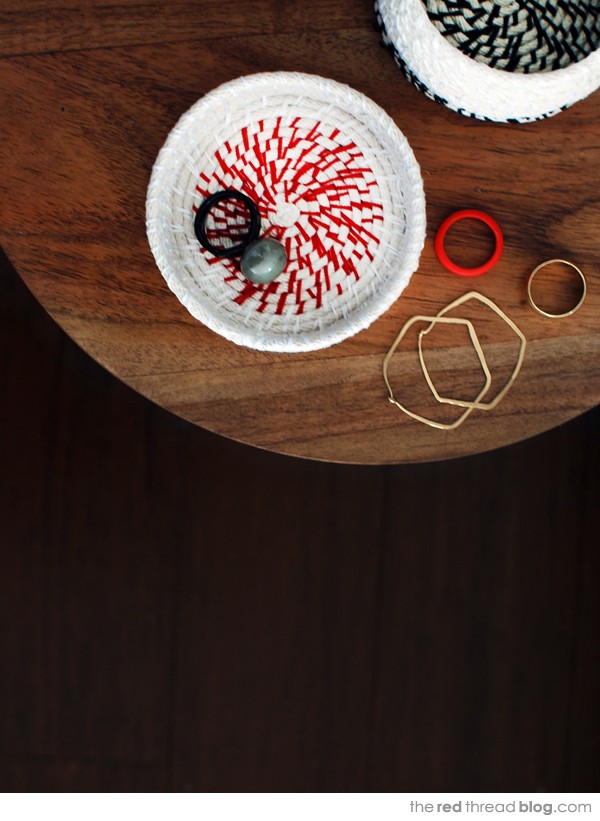
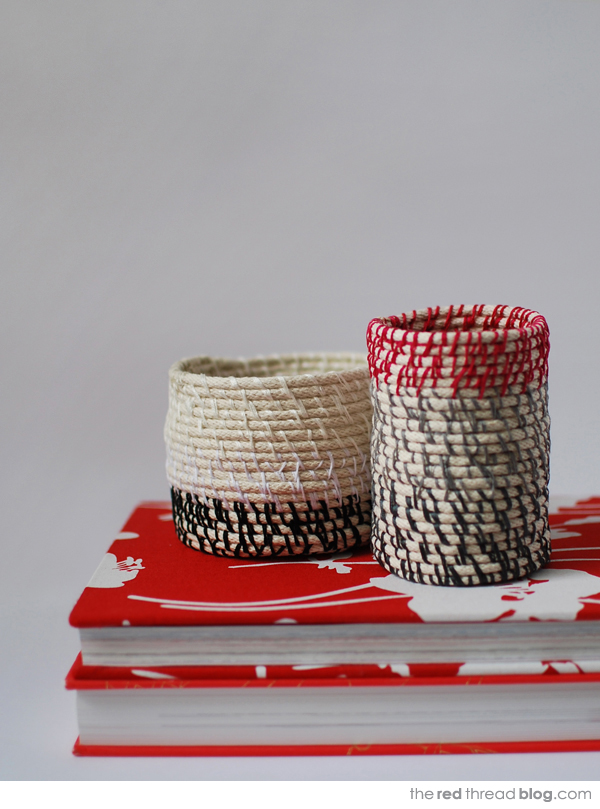
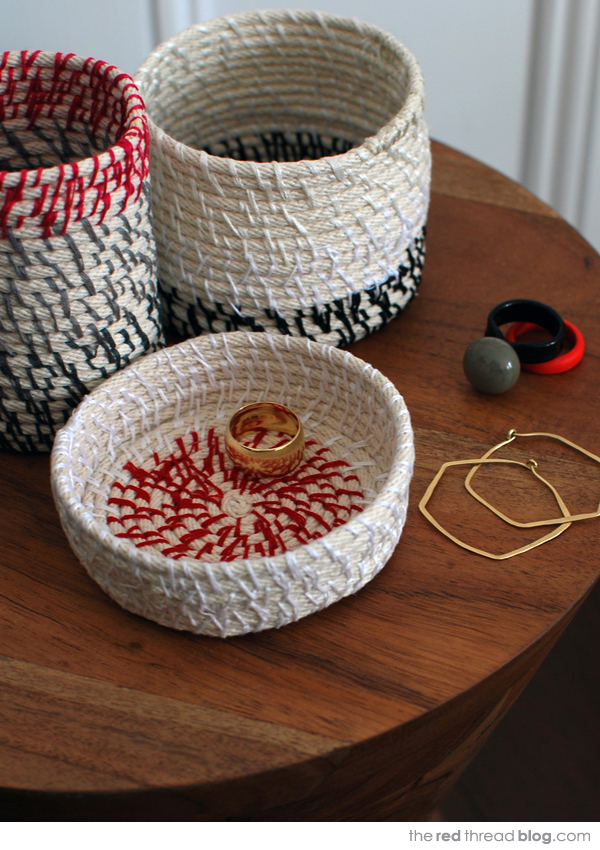
These rope coil vessels are quite meditative to make. I found the repetition of the stitches gave me a sense of stillness as I sat in the autumn sun making them. They are very sturdy and you can make them in any size or shape you like. Mine have straight sides (well, handmade, wonky/straight sides!) and I’m now making some rounder shapes. I made a small bowl to put bits and pieces of jewellery in, and the taller ones are now on my desk with markers and pens in them.
There are various methods of making rope coil bowls and baskets, and the traditional way of stitching is more uniform than I have made mine. In my tutorial the placement of the stitches is random and I love the texture and visual interest that results from this method.
You’ll need:
Cotton rope. Any thickness you like, mine is 4mm (an eighth of an inch) in diameter. Cotton sash cord or clothesline is a good option. The medium size vessel used roughly 6 metres (5 and a half yards).
Scissors.
Embroidery floss or any fine cord.
A large darning needle.
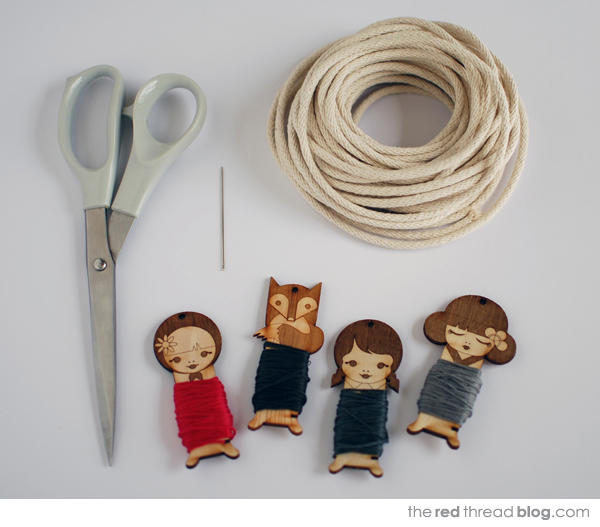 The cute ‘Craft Keepers’ I have my thread on are my design and are sold at fabric stores.
I’ll have them available in the red thread online store in the coming weeks.
There’s no need to cut the cord – it’s better to leave it on the spool so you aren’t limited by it’s length.
Thread the needle with a long length of floss and tie a knot in the end. Cut the floss to a length as long as you can manage without it getting tangled.
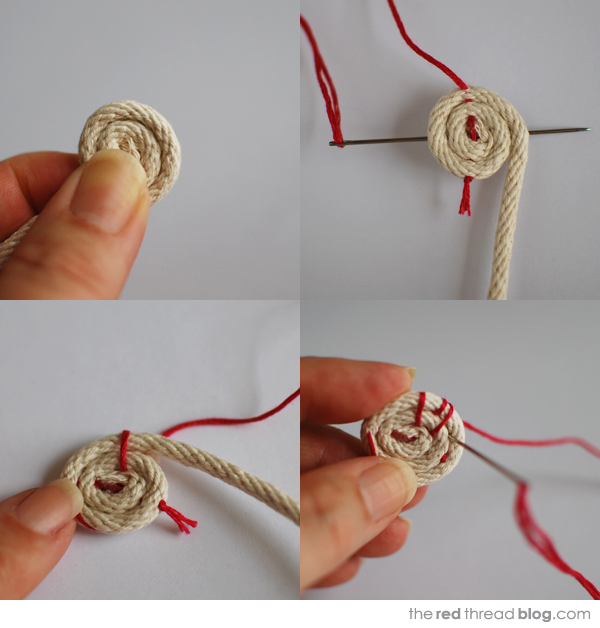
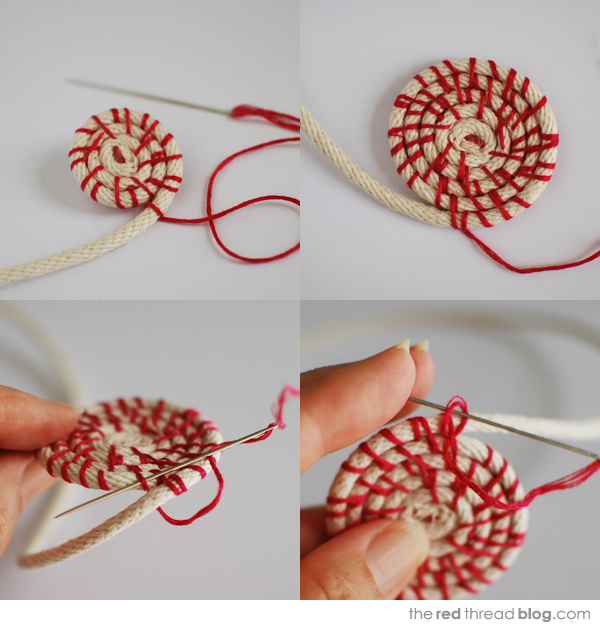
Tightly roll up the cord, tucking the end into the centre of the coil (top left hand image below).
Pass the needle through the first couple of coils, then pass it through again at right angles to the first pass (top right hand image below).
Now the centre of the coil is secure you can begin to stitch. Stitch over the top of two coils of rope and pass the needle down and between (bottom left hand image below).
The next stitch only wraps around one coil of rope. Instead of passing the needle through the gap allow it to catch a small section of the second coil of rope. This will make the vessel sturdy and secure.
Continue coiling the rope around and alternating stitches over one piece of rope, then over two pieces of rope. Make sure the needle passes through the rope below at not just the gap.
Continue to stitch around the coil at random but close intervals.
To end a thread pass the needle through the stitch below (bottom left photo, below) and pull it tight.
Take the needle underneath the coil base and knot it around another stitch (bottom right photo, below).
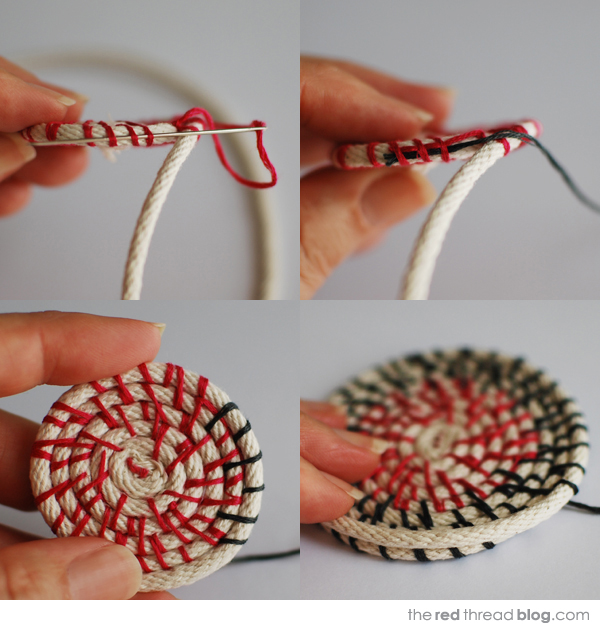
Run the thread under a few of the stitches on the side of the previous coil (top left photo, below), then cut the thread.
To start a new thread run it under the same stitches but in the opposite direction (top right photo, below) until the end is concealed.
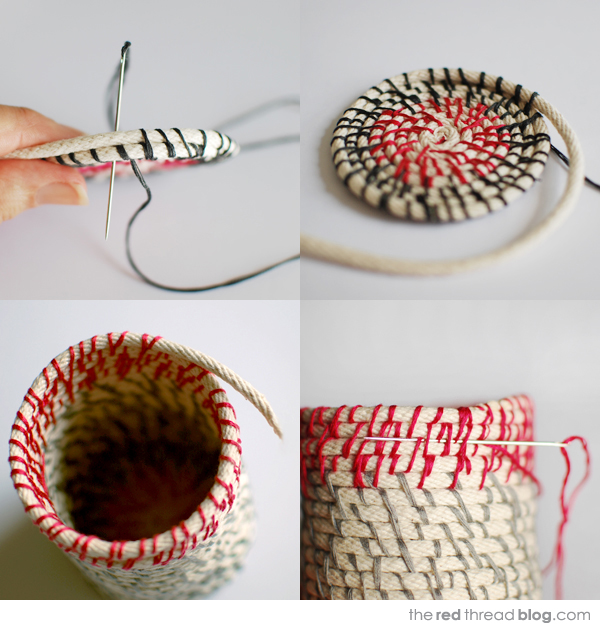
When you’re happy with the size of the base hold the rope on top and begin to build up the sides (bottom right photo, below).
For the first round all your stitches will wrap around both pieces of rope: the base and the new coil (top left photo, below).
After the first round go back to alternating stitches as before, making sure at least every second stitch passes through the rope in the previous round.
When you are happy with the height of the vessel continue stitching until you have completed a round. Look back at the base and find the place where you started to overlap it to make the side wall. The top should finish directly above that spot.
Cut the rope off on an angle so it tapers off (bottom left photo, below).
Continue stitching and secure the tapered end.
To finish off knot the thread around a stitch and run the thread between two pieces of rope below so it disappears between them. Cut the thread off making sure the end isn’t visible.
I hope you enjoy making these vessels – the possibilities are endless with colour and shape variations. Cotton rope can be dyed too, so you needn’t be restricted to white.
