The trend for marble finishes is hot right now and it’s showing up everywhere from fashion to homewares and interiors. You can create your own faux marble easily with polymer clay and in no time at all you can make yourself an on trend necklace or some mini hanging plant holders.
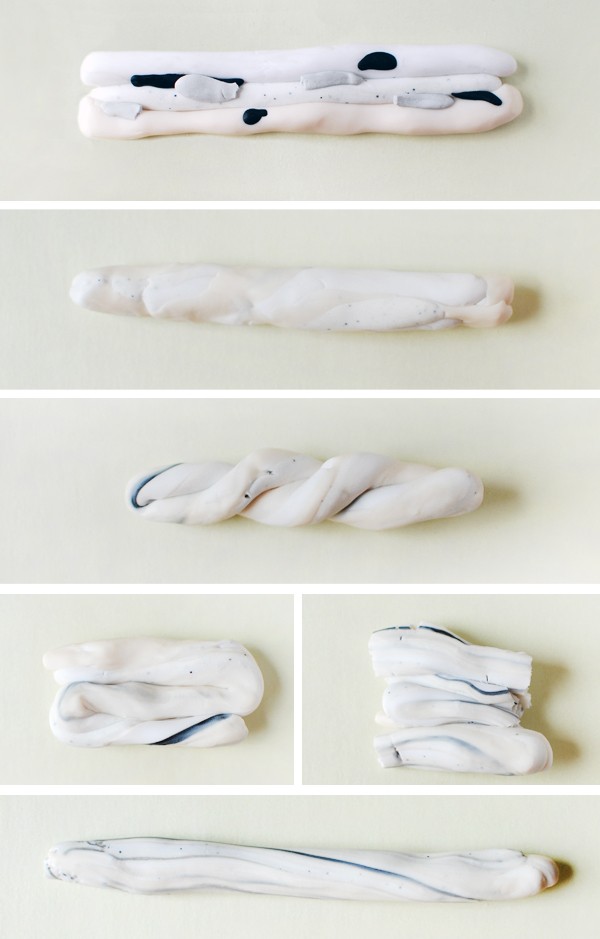
You can’t really go wrong when you’re marbling polymer clay. For this post, I used black, white, translucent and ‘marbled’ polymer clay. The marbled polymer clay is optional – it’s the central colour in the first photo below. It’s not really marbled, more speckly.
Start by mixing a small amount of white and a tiny piece of black and mix them thoroughly together to create pale grey. Take equal amounts of white and translucent – and marbled if you’re using it – and individually knead them (known as conditioning the clay) until they are soft and pliable. The translucent tends to be quite hard so it may need more conditioning than the others.
Then roll the three pieces into sausage shapes and place small pieces of black and grey polymer clay randomly along the sausages. Now roll them all up together into one sausage.
To create the marbled effect, roll the sausage out long and thin, then fold it in half and twist it. Roll it out into another sausage shape. Then roll it up into a ball, or twist it up again, or break it into pieces before rolling it out into a sausage again. Continue to manipulate the clay like this at least a few more times until parts of the colours have blurred and you can see twisty shapes and stripes.
You can check the progress of your marbling as you go along. Break a piece off and roll it into a ball to see if you’re happy with it. If not, keep twisting, rolling and breaking the clay up.
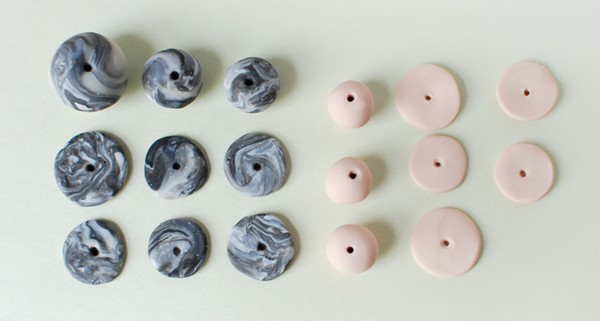
You can easily change the tone of the marble as you go along by adding more of any colour. For the necklace, I added more black into the mix. I also made some blush-coloured clay out of white and tiny amounts of pink and yellow.
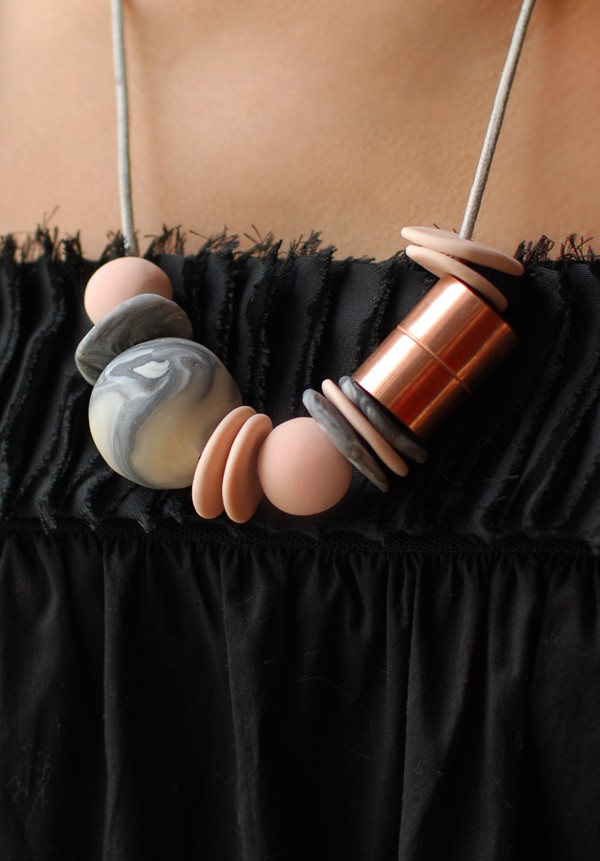
Make a marbled, copper and blush necklace
Break pieces off the marbled polymer clay and roll them into balls. To make the flat discs, start with a small ball and flatten it out in your hand, then press it on your work surface. Use a skewer to poke holes through each piece.
It helps to make more beads and discs than you think you’ll need so you can play around with different combinations of sizes and shapes.
Place them on a baking tray lined with baking paper and follow the manufacturer’s instructions to bake them.
When they’ve cooled down, thread the beads and discs onto grey cord with a copper connector, which you’ll find in the plumbing section of a hardware store for just a dollar or two. (Clever, right?)
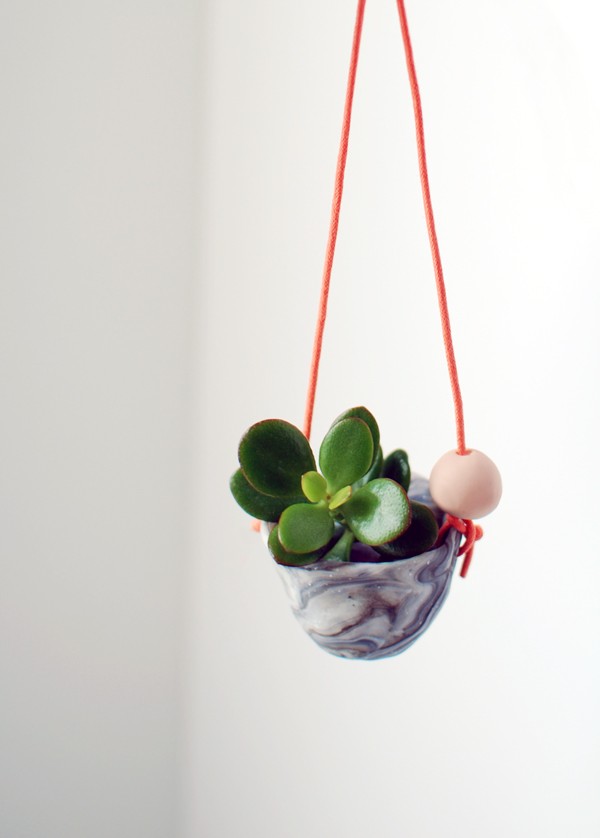
Make miniature marbled hanging planters
These little planter pots are perfect for mini succulents or air plants, and like the necklace, they’re super-quick and easy to make.
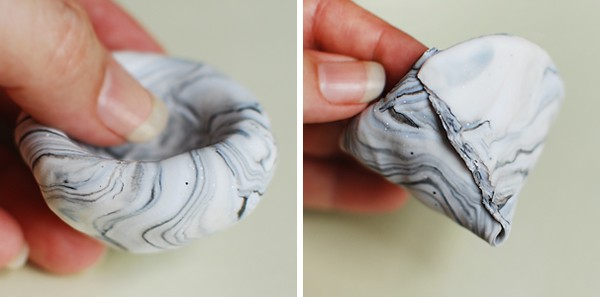
To start, roll a piece of marbled clay into a ball. Next, make a pinch pot by pressing your thumb into the centre of the ball and use your fingers to pinch the clay into shape, making sure the thickness is even all around.
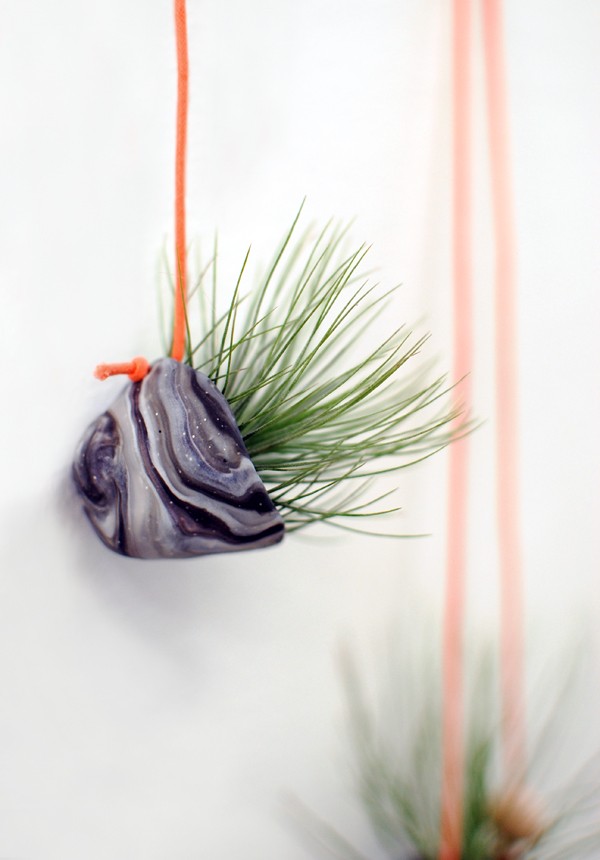
Or, you can pinch the ball into a flat disc. Then just tear a triangular section out (like a piece of pie), and join the torn edges together to make a cone shape. Smooth the edges over so the join isn’t visible and the base is sealed.
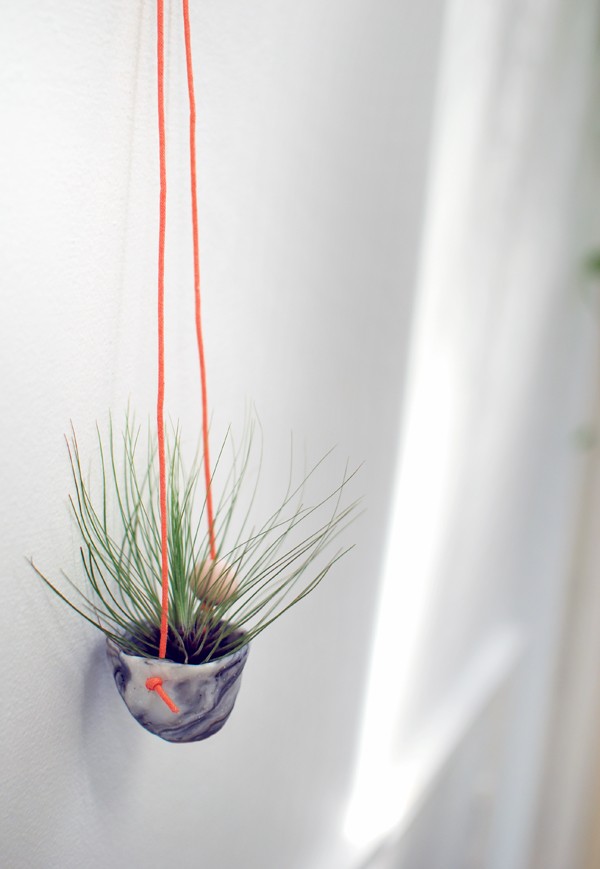
Now take a skewer and make a hole on either side of the pot’s rim. Place the pots upside down on a baking tray lined with baking paper and follow the manufacturer’s instructions to cook them.
When they’ve cooled down, thread a cord through the holes and tie a knot in each end to secure it. You could also add a bead or two for extra interest.
Pop a plant in and hang your fun marbled mini planters.
All photos and styling by Lisa Tilse for We Are Scout.
