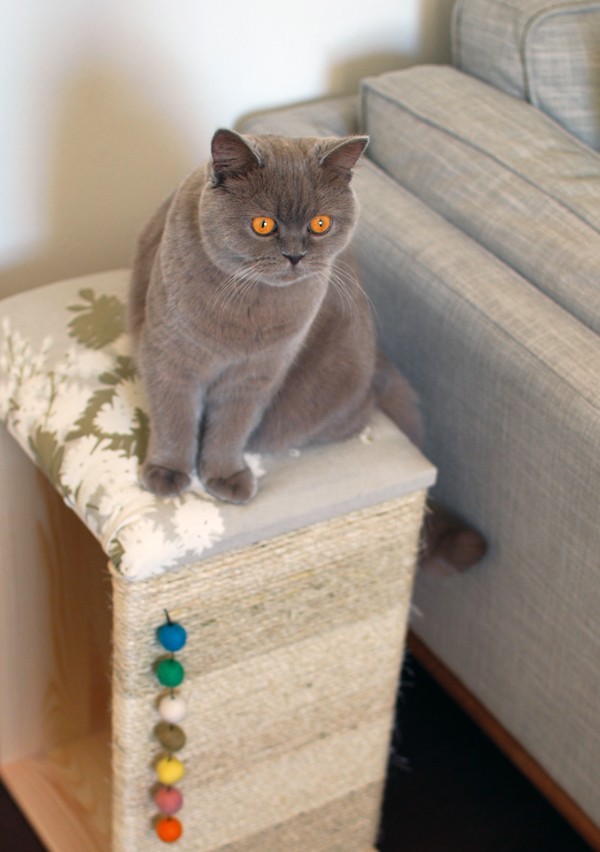
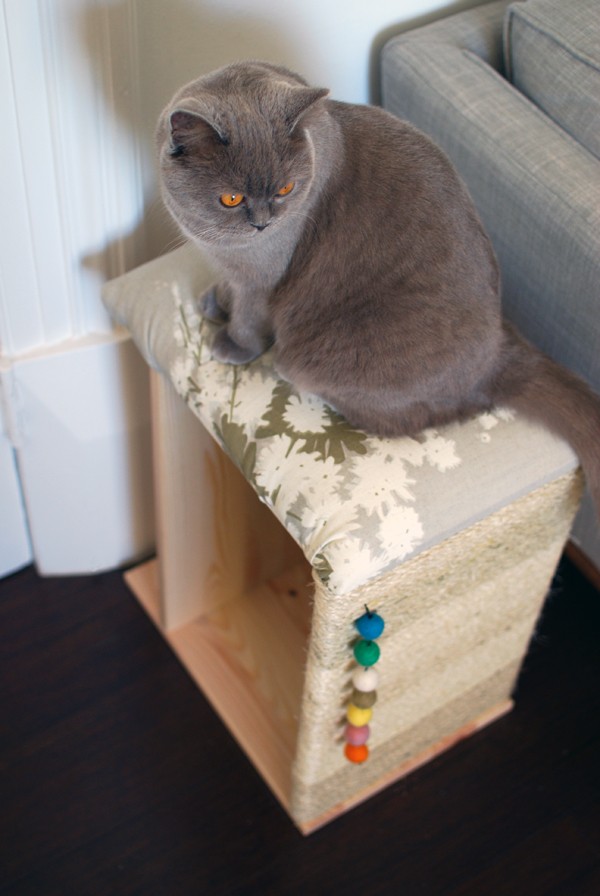
Meet Fleur, our one-year-old British Shorthair kitty. Ever since she came into our family when she was 9 weeks old, I’ve been on the lookout for a modern cat scratching post that she would use, and I would also like in my home. There are some lovely contemporary ones around that use compressed cardboard for the scratching surface, but Fleur won’t scratch them! I bought a cheap one to see if she’d like it with a view to upgrading to a designer model… but no go.
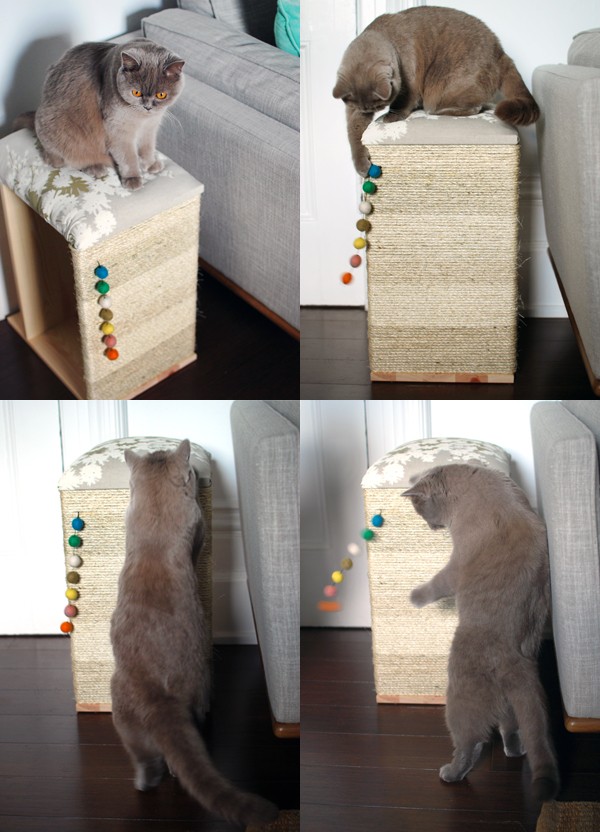
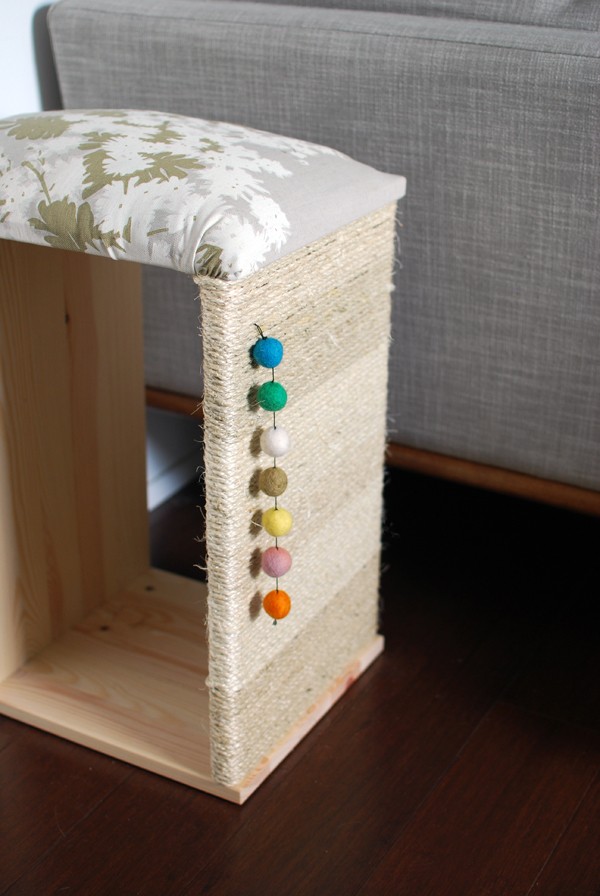
After a fruitless search I decided that I’d have to make a DIY cat scratching post. Now we have something that we’re both happy with. I made a piece of cat furniture that has a place for Fleur to sit up high so that she can survey her kingdom, as well as a scratching post and a central space to hide in, or to use as a tunnel. Most importantly, it fits in perfectly with the style of our home and doesn’t scream ‘cat furniture’.
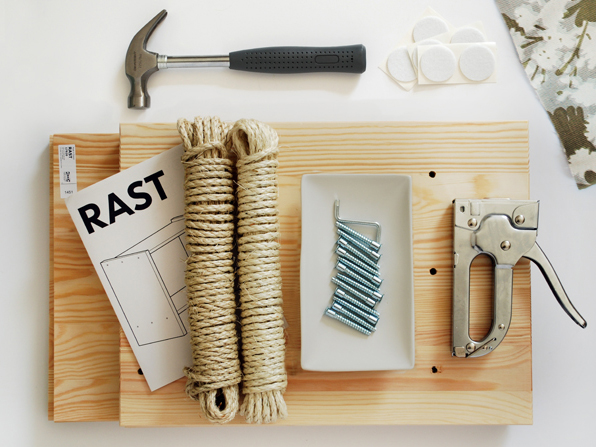
You’ll need
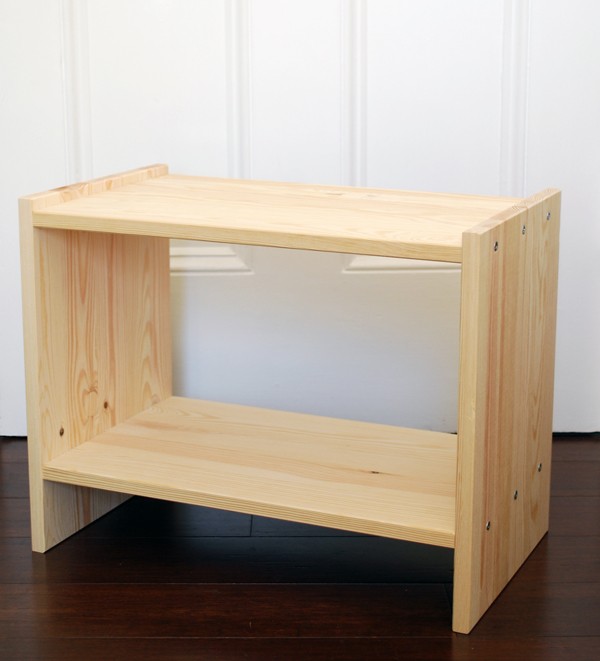
My first stop was Ikea where I went looking for an inexpensive piece of furniture that I could hack. The Rast bedside table is perfect and at just $14.95 it’s a great price too.
Rast bedside table
40 metres of 6mm twisted sisal rope
Staple gun
Hammer
Scissors
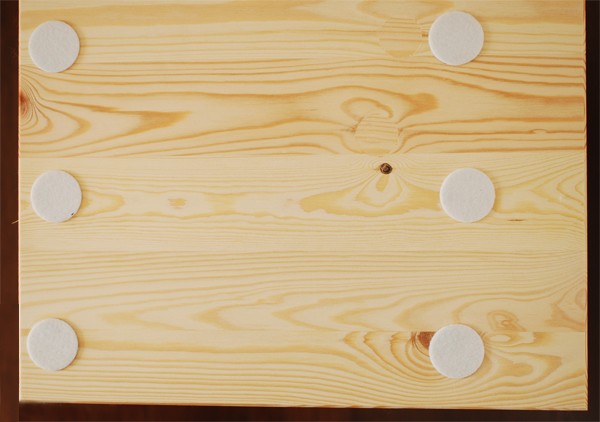
6 adhesive floor protection dots
A cushion insert, quilt wadding or another soft filling for the seat
65 cm x 55 cm piece of fabric
Some felt balls or a cat toy on a string
Let’s make a modern cat scratcher
Assemble the table
Assemble the table according to the directions – it’s the easiest piece of Ikea furniture to put together, ever.
The table will be turned on its side to make the cat furniture, so you need to cover the screws on one end with protective adhesive pads to protect the floor.
Turn the table over so that it’s sitting on the new base (the side with the protective dots).
The front of the cat scratcher will be surface that was the top of the table.
Make the seat
Cut the padding (cushion insert or quilt wadding) so it’s slightly bigger than the top of the cat scratcher. I used an old cushion insert and cut it open so I could remove some of the filling to make it into a rectangle instead of a square.
Centre the piece of fabric over the top of the padding.
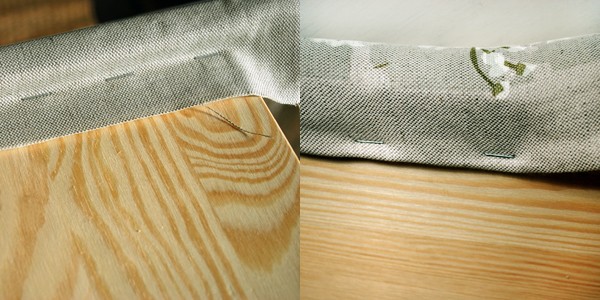
Wrap the fabric over the front of the cat scratcher and staple it in place, so the staples are as close as possible to the join in the timber (photo above, left). It’s OK to leave the raw edge of the fabric exposed here because the rope will cover it.
Now take the opposite end of the fabric and wrap it over the back of the cat scratcher. Fold the raw edge of the fabric under and staple it to the under side of the seat (photo above, right).
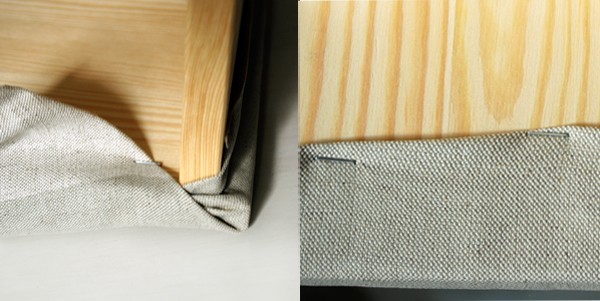
Now stretch one of the side edges of the fabric under the seat and staple in place. Start by folding the fabric around the corners and secure with a staple. Then fold the raw edge of the fabric under and staple it to the under side of the seat. Repeat on the other side to complete the seat.
Make the scratching surface
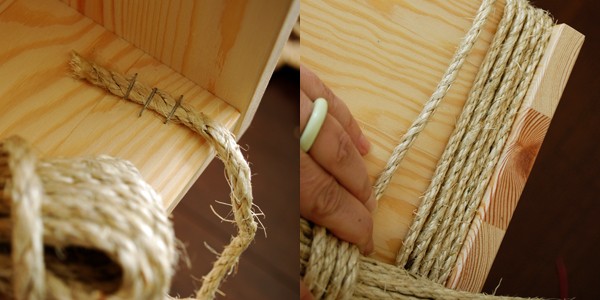
Start by securing the end of the rope to the inside of the front panel, at the base. Use a few staples, and hammer them in place.
Starting right at the base, begin to wind the rope tightly around the timber. As you go push each piece down so that there is no space between the rope. It needs to be wound tightly and pushed together tightly.
When you run out of rope, secure the end with staples on the inside of the scratcher. Then start the new piece next to it and continue winding.
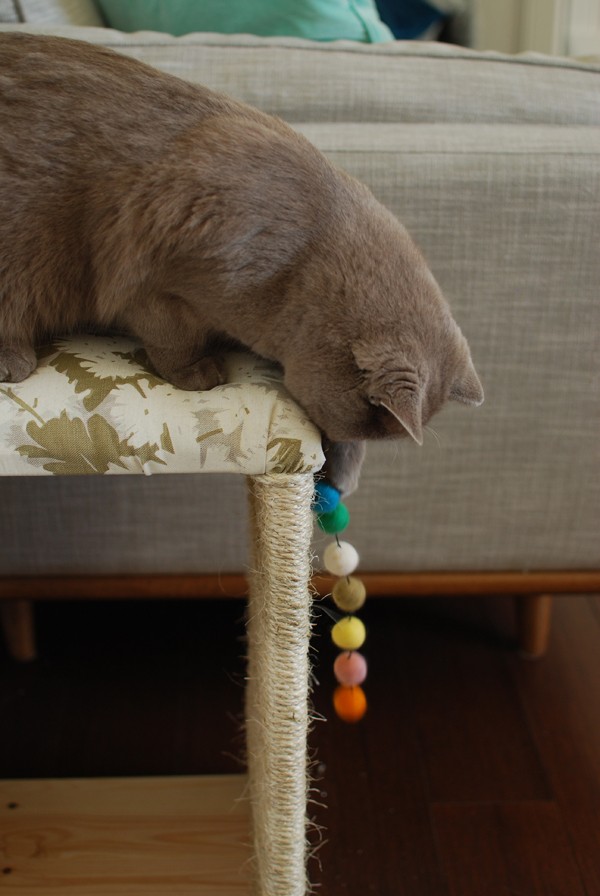
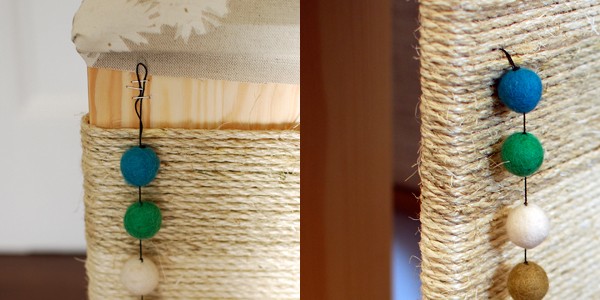
When you are nearing the top of the panel, attach the string of felt balls or kitty toy, then wind the rope over the staples.
Secure the end of the rope on the inside.
Now you have a piece of cat furniture that’s practical without being an eyesore. Fleur loves the felt balls, and enjoys running through the centre of the scratcher and under the lounge.
Tell me: do you have a cat? Does your kitty use a purpose-built cat scratcher?
