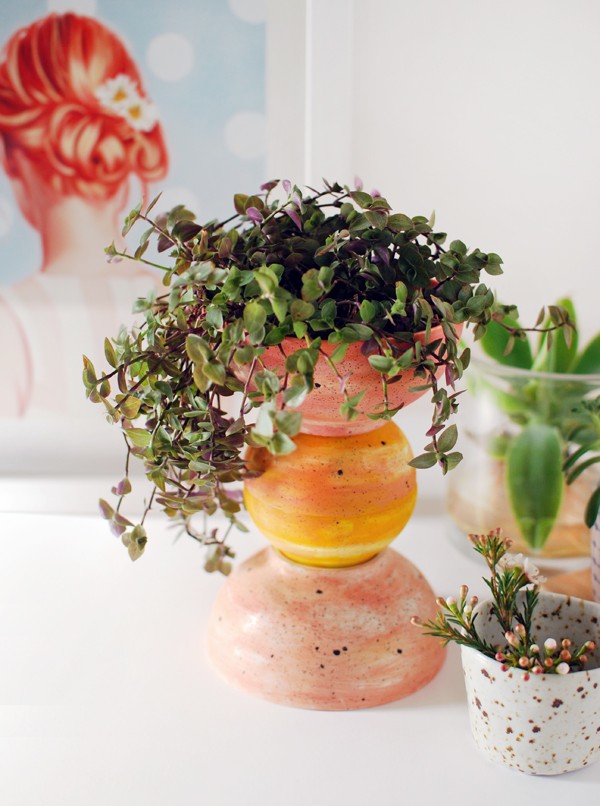
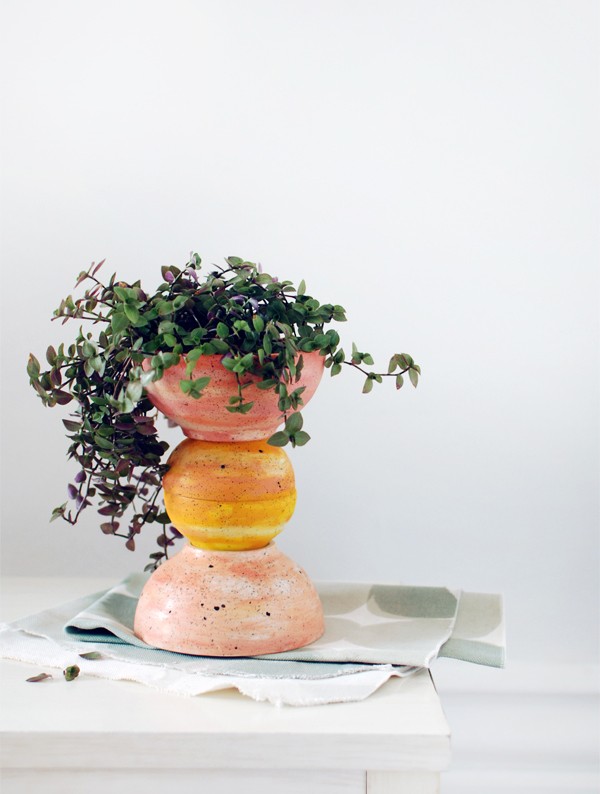
I’ve been obsessing over lovely ceramics with beautiful painterly glazes – you may have noticed my obsession if you’ve seen our ceramics Pinterest board. I’d love to own more pieces handmade by talented folk, but with a limited budget at the moment, I decided to make my own lookalike pot for yet another plant.
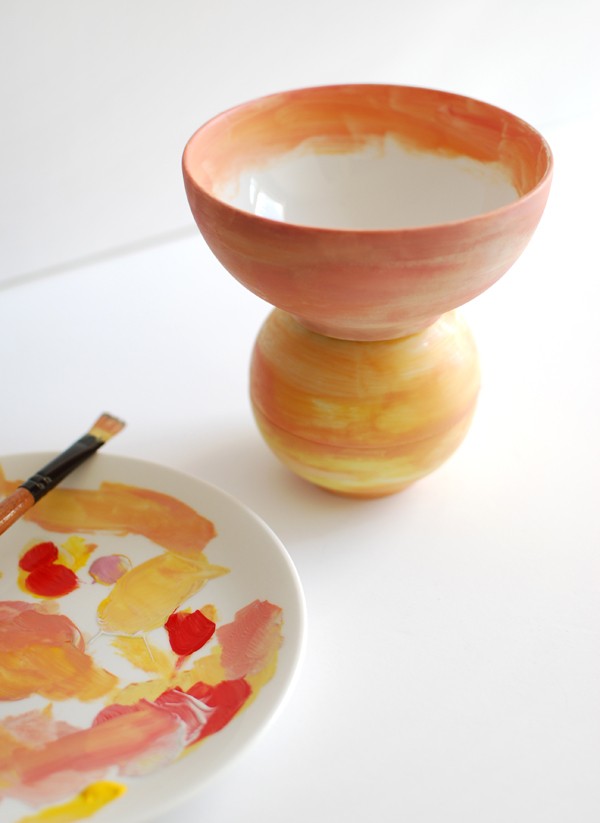
I used inexpensive IKEA 365+ white bowls and acrylic paint to create my own totem planter for just over $10. It’s not an artisan-made, hand-thrown and glazed planter, but it’s a fun and striking DIY piece that I really enjoyed making.
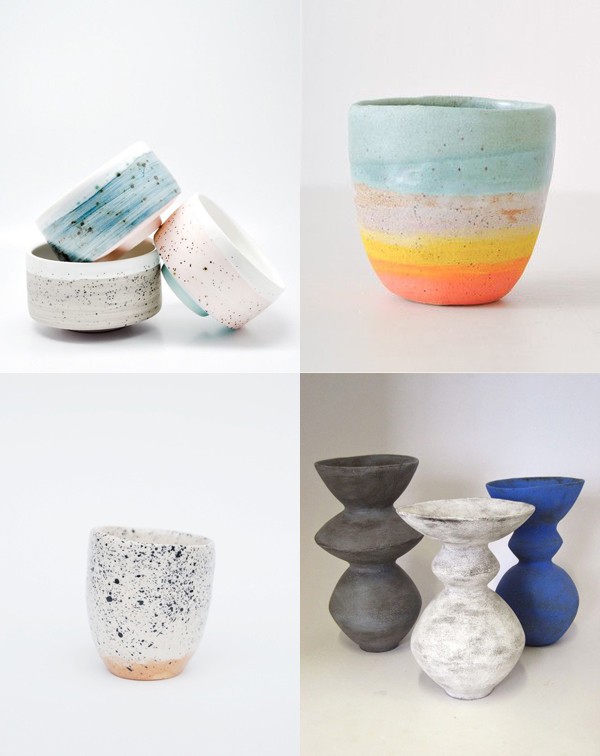
My inspiration
Ben Fiess tea bowls / Shino Takeda cup
Spotty Clay Cup by Gin Bay / Interesting shapes by Clementina Ceramics
Materials
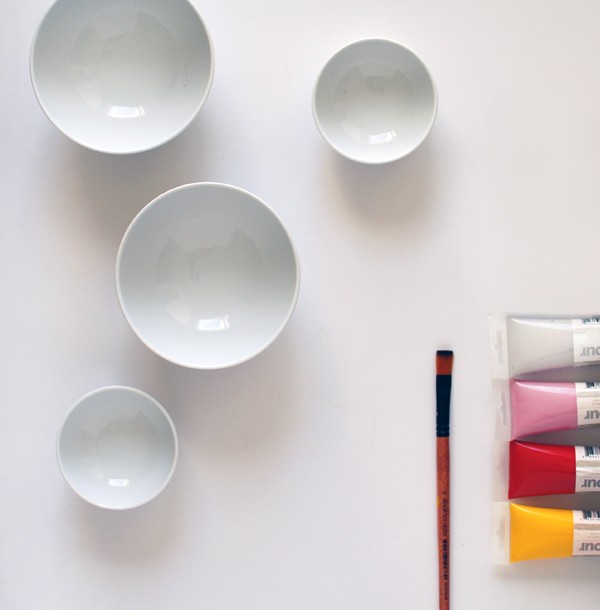
2 x 365+ bowls 9cm diameter, $2.99 for 2 from IKEA
2 x 365+ bowls 16cm diameter, $2.99 each from IKEA
Acrylic craft paint in red, yellow, dusty pink, white and black
Flat paint brush(es)
Porcelain glue
Waterproof sealant, for example waterproof Mod Podge or a matte spray varnish
Plastic paint palette, a plastic lid or a plate
Tutorial
Step 1: Preparation
1. Wash the bowls in hot soapy water and let them dry.
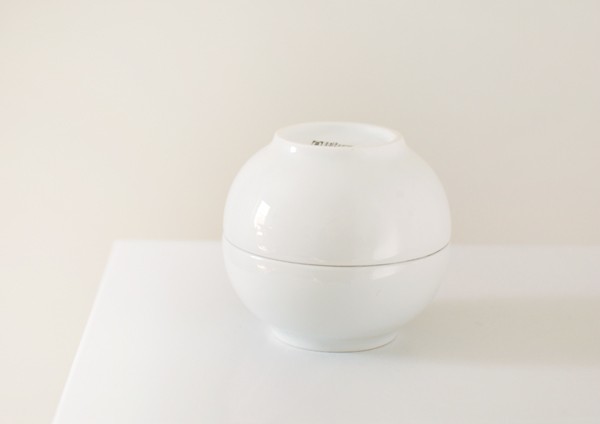
2. Apply porcelain glue around the rim of one of the small bowls and adhere it to the rim of the other small bowl. Set aside to dry completely.
Step 2: Painting
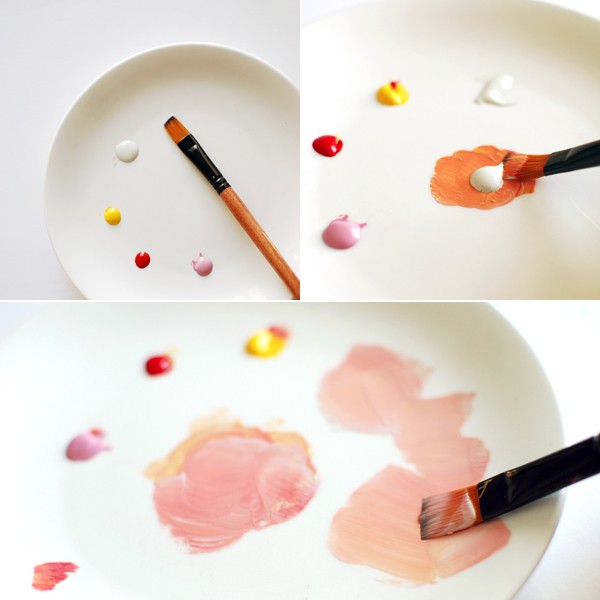
1. Squeeze small amounts of paint onto your palette. The finished glazed look of the planter is best achieved by using minimal paint on the brush.
2. Mix red and yellow with a lot of white for a peachy colour. It’s better to start with a light colour when you paint, and then you can add darker tones over the top.
For the top bowl of the totem I used a light peach first, then added darker peach, and finally I added some pink into the peach paint to achieve a pinker colour for small areas and around the rim of the bowl.
Don’t mix the colours together completely. It works well to have some different tones on the brush.
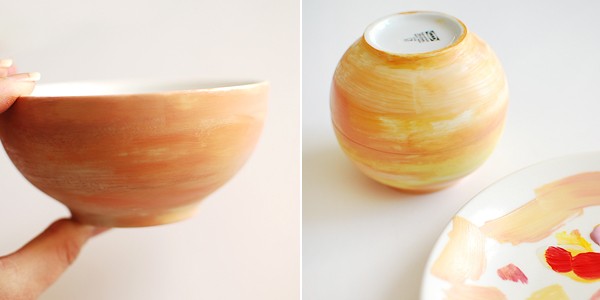
3. Before you start painting, wipe most of the paint off the brush onto the palette.
4. Paint in long strokes, and keep it loose and a bit messy.
Don’t try to cover the whole bowl with paint. Let some white show through in places.
If you stuff it up, or it becomes too overdone, just wash the paint off and start again. Make sure the bowl is thoroughly dry before painting.
5. While you’re painting the top and centre pieces, take some time to stop and stack them on top of each other, so you can get an idea of how they look together and where you need to add more paint. Don’t glue them in place yet.
6. Paint inside the rim of the top bowl so the original white won’t be visible above the soil.
7. Paint the third bowl and place it at the base of the totem.
Now that you can see them all stacked together, go back and add any paint that’s necessary. Keep turning the bowls around so you can see all sides and work out if anything else needs to be done.
Remember to build the layers of paint up slowly by wiping off most of the paint onto the palette. You can create lovely brush stroke effects when the paintbrush is almost out of paint.
At this stage I added a darker pink/peach to the rim of the top bowl, some peach to the centre sphere, as well as a brighter yellow stripe around the centre.
Step 3: Secure the totem pieces
1. Before you glue the pieces together, make sure the paint is dry.
2. Twist each section around and decide which sides of the pieces work well when placed together.
3. Join all the pieces with porcelain glue and allow to dry.
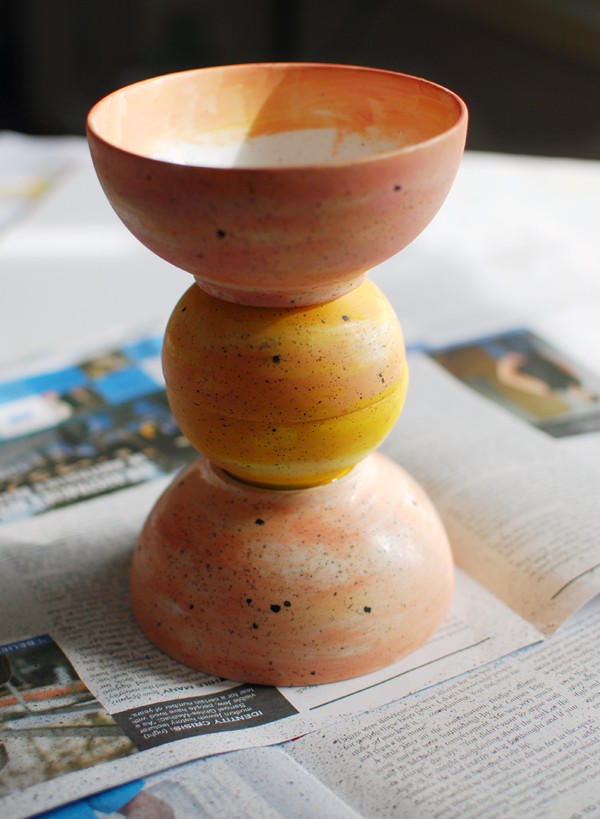
Step 4: Add the paint splatters
1. Add a small amount of water to some black paint. Take care not to add too much though, because if the paint is too wet the splatters will run and drip on your planter.
2. Cover your work surface with newspaper – you may even like to go outside for this step.
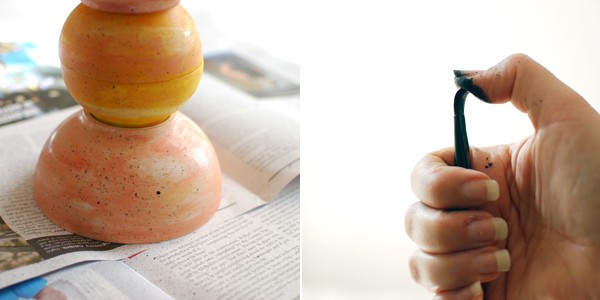
3. Dip the paintbrush in the paint and hold it vertically in your hand, as shown below. Hold the brush about 25cm from the totem and flick the paint off the brush with your thumb. It’s actually a good idea to practice flicking first on the newspaper so you can experiment with the wetness of the paint and the distance it travels.
Step 5: Seal the paint
1. If you’re using a spray sealer/varnish, it’s best to do it outside or in a very well ventilated area.
2. Apply an even coat, according to the manufacturer’s instructions. Make sure you spray the inside of the top bowl, which will be your planter. Allow to dry.
Otherwise, if you’re using waterproof Mod Podge, just apply an even layer with a paintbrush, making sure you cover the entire totem, including the inside of the top bowl, and allow to dry.
Step 6. Add a plant
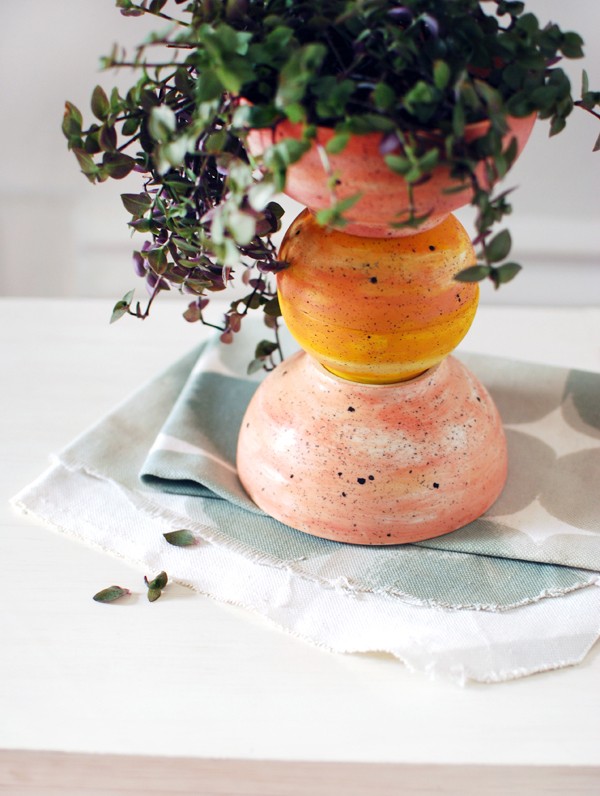
1. Choose a cascading plant that trails over the edge of the totem, like a rhipsalis or a small Donkey’s Tail succulent. A hardy plant, like a succulent or cactus, is best for the totem because the bowl is shallow, and won’t hold a huge amount of soil or water. I’m not sure what my plant is, but it’s a winner because it loves dry soil and seems to thrive despite my less-than-green-thumb.
2. Since the totem doesn’t have drainage holes, you need to create your own mini drainage system. You can do this by adding a small layer of pebbles to the bottom of the bowl.
3. Next, it’s best to add a layer of charcoal, which will keep your soil ‘sweet’ and improve air circulation.
4. Finally, add some potting mix and insert your plant in the bowl. Use an old spoon or chopsticks to add any potting mix to fill in the gaps and create an even layer.
Alternately, if that sounds like too much hassle, you could find a small potted plant that fits inside the top bowl. A leafy plant that trails over the edges would work best, so it hides the plastic pot. It might just work! If you find your plant is getting waterlogged, try adding a layer of pebbles beneath your pot.
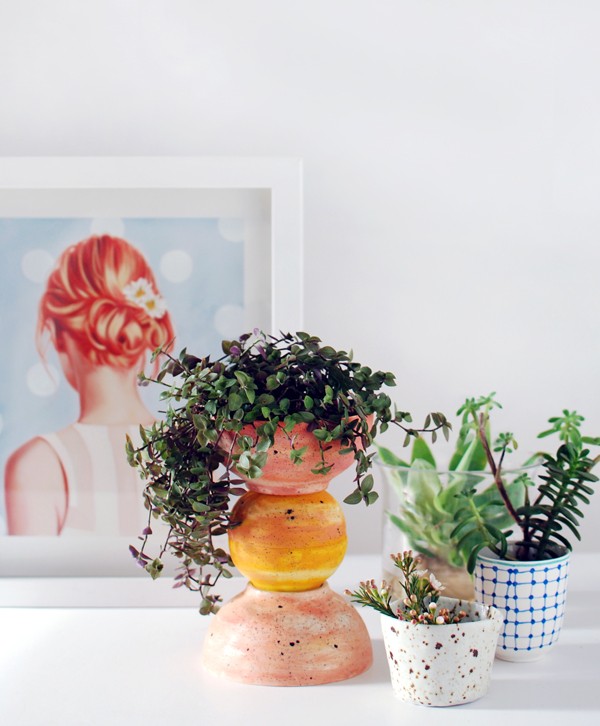
Group your totem planter with other greenery and vessels to create a stunning vignette in a corner of your home.
How did you go with your DIY totem planter? Let me know if you have any questions in the comments section below. I’d love to see your results! Post a pic of your totem on Instagram, tag me @we_are_scout_lisa and use the hashtag #WeAreScoutCraft. Have fun!
Photography and styling Lisa Tilse for We Are Scout.
