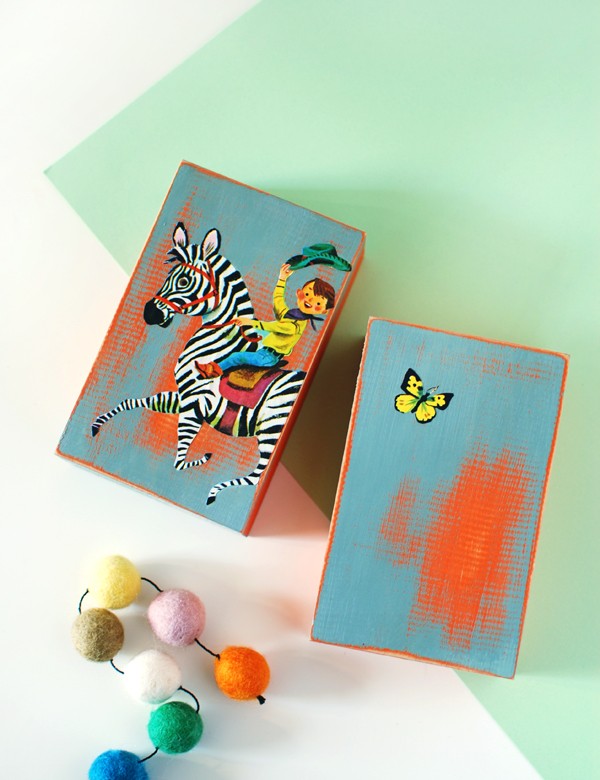
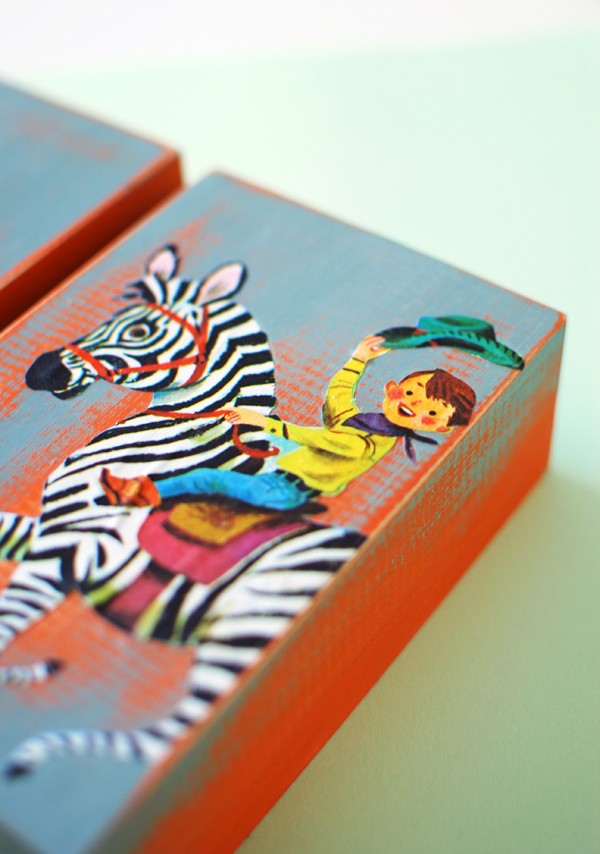
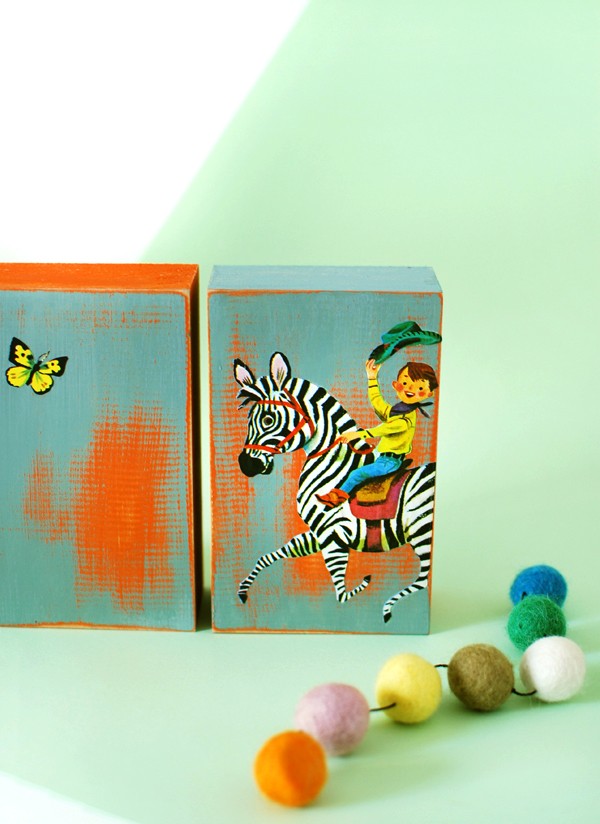
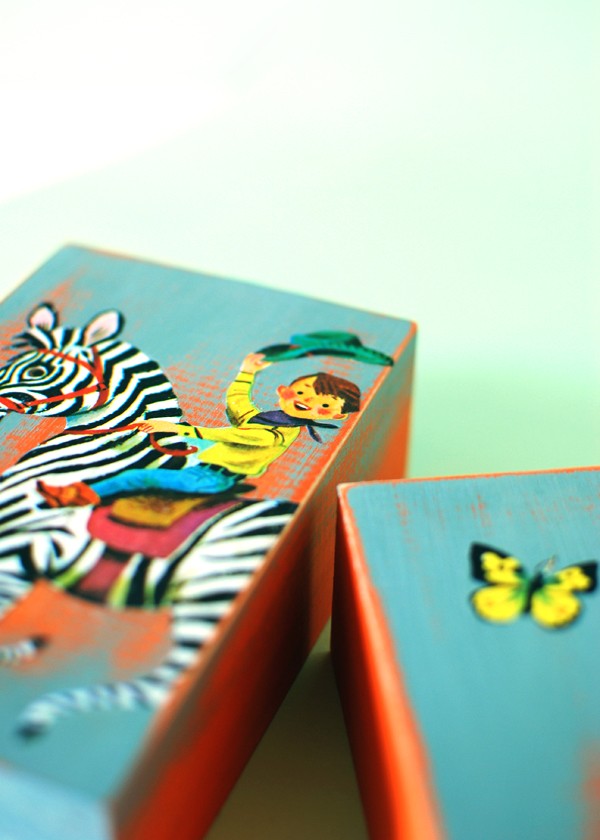
These lovely vintage story-book blocks would make a bright and bold addition to any child’s bedroom – and a fantastic gift, too!
This project is a great way to re-purpose and upcycle things that would otherwise be thrown out. You can easily use off-cuts of timber from another project, like we did, and use illustrations from an old and damaged vintage story book.
It’s easy to personalise your blocks for your child’s room by using colours that tie in with the colour palette. You could also use letters from a vintage alphabet book to create personalised monogram blocks.
Ready to get making? Let’s go.
Materials
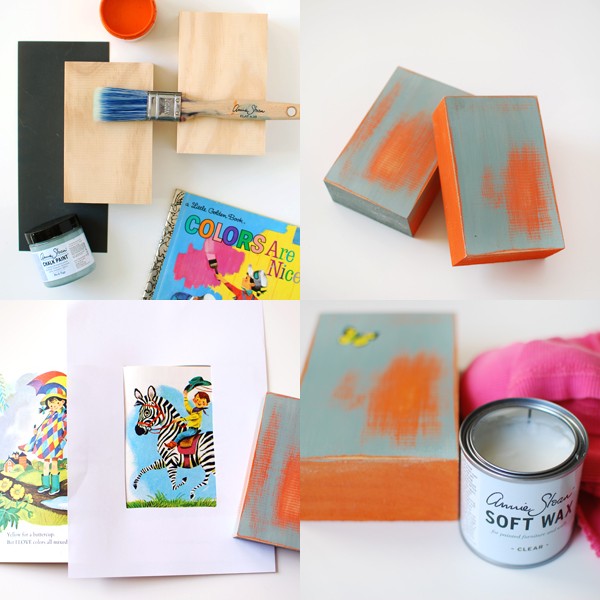
Wooden blocks. Ours measure 9cm x 14.5cm and are 4.5cm thick. These are left over from our photo block tutorial when I purchased a length of timber from Bunnings and asked them to cut it down to photo-sized pieces.
Sandpaper.
Paint in 2 colours. I used Chalk Paint™ by Annie Sloan in Duck Egg and Barcelona Orange.
Paint brush.
A vintage children’s book. I have a big collection of vintage books which I would never cut up, but often I find ones that have been scribbled in or have pages missing. They can be bought for less than a dollar and are perfect for craft projects.
Small, sharp scissors.
Mod Podge or decopage glue.
A sealant – I used Annie Sloan Soft Wax in clear, you could also use a varnish or Mod Podge.
A clean dry cloth/rag.
Let’s get started
1. If the edges of the blocks are a bit rough, give them a light sand.
2. Paint the blocks. Start with a coat of orange and leave to dry. Follow with a coat of blue. For one of the blocks I only painted the front surface blue, and left the sides orange.
3. Sand the colours back. Once the paint is dry, rub patches of paint off with sandpaper. Rub with light strokes and make the patches random in placement and size.
4. Find some storybook illustrations. Place a block down on the centre of a piece of A4 paper and trace around it. Cut out the centre shape. Place this template over the book pages to help you choose an illustration that will fit nicely on the block.
5. Carefully cut out the illustrations.
6. Using a paintbrush, apply Mod Podge to the back of the illustrations and glue them to the blocks, smoothing out any air bubbles as you go with a dry cloth. Allow the glue to dry.
7. Seal the surface. Paint sealant over the entire blocks to seal the paint and protect the illustrations. I used the Annie Sloan Soft Wax for the first time and it’s fantastic. I applied it with a soft cloth and carefully rubbed outwards from the centre of the illustrations to stop the edges from catching. The finish is matt and waxy and it feels and looks beautiful. Follow the instructions for the product you use. The soft wax needs to cure for a day or so.
8. Admire your creations!
If you make our storybook blocks with Chalk Paint™ by Annie Sloan, make sure you share your gorgeous results on Annie Sloan’s Made It My Own, or use the hashtag #MadeItMyOwn and #WeAreScoutCraft on Instagram.
After more craft or DIY ideas? Take a look at all of our craft projects here.
The lovely folks from Annie Sloan sent us some product samples. We were under no obligation to use them or to blog about them. But we love this paint and wanted to share it with you because we think you’ll like it too.
Photography by Lisa Tilse for We Are Scout.
