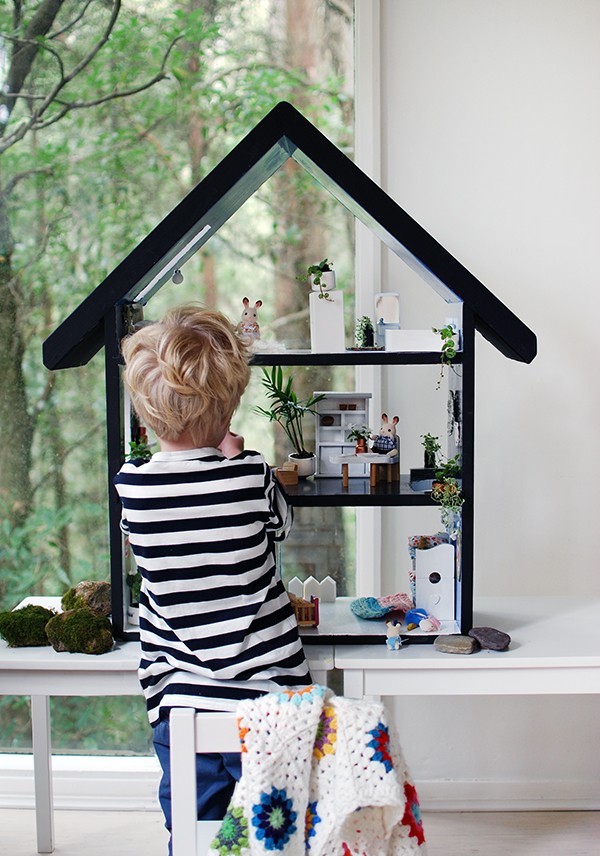
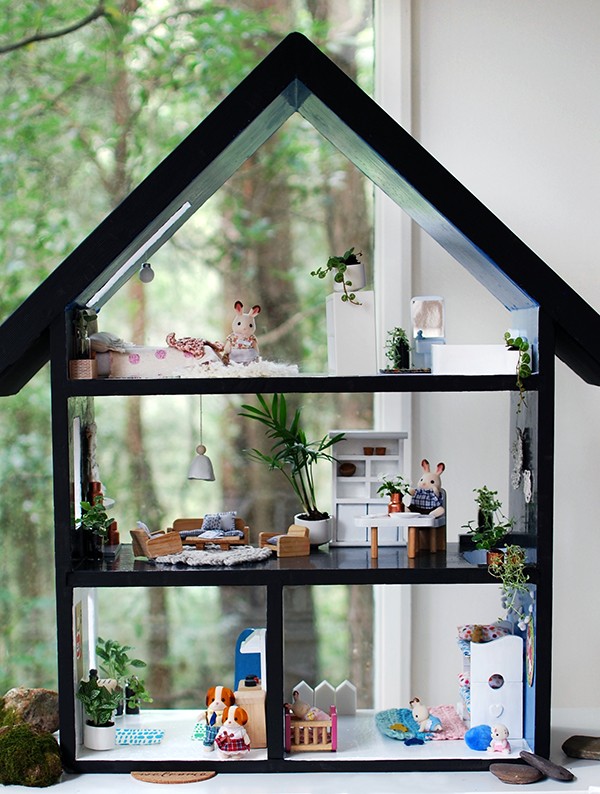
Here’s a fun project that Lisa and I recently worked on together with leading specialty paint brand, White Knight. We took a tired old doll house and turned it into a contemporary Scandi-style summer house – with a roof that doubles as a chalkboard!
White Knight Paints has recently launched #WhiteKnightRevive – a series of online videos designed to inspire DIYers to tackle their own at-home projects and renovations.
Teaming up with professional DIY specialist, Natasha Dickins, White Knight has created nine short how-to videos, featuring projects such as a bathroom makeover and fence fix-up, as well as inspirational ideas like turning shelves into a doll house.
Read on for our own step-by-step tutorial, which shows you how to paint a doll house and furnish it with your own handmade homewares, live indoor plants, and repurposed objects.
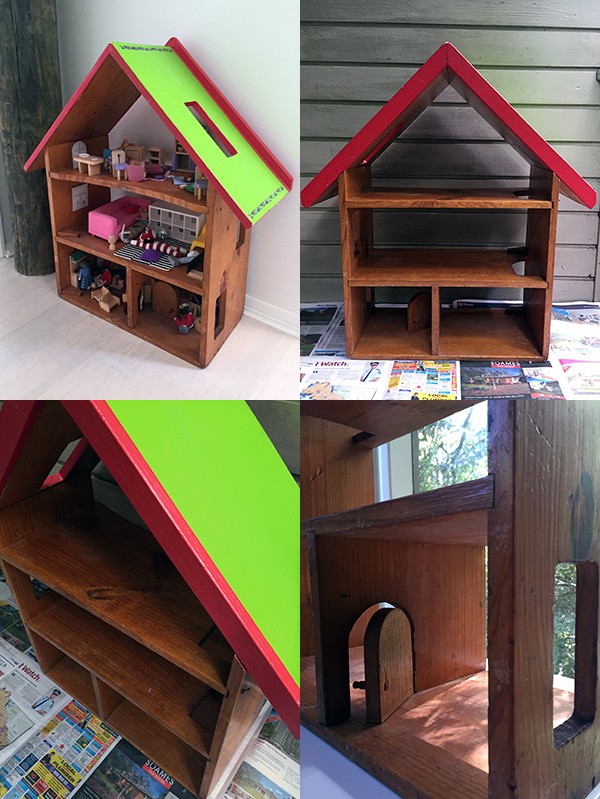
Before
I found the doll house on the side of the road. It was in poor condition with a tired lime green and red colour scheme and varnished timber shelves, but it had potential.
It sat – mostly ignored – in the corner of our spare room for months, filled with a jumble of mis-matched furniture I had picked up at charity shops.
After
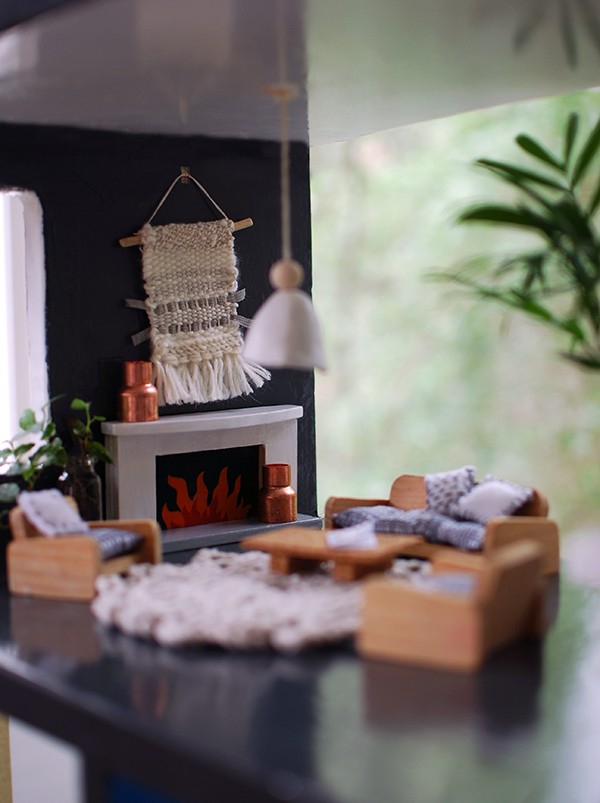
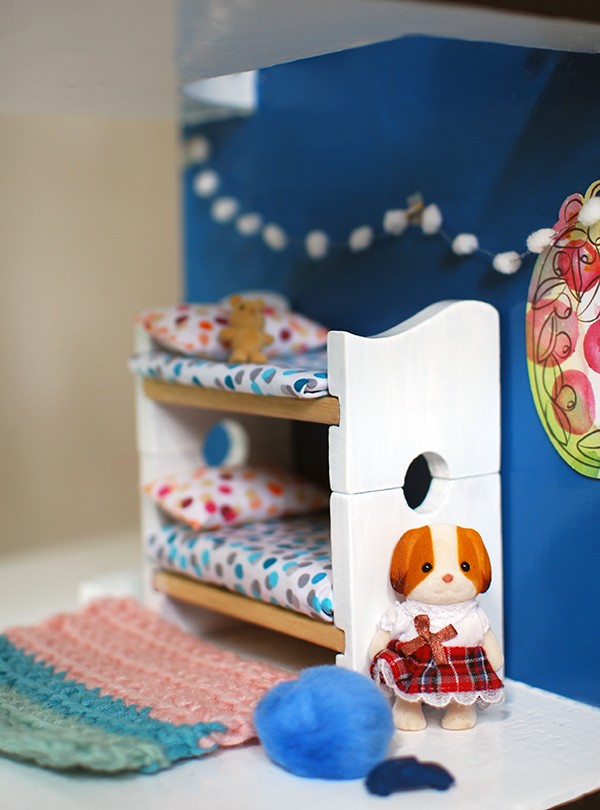
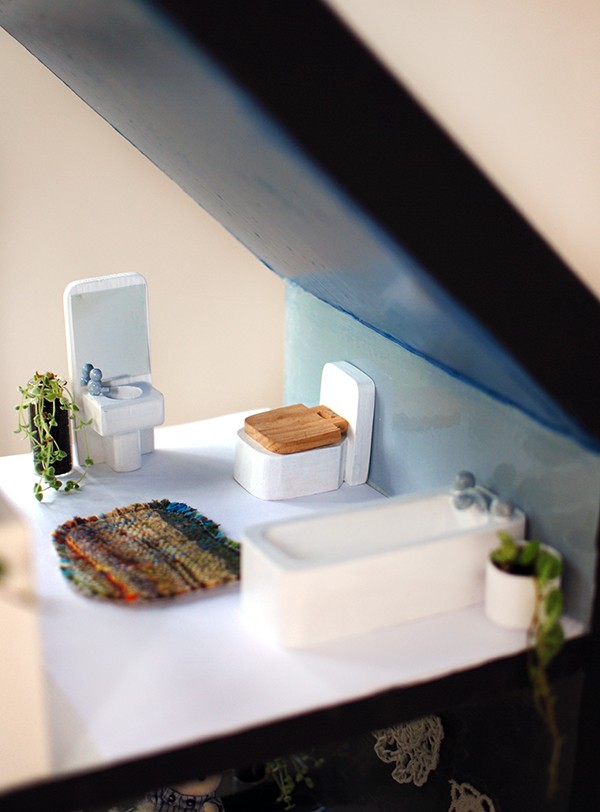
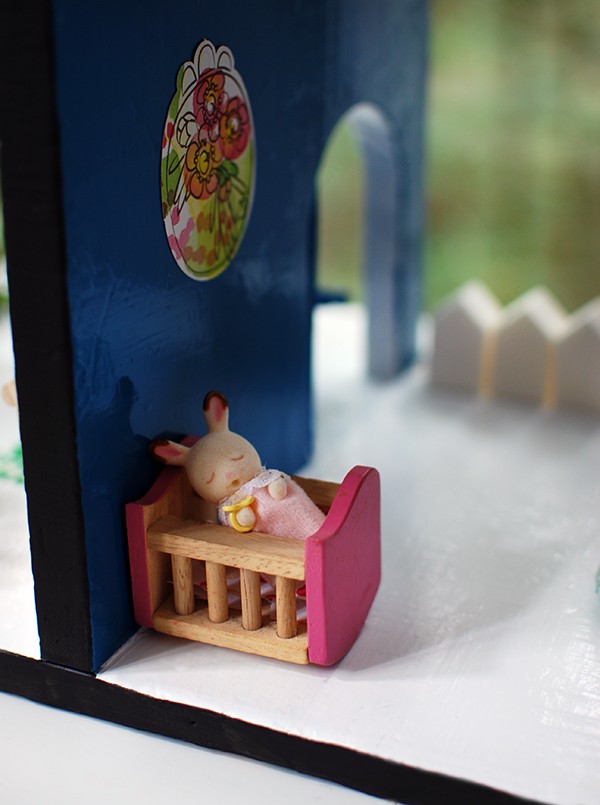
Inspired by Swedish summer houses, we used #WhiteKnightRevive paints to transform the doll house into a gender-neutral Scandinavian-style house, with a matte black exterior and modern, bright interior. We used a colour palette of charcoal, white, dove grey and blue.
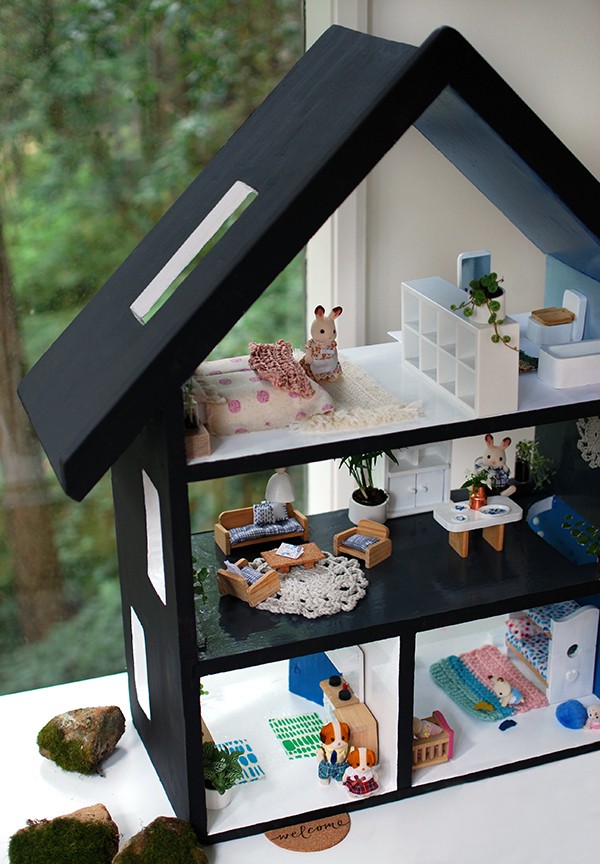
Come on a tour with us around our revived Scandi doll house!
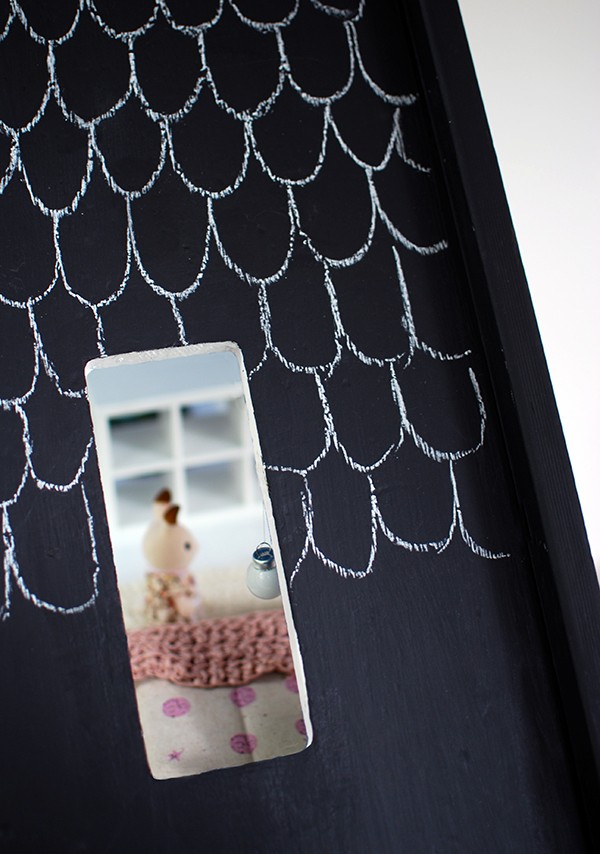
How to Revive Your Doll House
Materials
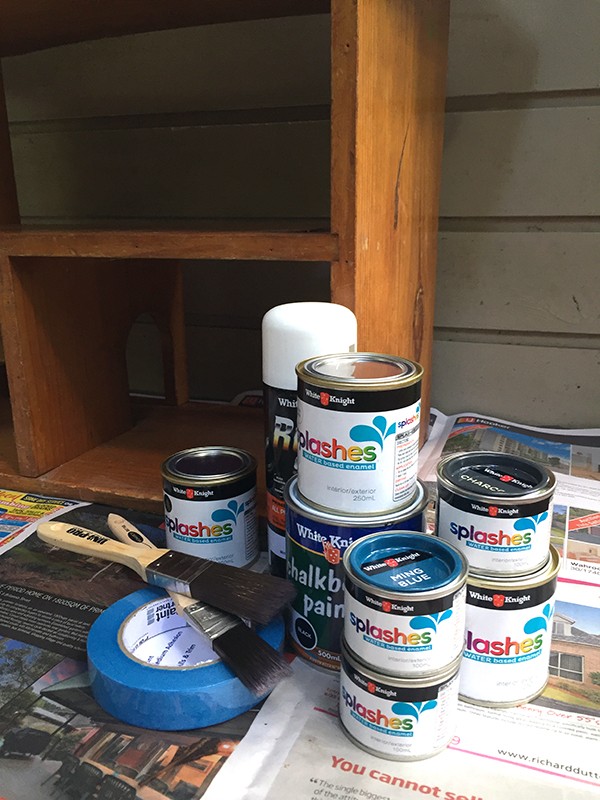
White Knight Rust Guard Primer in White
White Knight Chalkboard Paint in Black
White Knight Splashes Water-based Enamel Paint in Charcoal
White Knight Splashes Water-based Enamel Paint in Gloss White
White Knight Splashes Water-based Enamel Paint in Dusk Grey
White Knight Splashes Water-based Enamel Paint in Ming Blue
Sandpaper (I used 600 Grit)
Mineral Spirits (ie. Turpentine)
Rubber Gloves
Ventilation mask if necessary
Painter’s Masking Tape
Newspaper
Sugar Soap
Paintbrushes
Rags for cleaning
Dropsheet
Spakfiller if necessary
Let’s get started
Clean and prime the surface
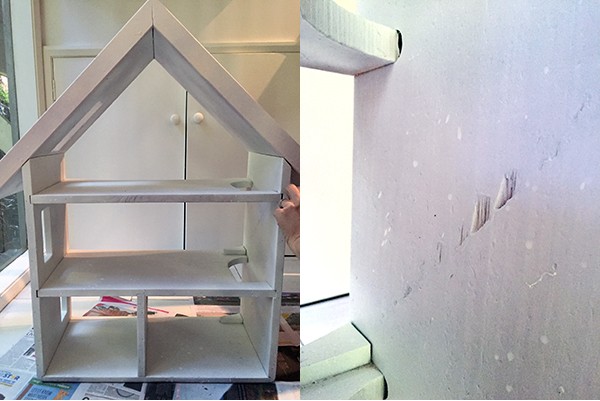
1. First, make sure the surface of the doll house is perfectly clean before you start work. The timber surface on my doll house had old chipped paint, dust and varnish, so I first cleaned it with sugar soap, before giving it a good sand all over.
2. Smooth any bumps with Spakfiller. My doll house had obviously been very much loved, as there were loads of holes and knicks in the timber to fill. Follow the instructions on the Spakfiller, allow to dry, and then sand back to a smooth surface.
3. Give the surface a good dust with a microfibre cloth.
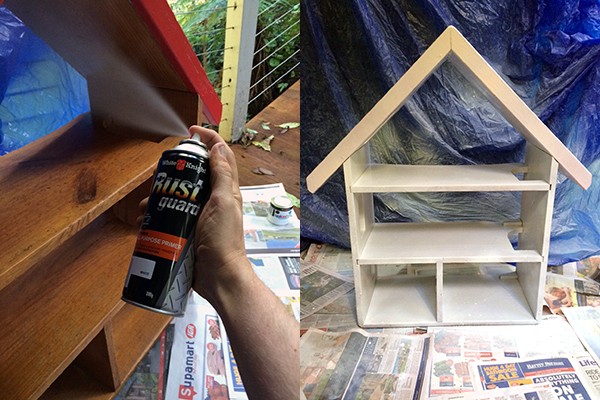
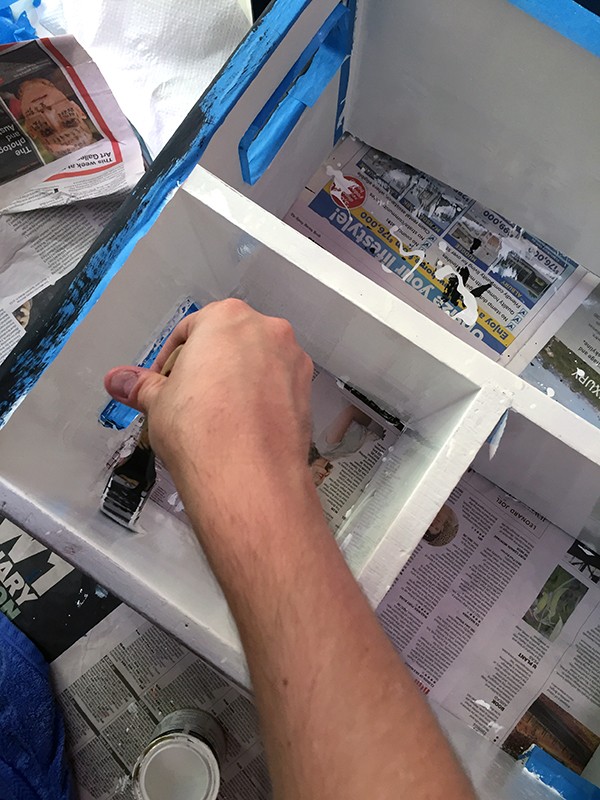
4. Cover all surfaces you don’t want painted with a drop sheet and newspaper, then apply a layer White Knight Rust Guard All Purpose Primer to the surface of the doll house. Make sure you do this in a well ventilated area, and wear a dust mask if necessary.
5. Apply a second coat after one hour. This acts as an undercoat for your paint. Take care to ensure all surfaces are covered, including up under the eaves and tops and bottoms of windows and doors.
Prepare for painting first coat
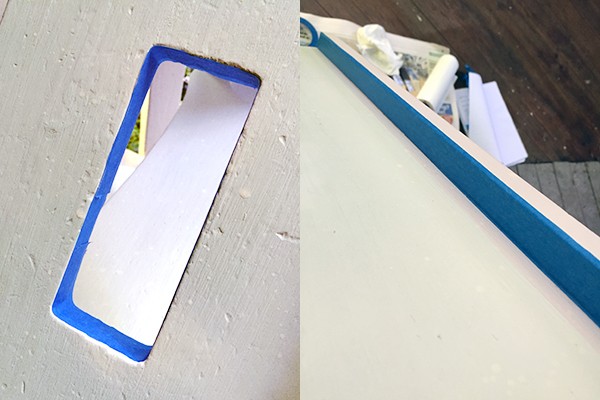
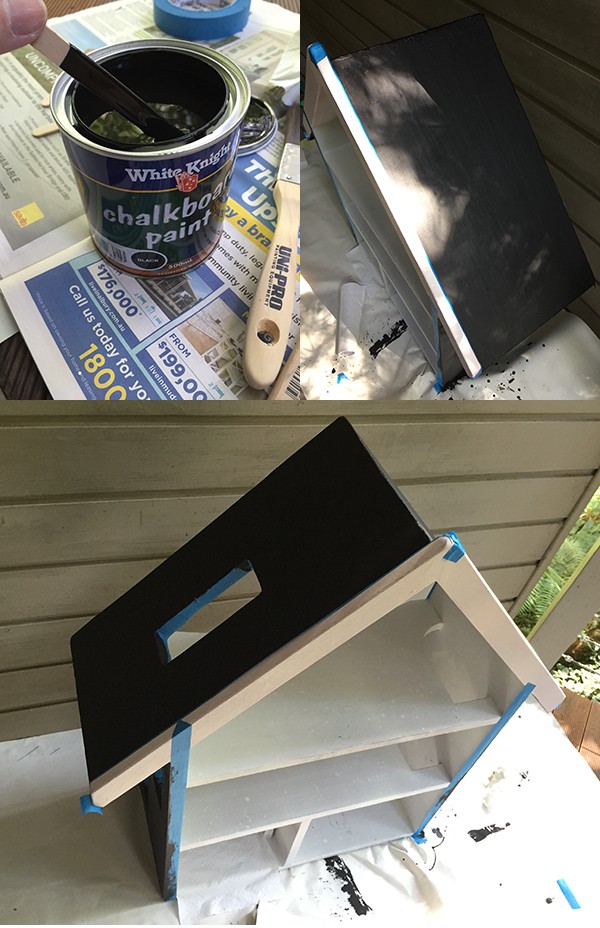
Mask off any areas you don’t want painted with Painter’s Masking Tape. I started with the roof of my doll house, so I taped the inner edges of the skylight, which would later be painted in a contrasting gloss white.
Paint the Roof in Black Chalkboard Paint
1. First, stir the White Knight Chalkboard Paint with a broad, flat stirrer in a circular lifting motion for at least five minutes before painting. This will ensure the paint is well mixed and you won’t get a streaky application. At this point, you might like to slip on a pair of rubber gloves, unless you want to turn yourself into a human chalkboard (however, you can remove the paint from your skin with turps).
2. Apply the first coat in a well-ventilated area (or outside, like I did) using a 25mm brush.
3. Apply the second coat after six hours. If it’s humid or raining, you may need more drying time between coats.
Paint the Interior of the Doll House
1. Work out a colour palette for the doll house, and plan where the colours are going.
We used the following colours for each room:
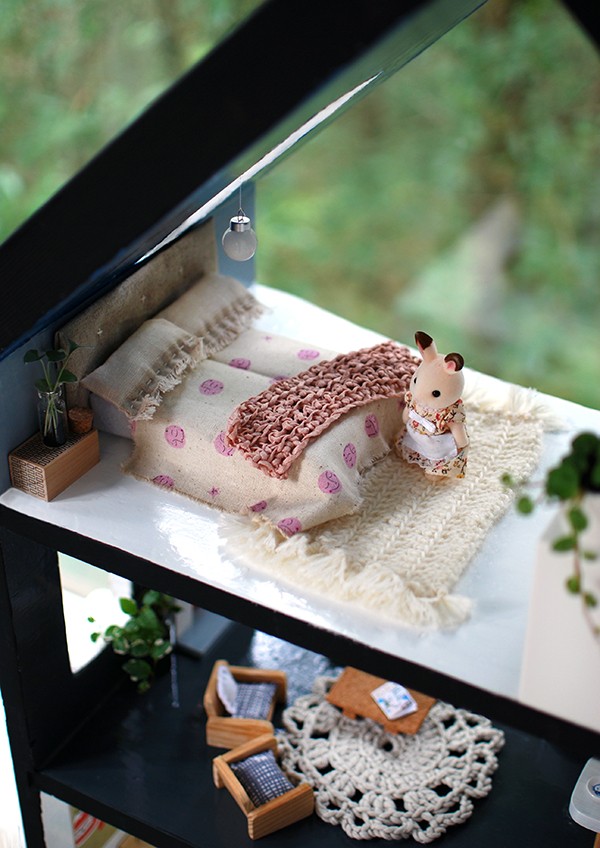
Master bedroom and ensuite (top level): White Knight Splashes Water-based Enamel Paint in Gloss White for floor; Dusk Grey for walls; Gloss White for inner edge of sky light; and Ming Blue for ceiling.
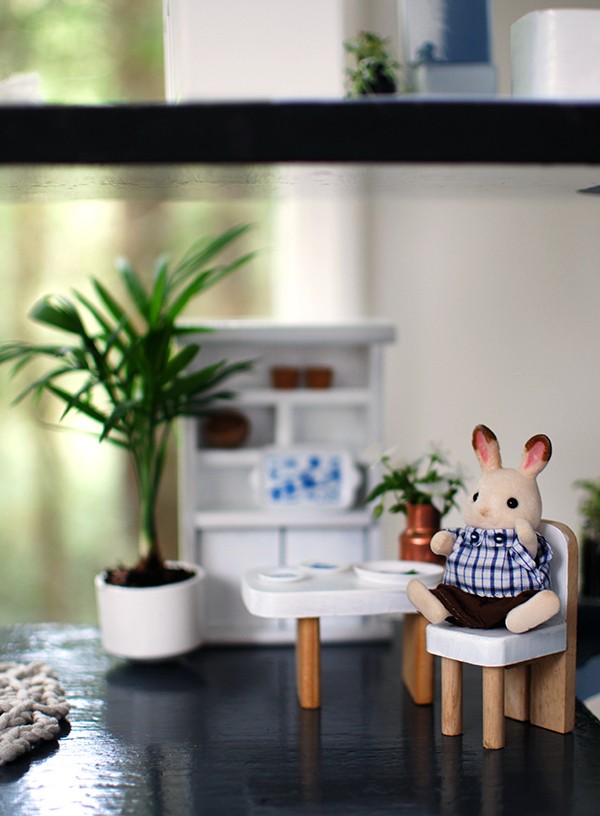
Living and dining (middle level): White Knight Splashes Water-based Enamel Paint in Charcoal for floor and walls; and Gloss White for inner edge of the window and ceiling.
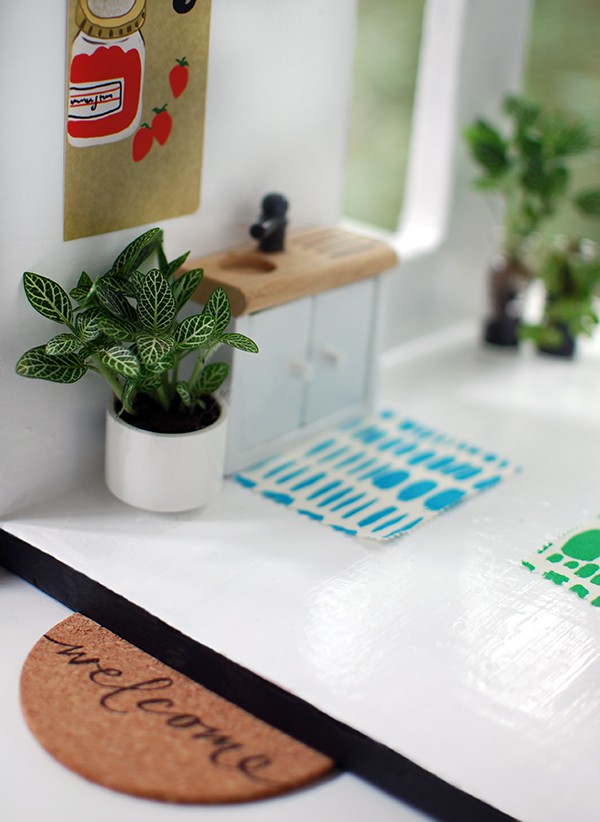
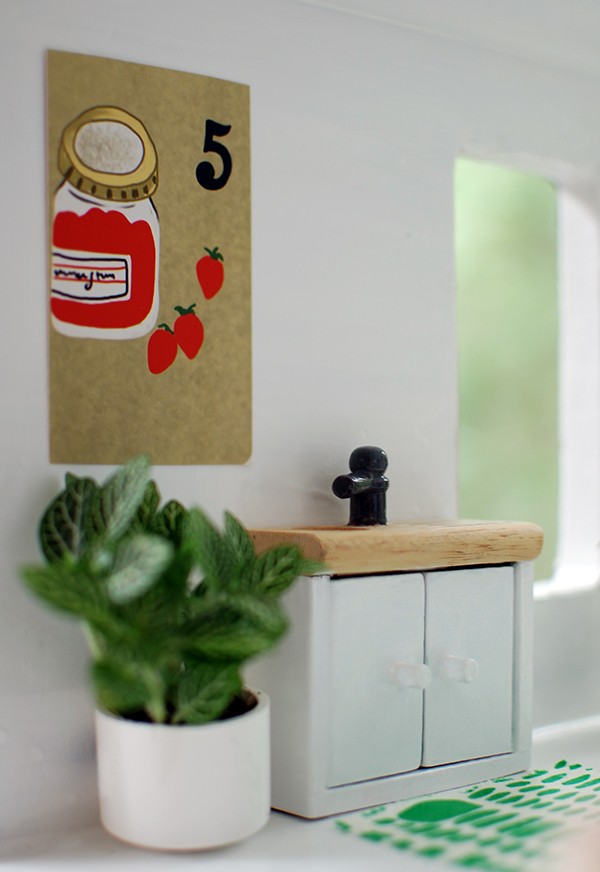
Kitchen (left, lower level): White Knight Splashes Water-based Enamel Paint in Gloss White for floor, walls and ceiling; and Ming Blue for door.
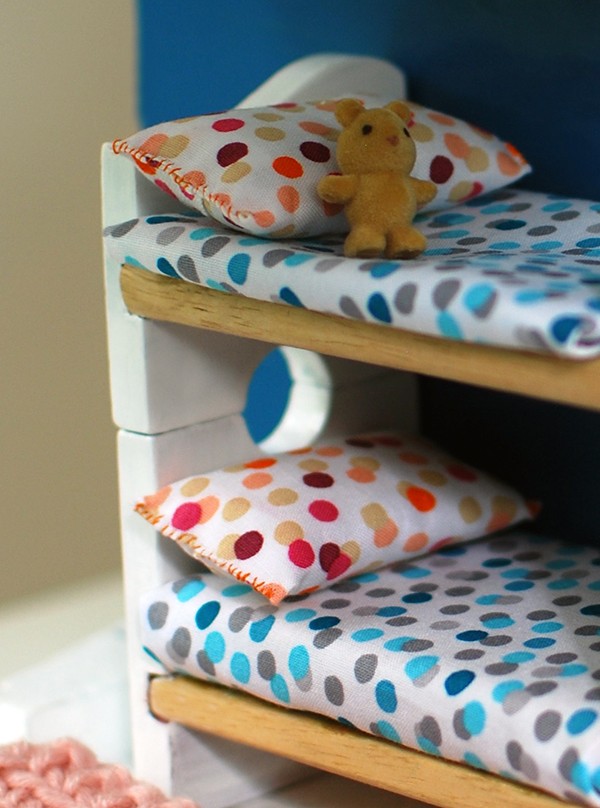
Children’s bedroom (right, lower level): White Knight Splashes Water-based Enamel Paint in Gloss White for floor and ceiling; and Ming Blue for walls and door.
2. Stir or shake the can of Splashes paint thoroughly before use.
3. When painting, use long smooth brush stokes in the same direction, and do the lightest colours first.
4. Use a small angled brush for cutting in the edges of the walls in different colours, and tape off the other edge.
5. Leave the first coat to dry for at least two hours before applying the second coat.
Decorate the Interior
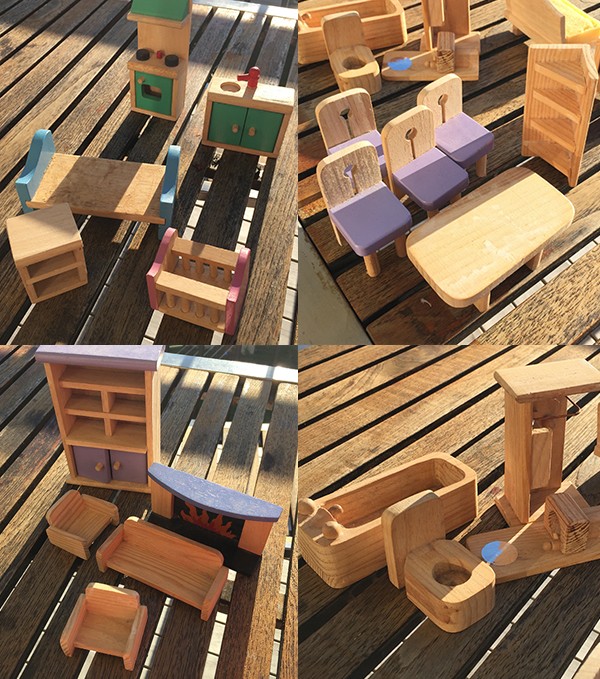
This is where Lisa stepped in and sorted through the jumble of doll house furniture I had thrifted over the years.
She revived the existing wooden furniture by painting over the old colours with White Knight Splashes Water-based Enamel Paint in Gloss White, and left some natural timber exposed for that signature Scandi look.
Miniature Interior Plants
We decided we wanted to make indoor plants a major feature in our doll house, which has been one of 2015’s biggest interiors trends.
I scoured the plumbing section of hardware stores and craft shops for things I could re-purpose as miniature on-trend vessels. I used copper capillary end caps and coupling and white plastic caps for copper vases and round white planters.
I found some tiny glass bottles in the craft section of a discount shop and used them as glass demi johns.
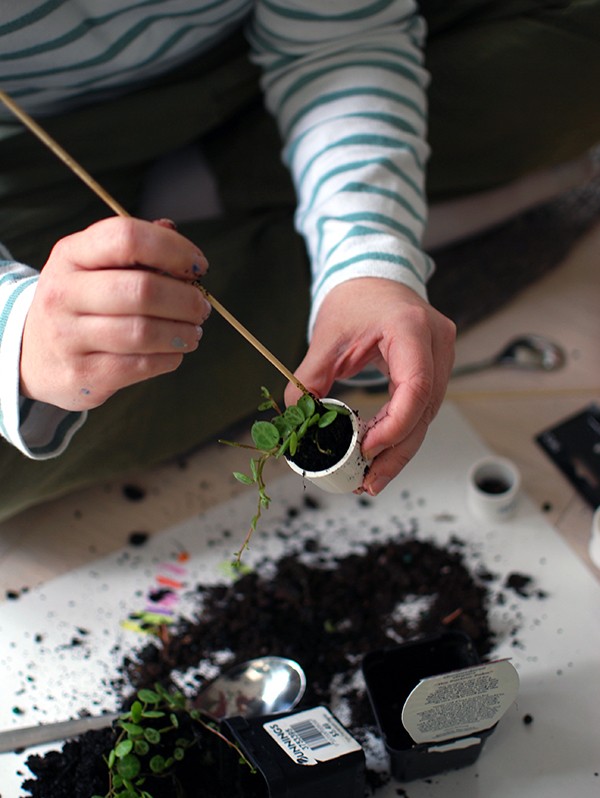
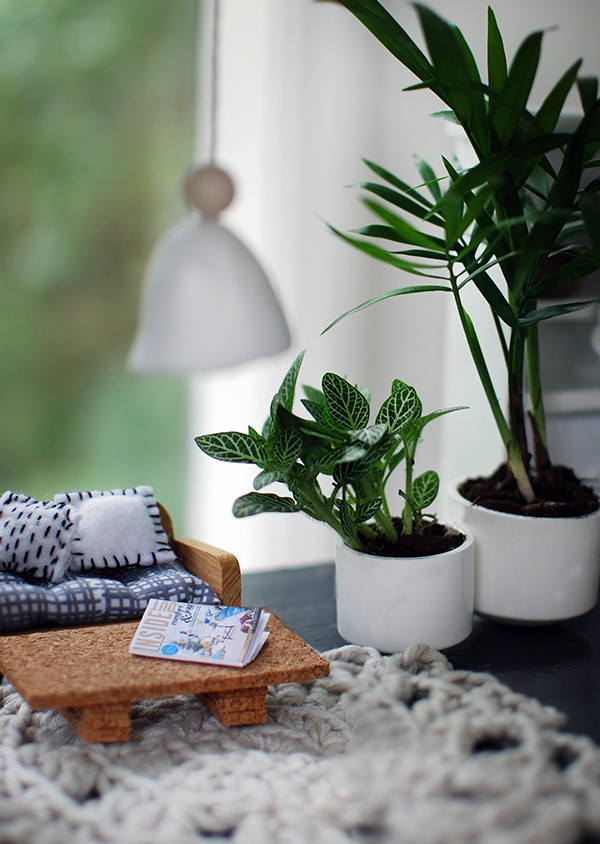
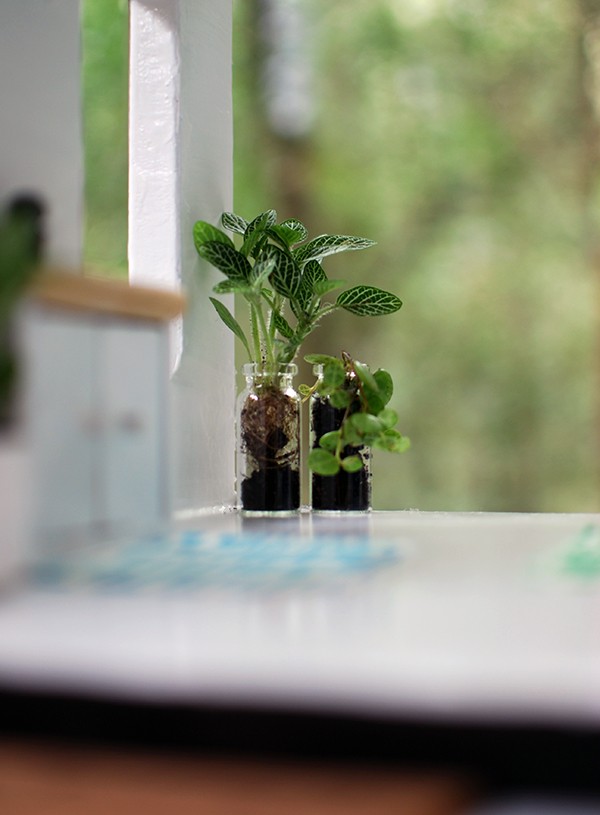
For the miniature plants, I headed to the terrarium section of my local nursery, and selected hardy plants with tiny leaves. Keep an eye out for the range of “Bottle Babies” Terrarium Plants by Paradisia. I used Sedum Little Missy succulents; Ficus pumila variegata; Fittonia Starlight; Peperomia prostrata; and Parlour Palm, which is one of the smallest species of palm trees.
All of these plants survive well under low light, making them ideal for use in a doll house. Because you’re dealing with small vessels, use tiny pebbles at the bottom for draining, followed by a layer of charcoal to keep the soil ‘sweet’, with potting mix on top.
Carefully divide up the plants, ensuring you keep the root ball attached. Use a skewer or toothpick to plant them in the tiny vessels, and top up with more potting mix.
If you look after your doll house plants, keeping the soil moist and out of direct light, they should last for quite a while! It’s a bit fiddly but loads of fun, and adds a fresh, on-trend detail to your doll house.
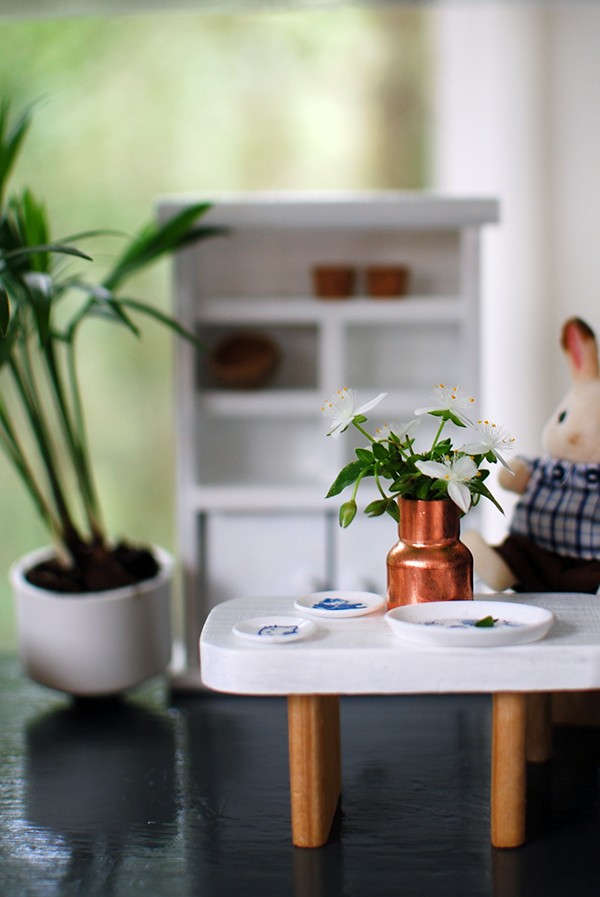
DIY Doll house Decor
Look around for things that will translate to the small scale of your doll house. You can also make a lot of your own furniture and homewares for your doll house. It will add a playful level of detail, and save you loads by avoiding expensive shop-bought doll house accessories.
Here are some of things you can re-purpose or make by hand for your doll house:
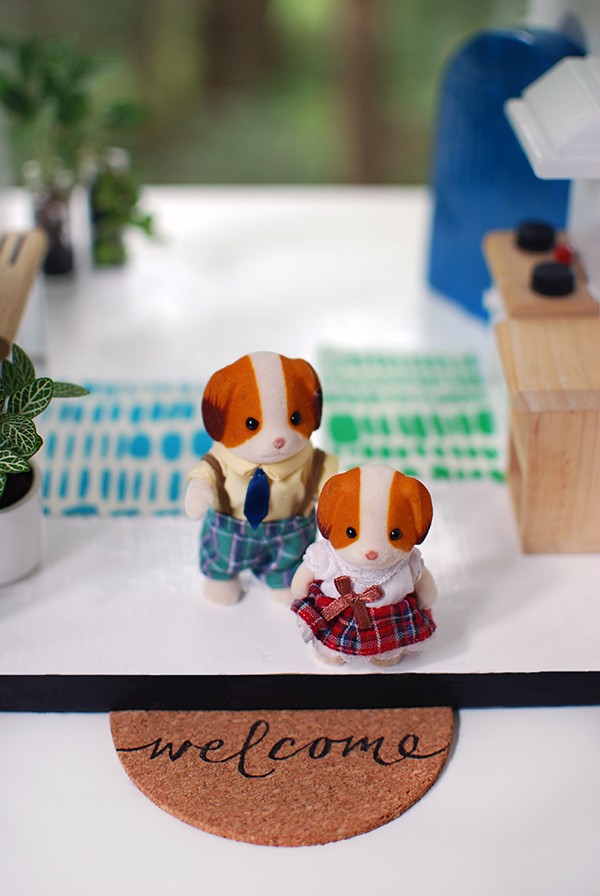
- For the front door, use a round cork coaster and cut it in half. Lisa wrote ‘Welcome’ on ours in her signature calligraphy style.
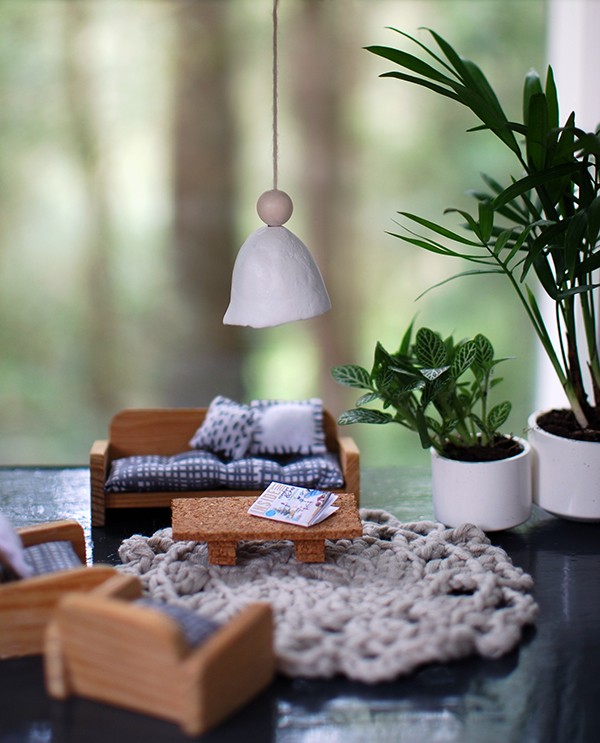
- Use a cork coaster for a low-lying coffee table. Simply cut out pieces and join them together with glue.
- Small fabric offcuts make good floor mats in the kitchen.
- Crochet your own rugs. Lisa made rugs for our living room, master bedroom and kid’s bedroom. Look at magazines and at interiors blogs (like ours!) and and see what’s around and replicate them in miniature.
- Gift tags and greeting cards are the perfect size for wall art.
- Make a miniature woven wall hanging by using a matchbox as the loom.
- Wooden toy blocks can be repurposed as bedside tables.
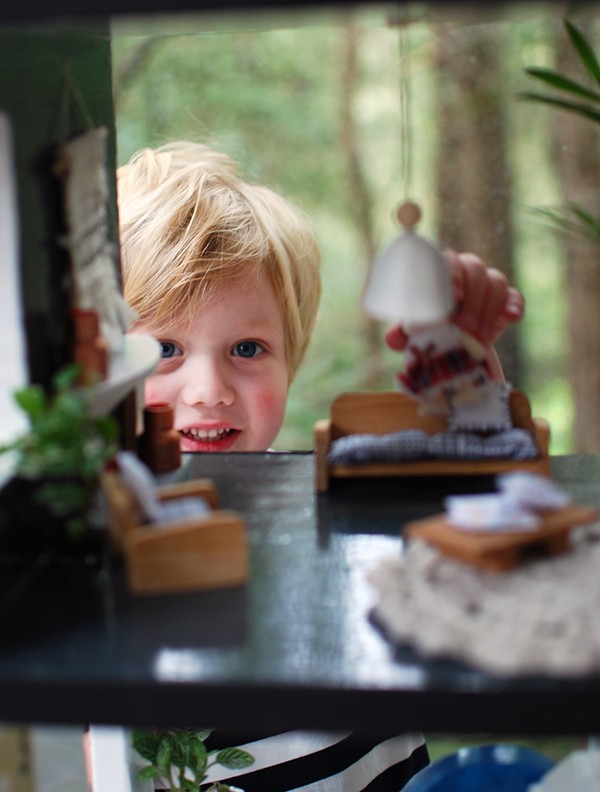
- Use a tiny white Christmas bauble as a hanging pendant light, like we did in the master bedroom.
- Get some air-dry clay and make your own pendant light by creating a simple pinch pot, topped with a wooden bead. Suspend it from the ceiling on twine, a small length of chain, or leather cord.
- Make a mirror for the bathroom vanity by repurposing a silver foil Christmas gift tag.
- Use the caps of acorns as miniature organic-style textured bowls.
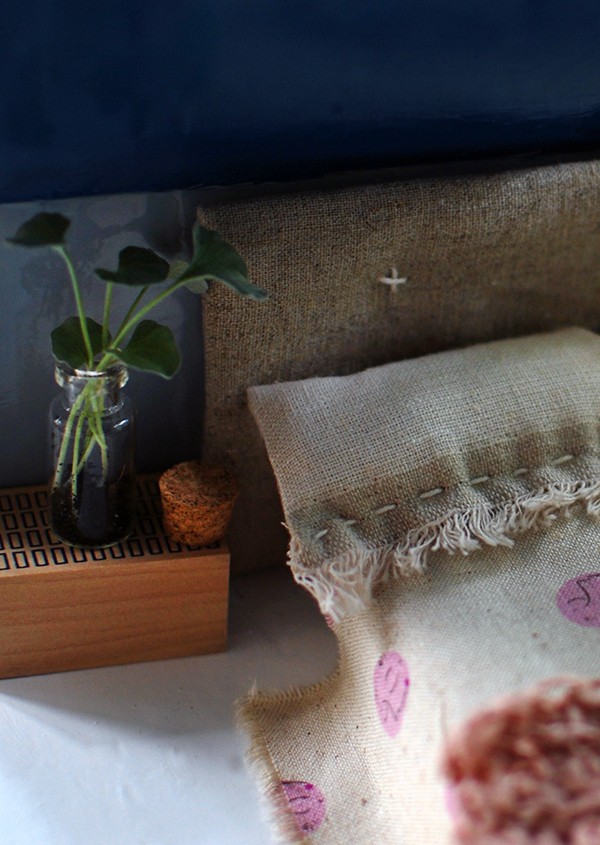
Small pieces of fabric go a long way. In the master bedroom, Lisa wrapped a piece of cardboard in linen and secured with double-sided tape to make a headboard for the bed. She added upholstery details with tiny cross stitches in natural thread.
The bed cover features torn and frayed edges, so there was no need to sew hems.
For pillowcases, Lisa made use of the frayed selvedge of the linen fabric and hand stitched along the edge as a feature. She folded in the outside edges and secured them with double-sided tape.
Lisa filled the pillows with soft toy filling, but you could make do with cotton balls. She closed the ends with small hand stitches, but for a quick and easy no-sew option, just close with double-sided tape.
Pieces of foam were used for the mattress, wrapped with co-ordinating print fabric. So sweet!
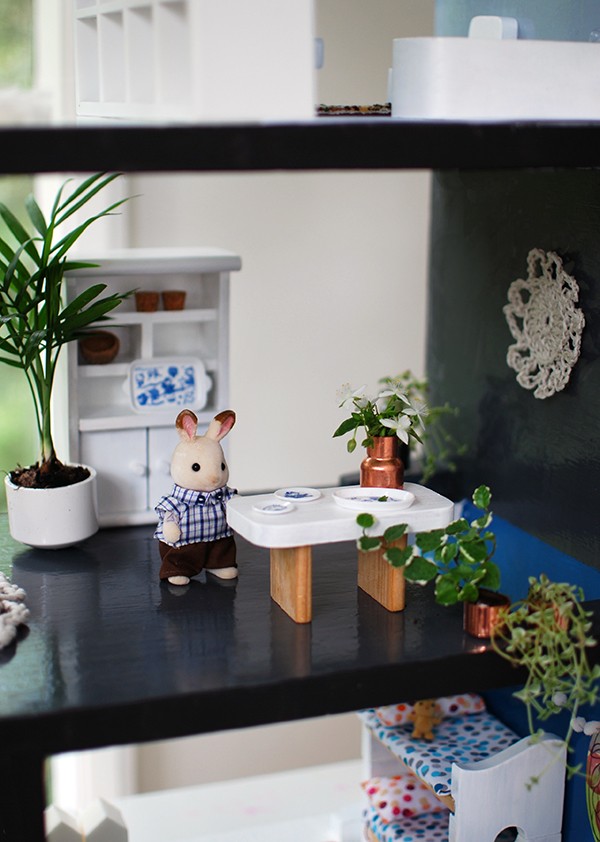
In the living room, Lisa made the sofa upholstery in the same way as the pillows for the bedroom. The tiny cushions on the sofa are made from white felt and stitched with black embroidery floss.
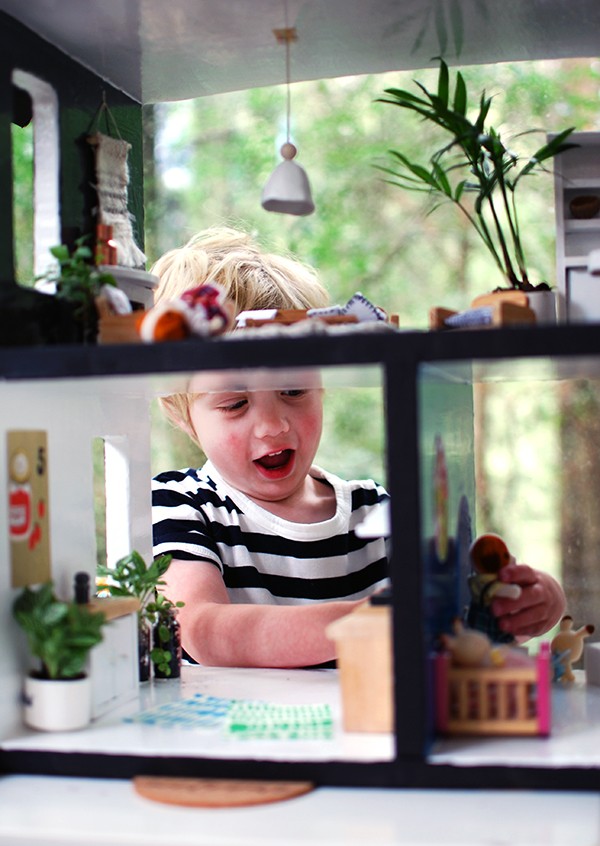
That’s it! Your revived doll house is complete and ready for play! We hope you’ve enjoyed seeing how to paint a doll house and make it amazing. Check out #WhiteKnightRevive’s video tutorial for turning shelves into a dollhouse below.
You can find more #WhiteKnightRevive video tutorials here:
Front porch repaint
Deck rescue
Kitchen refresh
Drum to desk DIY
Colourbond fence refresh + bonus vertical garden project
Chair makeover
Bathroom refresh
Bathtub to sofa DIY
DIY Christmas tree
For more information on White Knight, go to www.whiteknightpaints.com.au.
After more inspirational DIY projects? Click here for all our step-by-step craft tutorials.
By Rebecca Lowrey Boyd and Lisa Tilse for We Are Scout.
All photography and styling by Lisa Tilse, for We Are Scout.
Disclosure: This is a sponsored post in collaboration with White Knight. We only partner with brands that are a good fit with our blog, our aesthetic and what you, our readers, enjoy. Content and concept, product selections, words and opinions are all our own.
