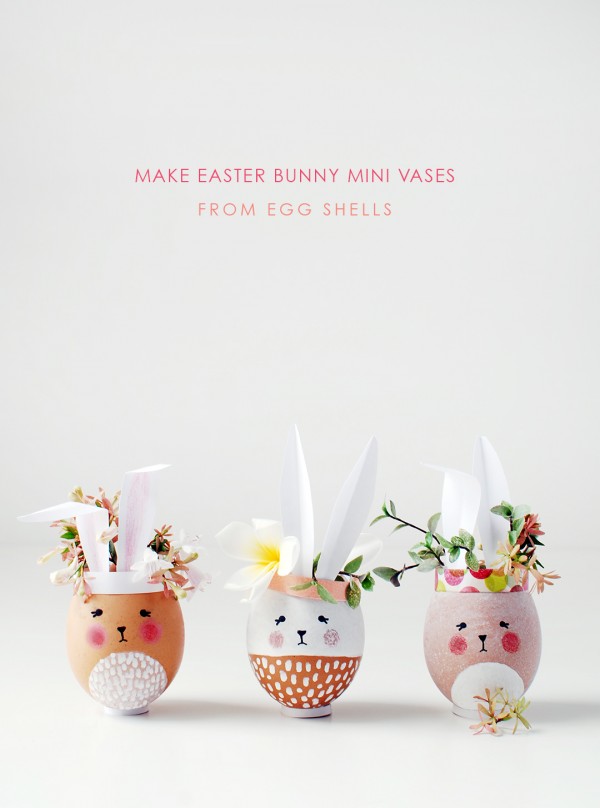
Time to get going with Easter craft ideas, Scouts. Could there be anything cuter for your Easter table than individual Easter bunny vases filled with tiny flowers at each place setting? Well, maybe a real live baby bunny would be cuter… but bunnies are for life kids, not just for Easter!
Start saving your egg shells and make these adorable mini vases for Easter decorating. They’d also make sweet Easter gifts if you pop some soil in them and make them into miniature planters.
Materials
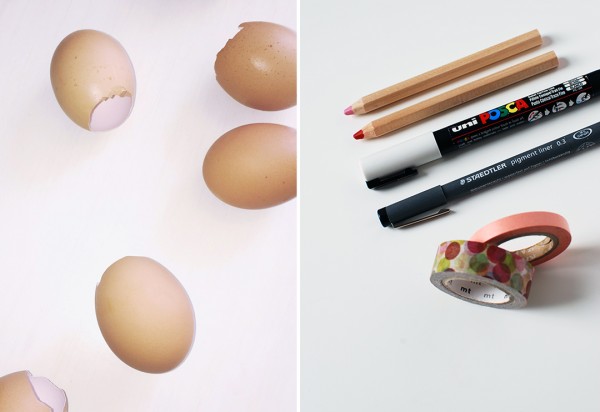
Eggshells
Black marker
White paint pen
Pink and red coloured pencils
Washi tape
White office paper
Tiny flowers and leaves
Let’s get started
Collect eggshells
Next time you’re cooking with eggs open them close to the top. Tap a sharp knife on the egg gently a few times until it cracks. Then take the top off using a sawing motion. You can be more accurate cutting this way.
Add the eggs to your cooking and wash the shells thoroughly. Leave them upside down to dry completely.
Draw your bunnies
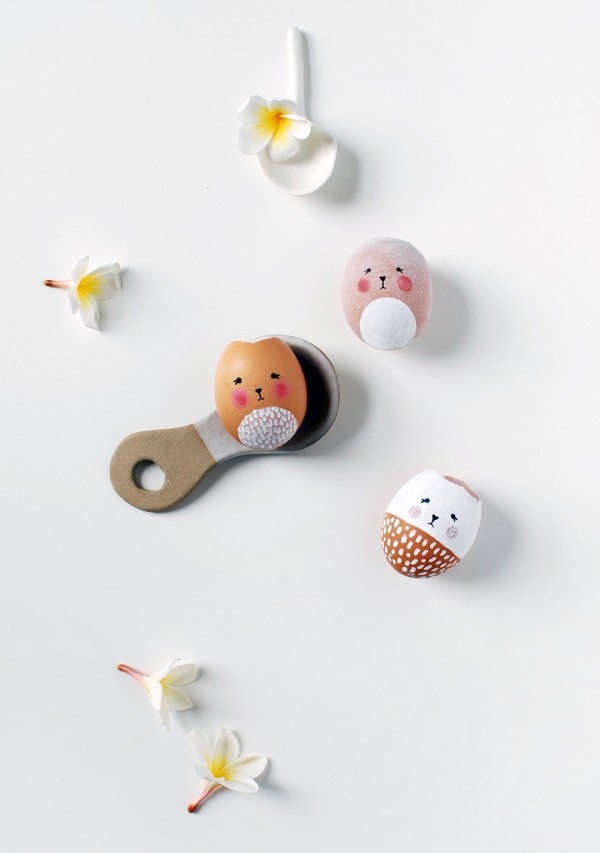
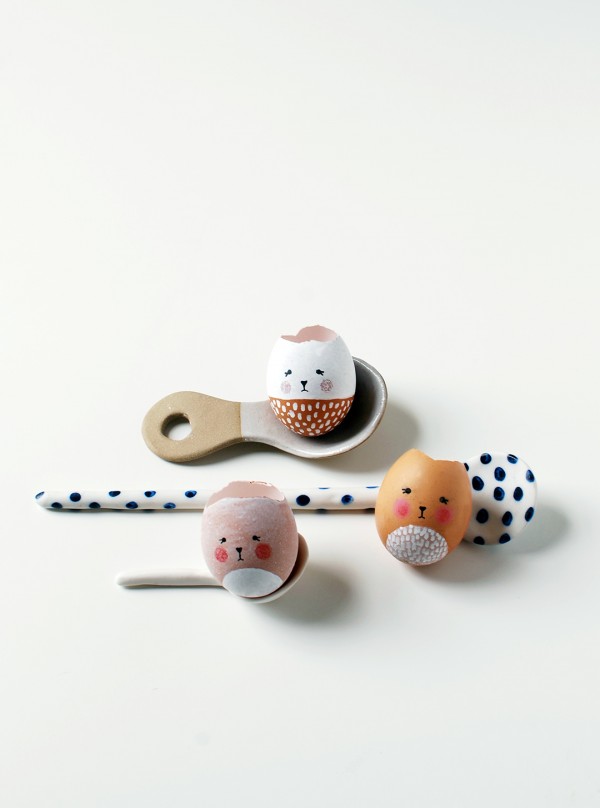
I made three different kinds of Easter bunnies.
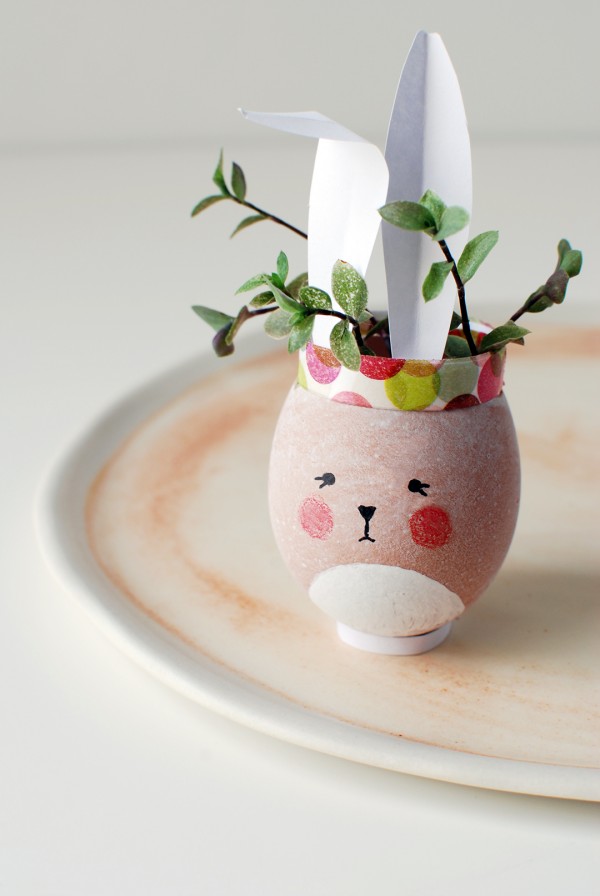
Bunny One (in the centre of the photo above)
1. Start by drawing two circles for the eyes, then add two lines to the outer corners of each eye.
2. Draw a triangle for the nose, then draw the vertical line below it and the mouth.
3. Using the pink pencil draw a circle below each eye and colour them in. Then colour the centre of the circle in lightly with the red pencil.
4. Draw a large circle for the tummy with the paint pen. While it’s wet blot it lightly with a tissue to make it lighter. Allow to dry.
5. Draw short white strokes over the top of the tummy circle, and set your egg aside to dry.
Bunny Two (at the top of the photo above)
1. Colour the entire egg in with white paint pen and blot to make the white slightly transparent. You could use white acrylic paint instead if you like.
2. Follow the steps above to draw the eyes, nose and mouth.
3. Use the red pencil to draw a circle below each eye and colour them in.
4. Draw a large circle for the tummy with the paint pen, colour it in, and set your egg aside to dry.
Bunny Three (at the bottom of the photo above)
1. Draw a line around the centre of the egg to divide it in half. Colour the top half in with white paint pen and allow to dry.
2. Follow the steps above to draw the eyes, nose and mouth.
3. Use the pink pencil to draw a circle below each eye and colour them in with little strokes. The pencil will scratch off bits of the white paint and the colour of the egg will show through.
4. Draw short white strokes over the bottom half of the egg, and set it aside to dry.
Make the ears
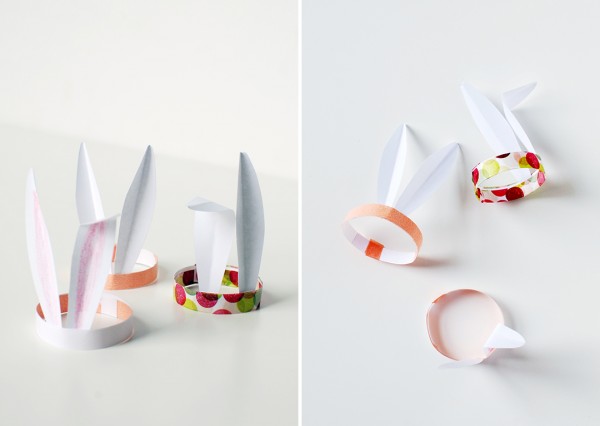
The bunny ears are attached to little headbands which you can decorate with washi tape, make with coloured paper, or just leave them white.
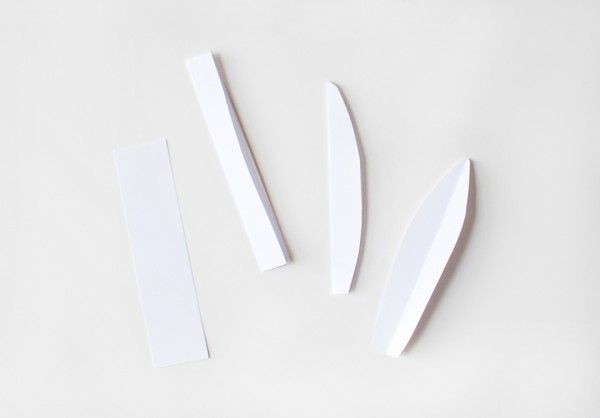
Cut the ears. For each ear cut a piece of paper roughly 6.5cm (two and a half inches) x 2cm (three quarters of an inch) and fold it in half. Then cut the ear shape and open out the fold.
Cut the headbands. Cut strips of paper about 6mm (quarter inch) wide x 11cm (5 inches) long.
Attach the ears to the headbands. Attach the bottom edge of the ears to the back of the headband using tape. The ears should be roughly in the centre of the headband strip. Cover the headband with washi tape if you want to. Now measure the headband on your egg and make it into a circle to fit. Join the ends with tape and trim off the excess headband.
Make the stands
The egg stands are simply small rings made of paper. Cut strips of paper about 3mm (eighth of an inch) wide and make circles about the size of a ring you’d wear. It will take a little trial and error to make the right size for each egg.
Assemble your Easter Bunny mini vases
If you’re using these on your table you can make sure they don’t topple over by placing a very small piece of BluTac on the bottom of each egg / the centre of the stand. They will stand on their own but better to be safe than sorry on the table!
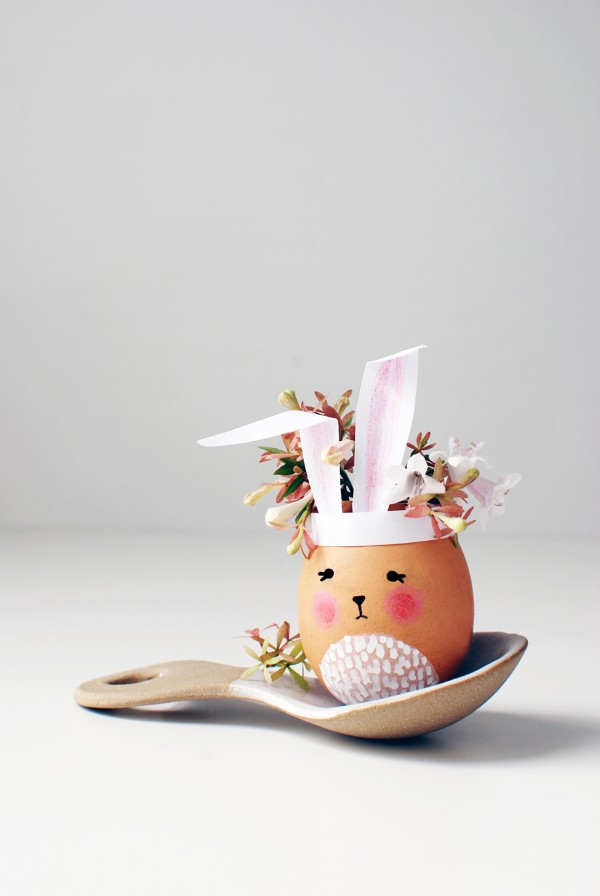
Pop the ears on your bunny then add a selection of tiny leaves and flowers. You can put water in the mini vases if you wish, but for the duration of an Easter lunch the little blooms would be fine without it.
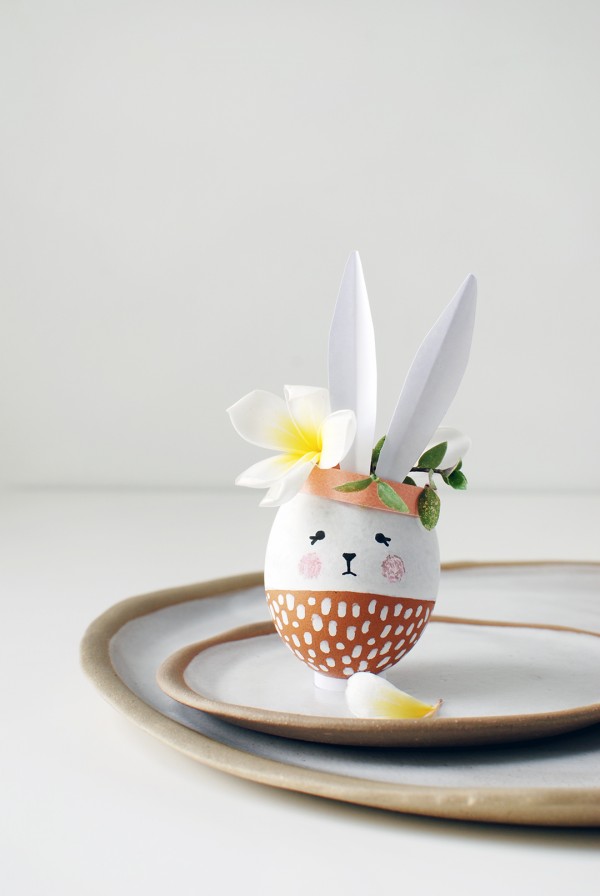
You could scatter little leaves or flowers around the vases, or add name for a place setting on a tiny piece of card. Or line them up on a window sill, shelf or mantle for an adorable little vignette.
If you’re looking for Easter craft ideas you might like some of my other ideas: mini hanging succulent garden made from eggshells, Easter Bunny softies from socks, and a sweet Easter Bunny costume. And download our free printables: cute carrot Easter treat cone and Easter bunny treat cone. Or, for something fun to bake and decorate try our watercolour Easter cookies. Yum!