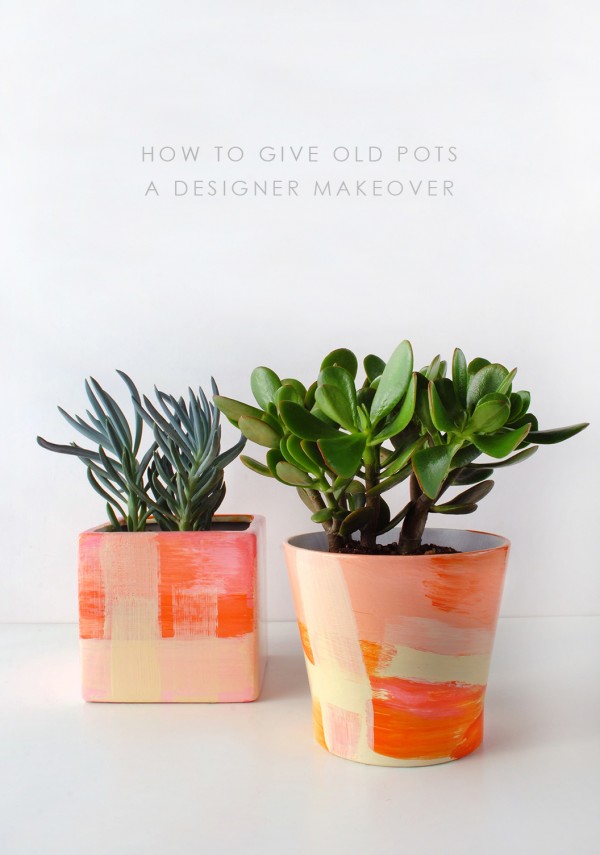
This tutorial combines two of my current passions: indoor plants and fabulous ceramics. I have a growing collection of ceramics, and while I’d love to be able to house all my plants in handmade pots, sadly my budget won’t stretch.
So I decided to make my own unique plant pots by upcycling ugly thrifted pots and bowls. The resulting planters are totally transformed and on trend, decorated with big painterly brush strokes.
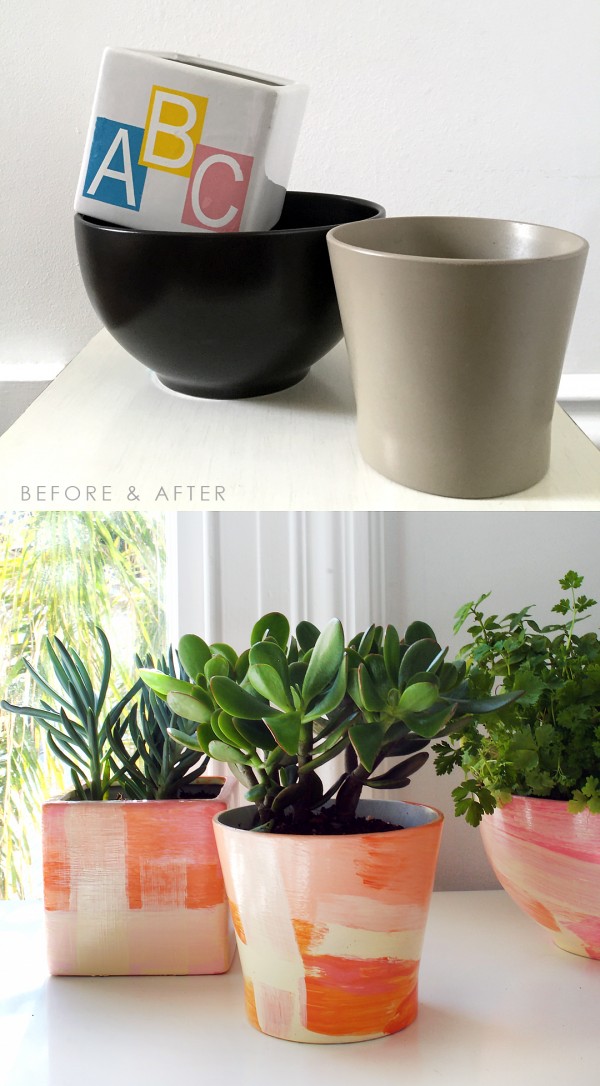
I spent a total of $9 on two ceramic pots and a large, deep bowl – take a look at the photo below to see just how ugly they were! After some fun, bold painting, I now have two gorgeous planters for succulents and a lush herb garden to brighten up my kitchen and living space. Let me show you how easy it is to make your own…
Materials
Pots, bowls or other thrifted vessels
White Knight Grip Lock Primer and ‘Splashes’ paint
3cm (1 inch) wide paint brush
Mixing pallet (a paper or plastic plate, or a large plastic lid are good options)
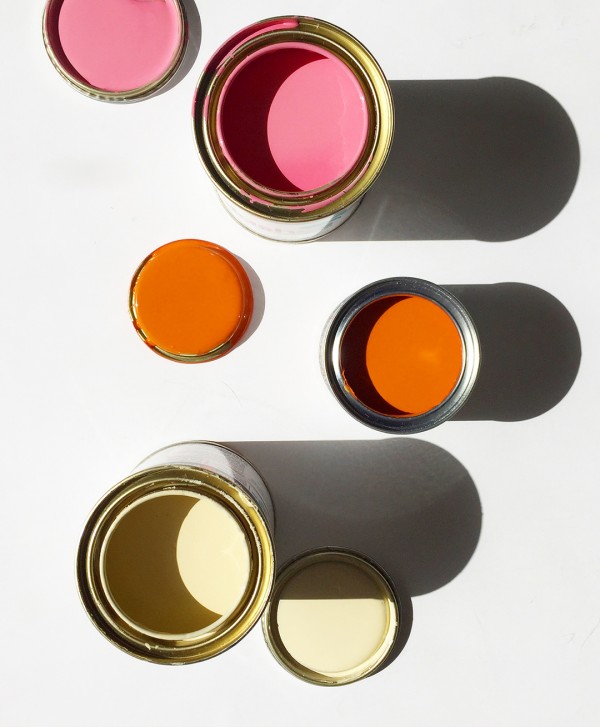
White Knight ‘Spashes’ is a water based, quick drying and has a durable gloss finish which makes it perfect for this project. It’s ideal to use on ceramics, old enamels, glass, fibreglass, and laminates. I used cream, orange, pink and white, and created other tonal colours by mixing them together.
Let’s get started
1. Prep the surface of the plant pots
Thoroughly wash each pot to remove any dirt or grease and set them aside to air dry.
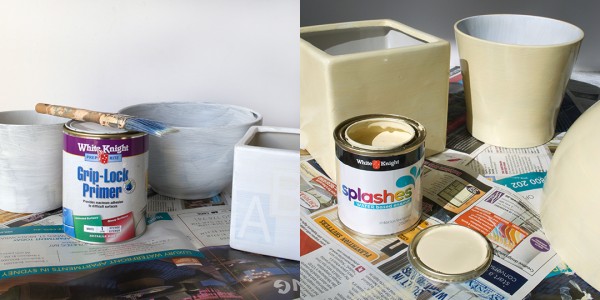
Paint the pots with primer and allow to dry. Don’t be tempted to skip this essential step – the primer is designed to provide exceptional adhesion for your paint on glossy and hard surfaces.
2. Paint the base colour
Give each pot a coat or two (if needed) of cream paint. ‘Splashes’ gives an effortless smooth, even result so you can’t even tell that the pots have been painted.
3. Decorate with broad brush strokes
Start with orange paint. The aim is to have visible brush strokes, so wipe the excess paint off your brush before you begin painting.
Paint long horizontal and diagonal strokes around the pot, leaving about half of the base cream colour showing, and allow to dry.
Next add additional colours one at a time. I mixed roughly equal parts of pink, orange and white to make soft peach, and made light pink with white and pink.
Using strong confident strokes paint over parts of the orange, making sure your brush strokes start and finish in different places to the orange ones. I didn’t wait for the paint to dry when applying these additional colours, as I wanted some mixing to occur as I painted. The finished effect should be layered and look textural.
Don’t over do it – remember to leave some of the cream base colour showing.
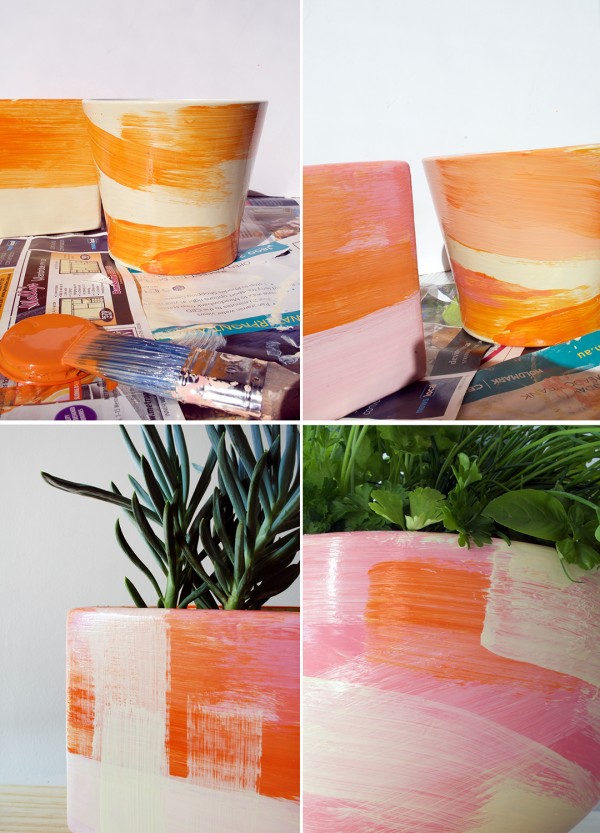
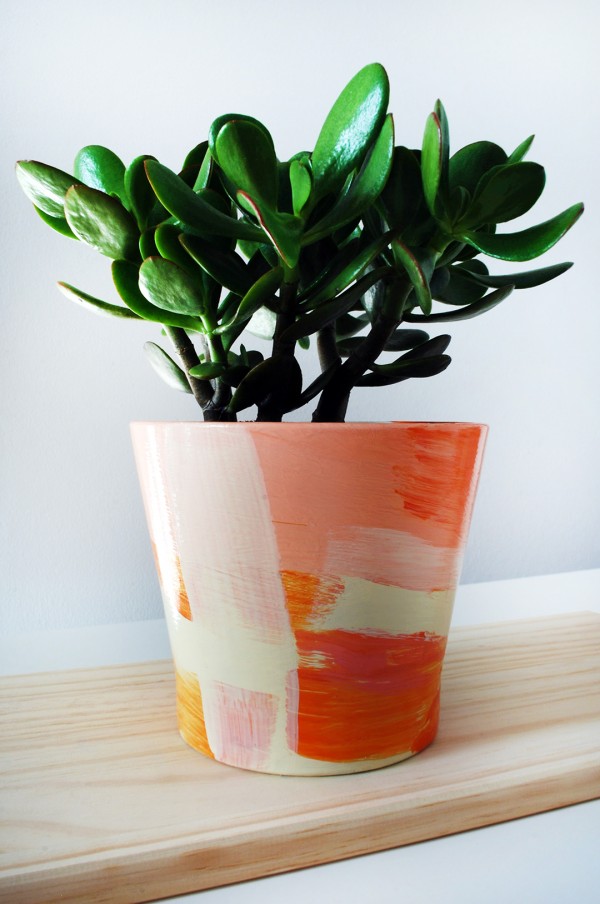
When the paint is dry, add some final stokes in cream and/or white, remembering not to load the paintbrush with too much paint. A couple strokes in opposing directions will add dimension and movement, and they’ll create depth if you’ve been a bit heavy handed with colour. The single white vertical brush stroke on the pot below adds a finishing touch.
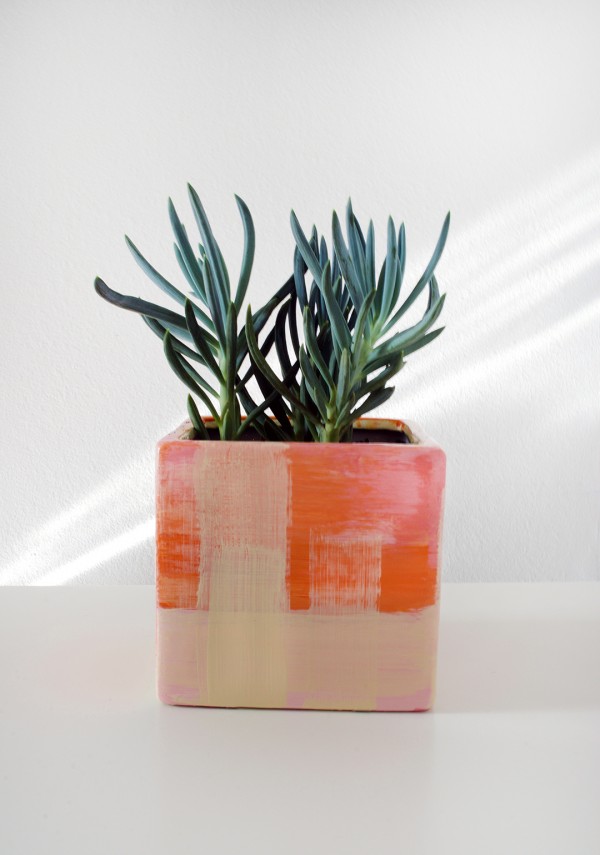
When you paint take into account the shape of the vessel. For the square pot I kept my design linear to compliment its shape and to add further contrast to the roundness of the other pots.
4. Add plants
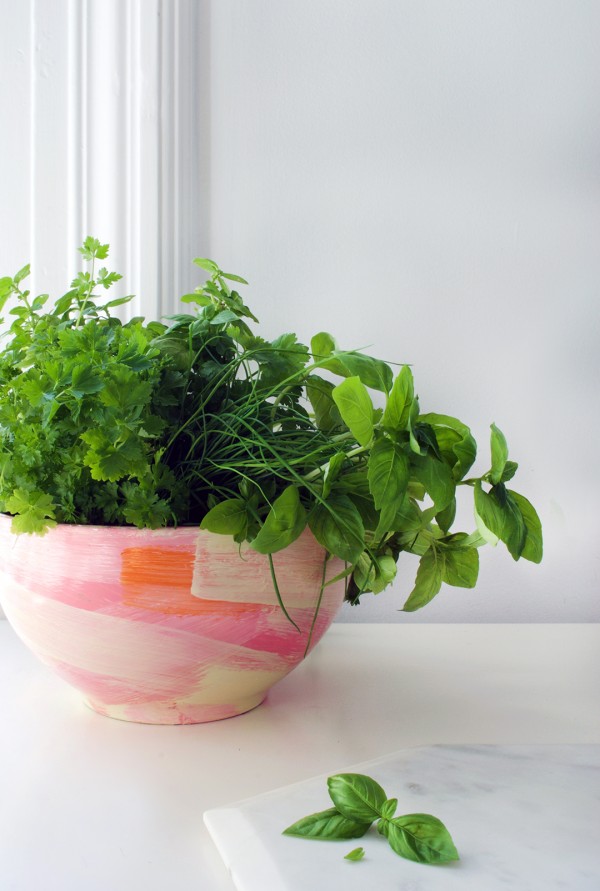
When the paint is thoroughly dry you can add plants to your pots. Choose plants that work with the size and shape of the pots. I planted the two smaller ones with succulents, and grouped herbs in the deep bowl to create a lovely, bright herb garden for my kitchen.
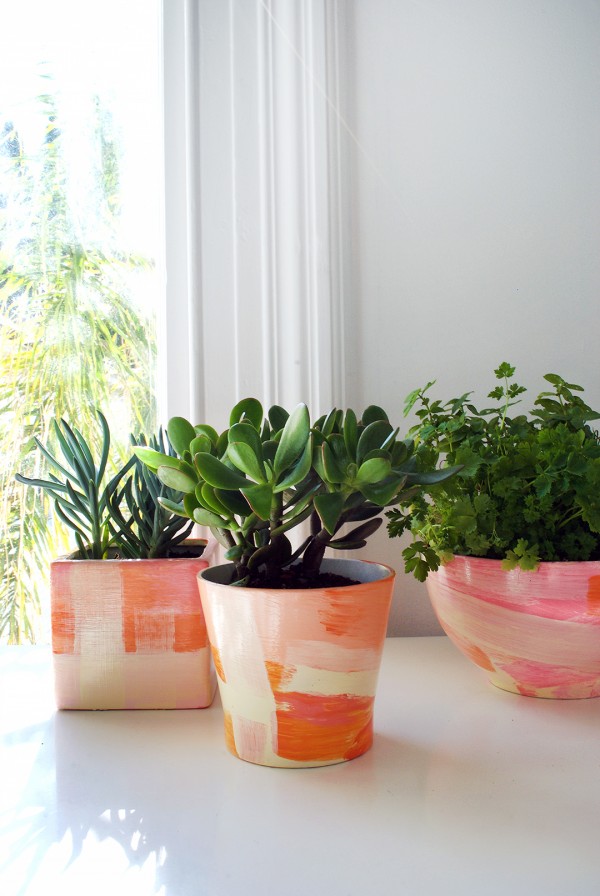
And voila! On trend designer pot plants which look fabulous and new, without a hint of their humble past.
Next time you drop by a garage sale or an op shop pick up some ugly duckling pots and bowls and give them a new lease of life.
Disclosure: This post was produced in collaboration with White Knight. We only partner with brands that are a good fit with our blog, our aesthetic and what you, our readers, enjoy. Content and concept, product selections, words and opinions are all our own. Thanks for supporting the brands that allow us to keep on Scouting.
All photography and styling (except inspiration images) by Lisa Tilse, for We Are Scout.