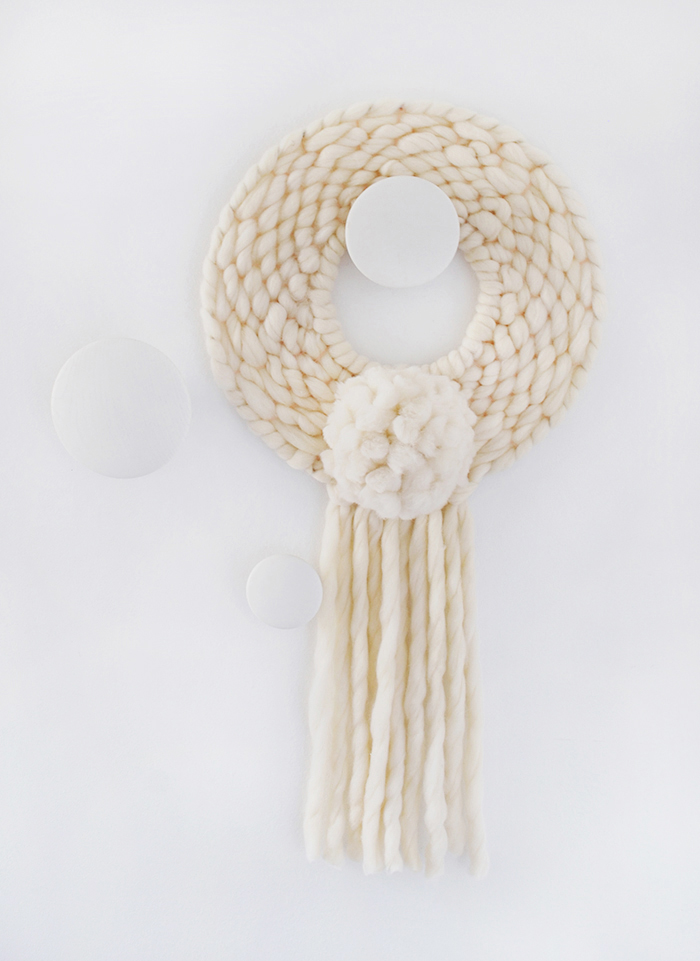
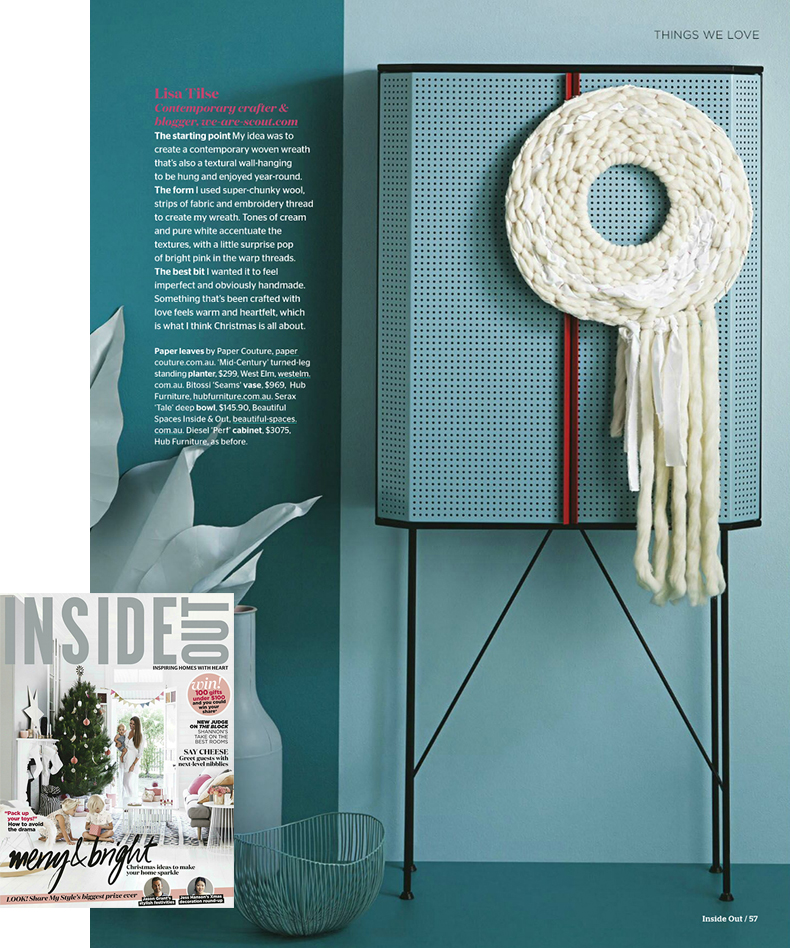
When Inside Out magazine asked me to create a wreath for their Christmas issue this year I wanted to make something that would have a life beyond the festive season. I got some super chunky wool and started to weave… then loved it so much that I made a second one.
These two woven chunky wool wreaths are now hanging in my apartment and they won’t be packed up with the baubles in the new year.
Are you ready to get creative? Let me show you how to weave a round wall hanging that’s also a modern Christmas wreath.
How to weave a round wall hanging
You’ll need:
Two metal craft hoops measuring 20cm and 45cm diameter
Wool roving or super chunky wool yarn. I used a skein of “Super-Duper” wool from Lincraft. Length 26m, 220g, for use on size 20mm needles.
Strips of white fabric abut 6cm wide – optional
Embroidery floss
Scissors
Let’s get started
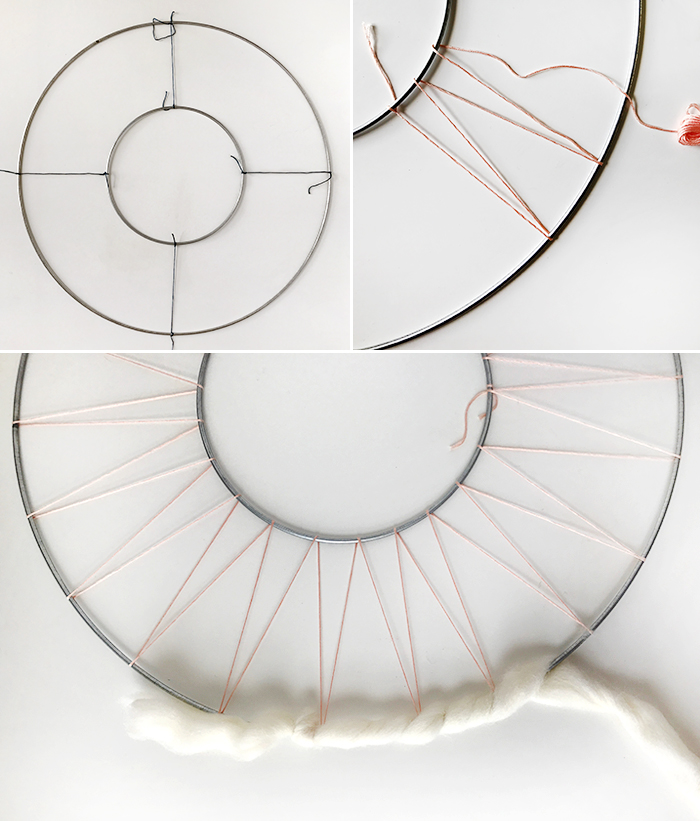
1. Tie the two hoops together with yarn or thread as shown below left. The thread will be cut off so use scraps if you wish. The threads should be taut and tied with double knots.
2. Tie the embroidery floss to the small hoop with a double knot. Wind it in a figure 8 to join the two hoops (see photo below right). So, pass the thread over the top of the big hoop, around and under it. Then over the top of the small hoop, around and under it. Continue to work your way around the whole circle.
3. Tie a length of wool to the outer hoop with a single knot. The wool length should be about 2.5 times the circumference of the large hoop. Now wind the wool around the large hoop so it’s completely covered.
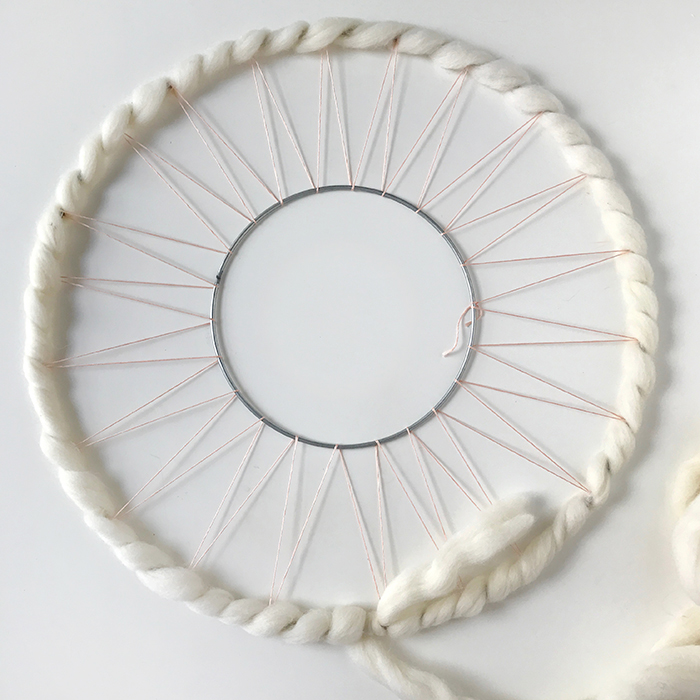
4. Tuck the tail of the starting knot to the back, and start weaving around the circle. Don’t pull the wool tight. It looks much better and more textural if the wool is loose.
6. When you run out of wool, tuck the tail to the back of the weaving – see photo below left. Take a new piece of wool and tuck the tail into the next space, so that there is an embroidery floss ‘weft’ running between the old piece of wool and the new one.
7. Continue to weave around the circle.
8. If you want to add more texture weave in strips of white fabric as you go.
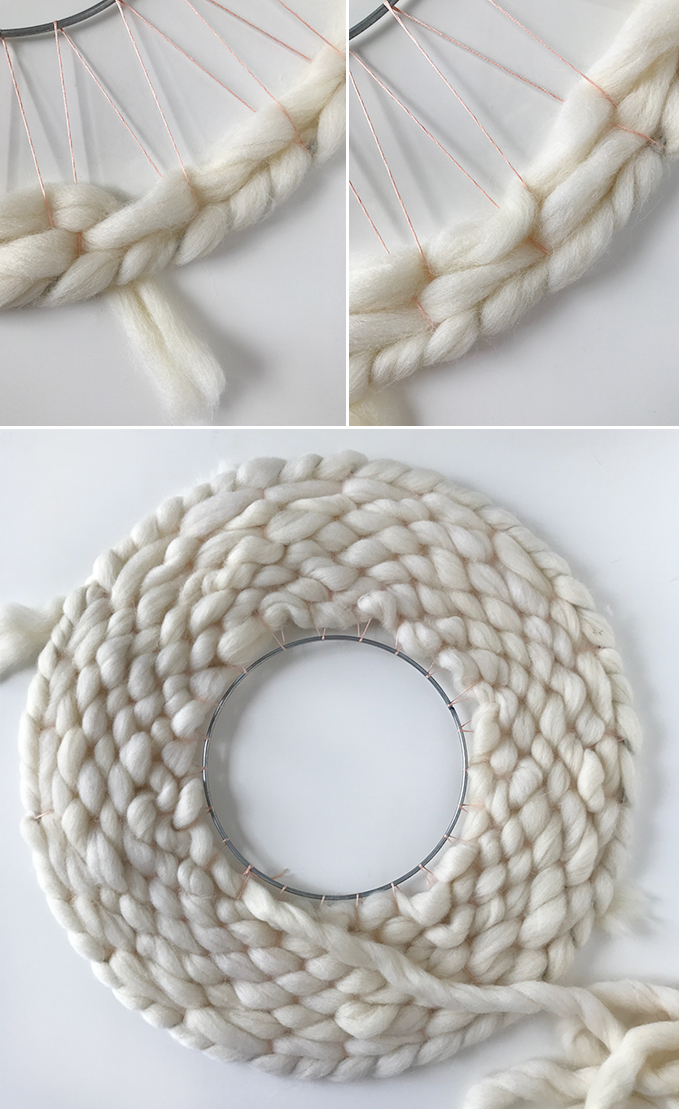
9. When the space between the hoops is filled finish weaving level with the place you started.
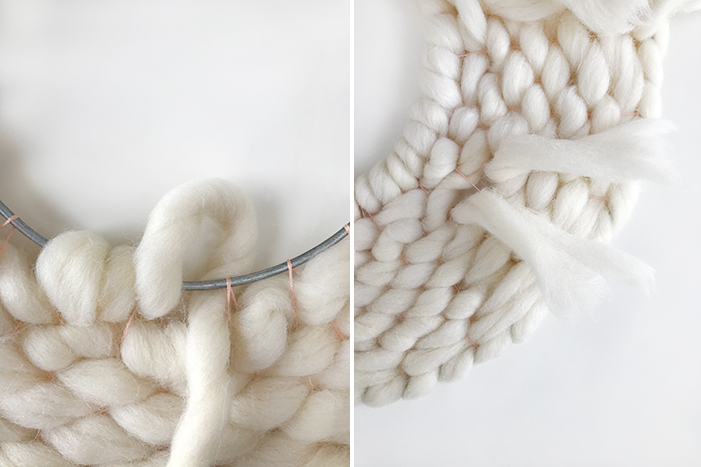
10. Cover the small hoop by wrapping the wool around it (photo below left). Wrap two or three times between each piece of embroidery floss so the ‘stitches’ are close together.
11. When the inner hoop is covered finish by leaving the tail at the back of the weaving.
12. Finish off all the ends. Turn the weaving over to the back is facing you. Where you changed wool there will be two tails next to each other, separated by a piece of embroidery floss (see photo below right). Simply tie the two ends together in a double knot. Then weave the ends along a row over to hide them.
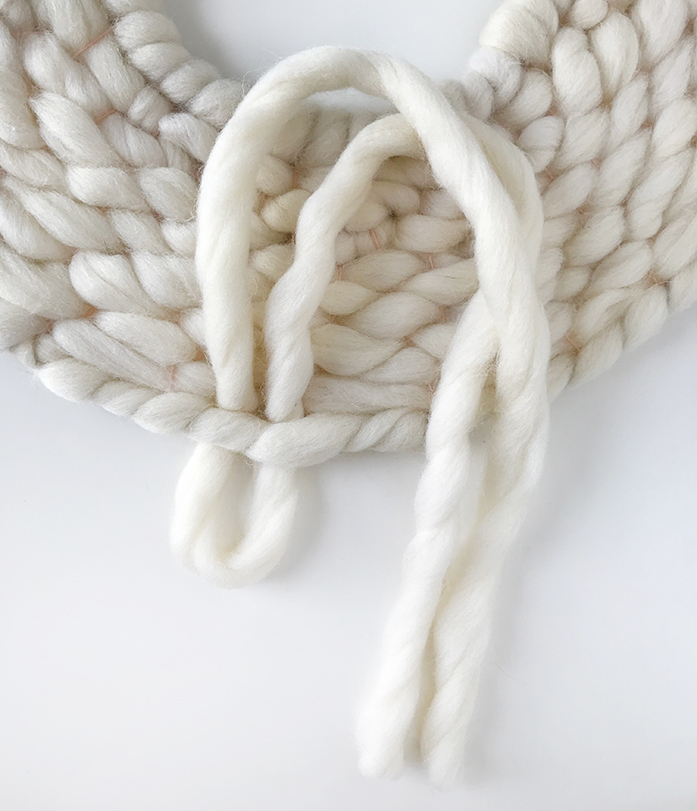
13. Add a fringe. Turn the weaving over again so that the front is facing you. Cut lengths of wool, and fabric if you’re using it, and fold them in half. Thread the folded part down and under the large hoop – as shown below. Then thread the two tails through the folded loop. Pull the loop to tighten it. Add more pieces to complete your fringe.
14. Put a pom pom on it! Make a super chunky pom pom by winding wool around and around your hand. Cut the wool off your hand so you have a pile of wool lengths. Tie a long piece of embroidery floss tightly around the centre of the lengths of wool to tie the bundle together. Fluff the pom pom out and trim it into shape. Tie it onto the wreath using the embroidery floss.
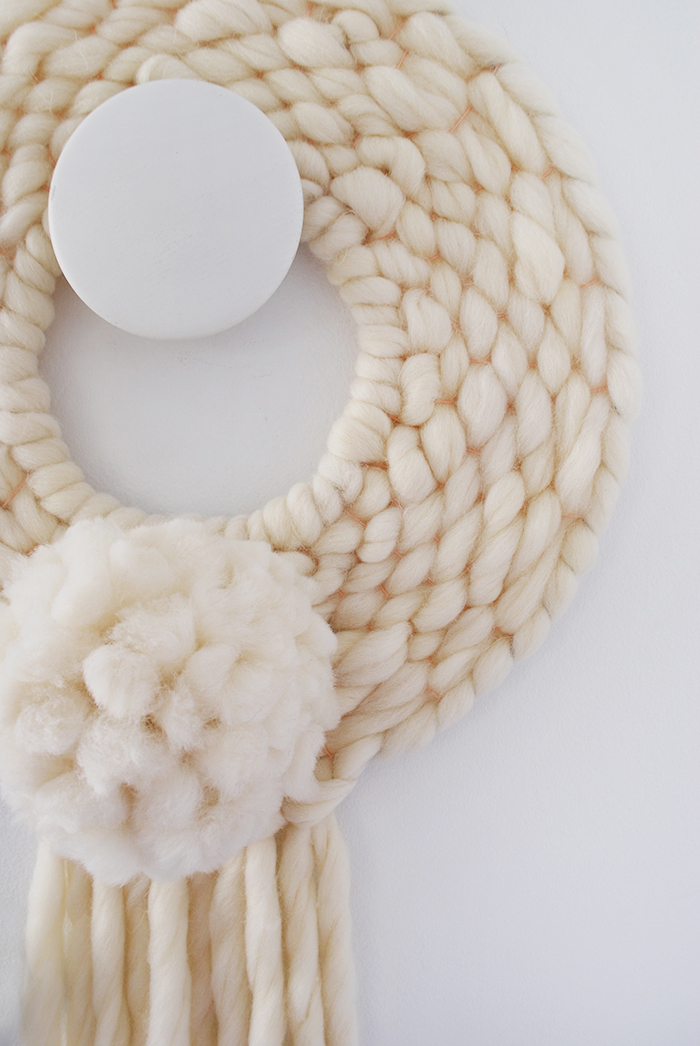
And that’s it! It really is much easier that you thought right?
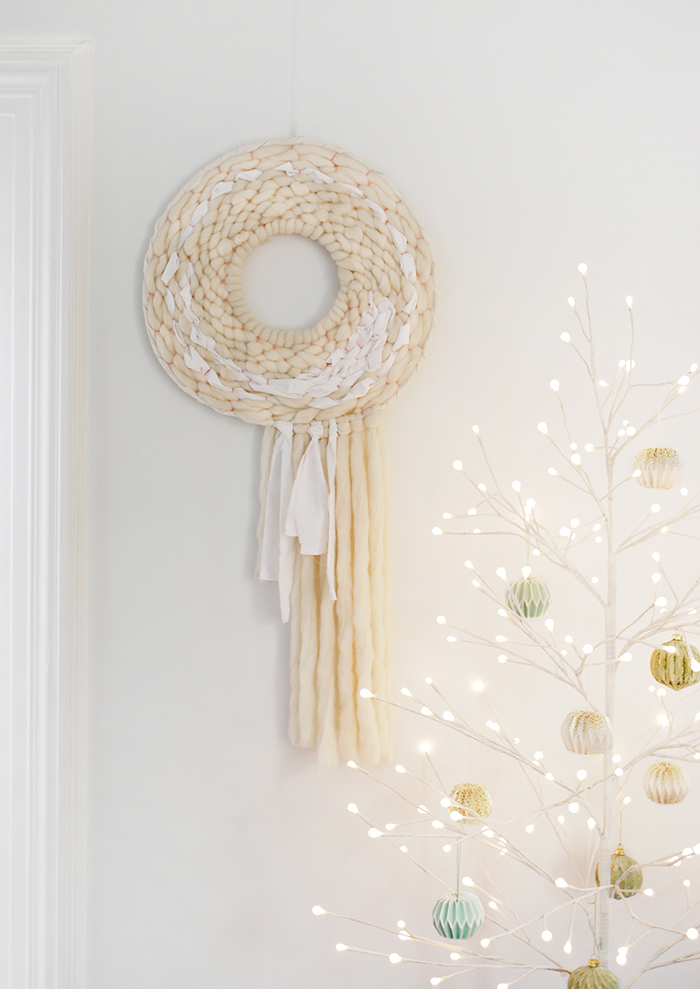
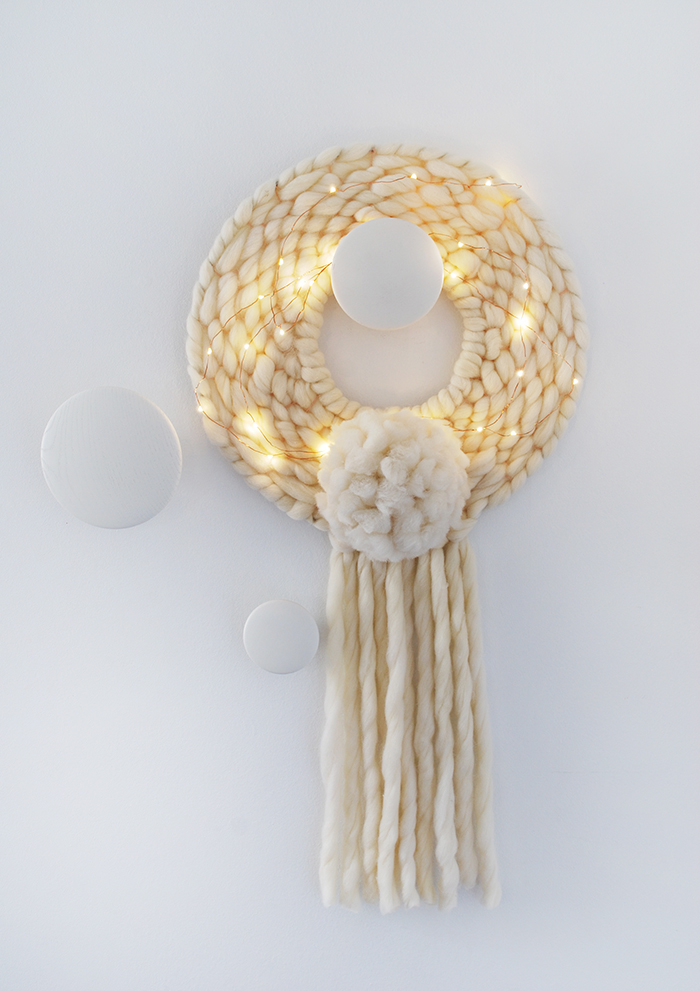
Hang your wreath and after the festive season leave it on the wall and call it a wall hanging.
If you make this or any other of my craft and DIY projects I’d love to see them! Please share on Instagram and tag me @we_are_scout_lisa and use #wearescoutcraft
If you’re after more craft tutorials take a look at the archives – there’s plenty of ideas to keep you busy! Happy making.