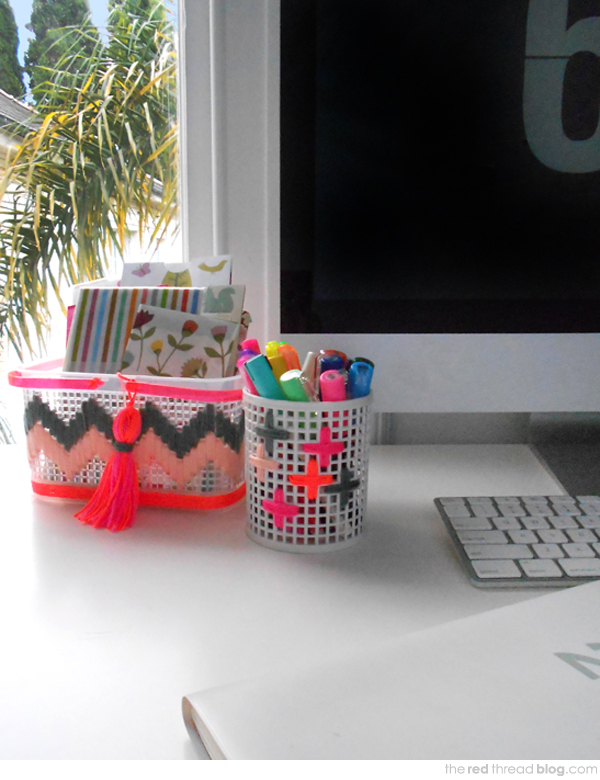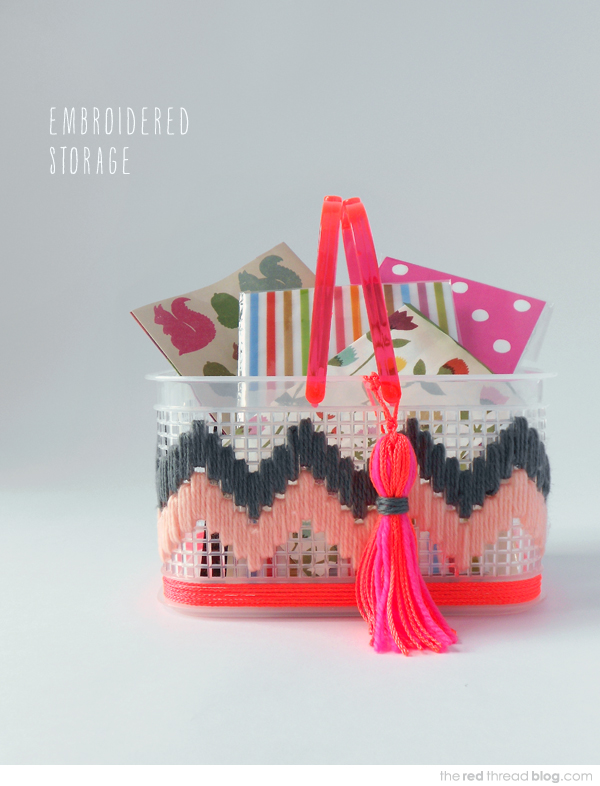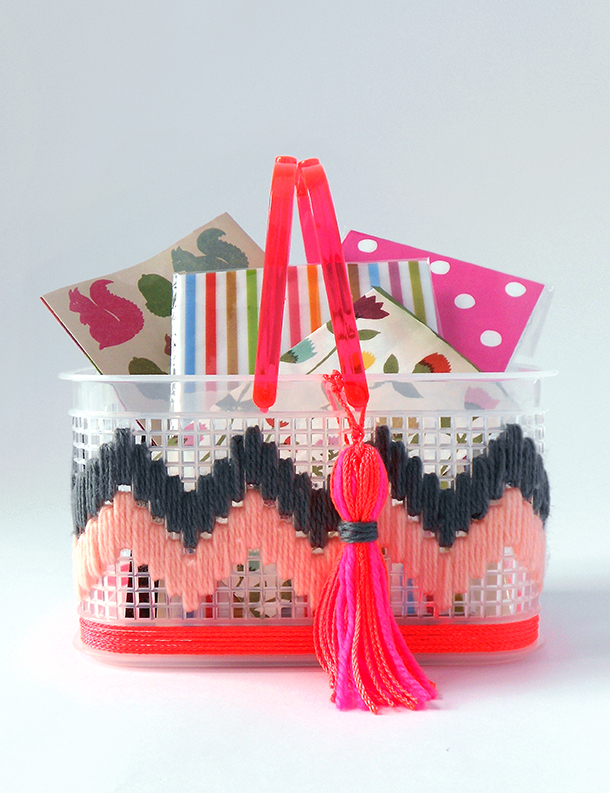
I created these embroidered desk accessories to add a pop of colour to my workspace – a neon tassel always helps too. Easy and inexpensive, they are a great way to make something unique for yourself or as a handmade holiday gift. It would make a gorgeous gift together with some bought or handmade stationery, some washi tape and some lovely pencils. Or even home baked treats.
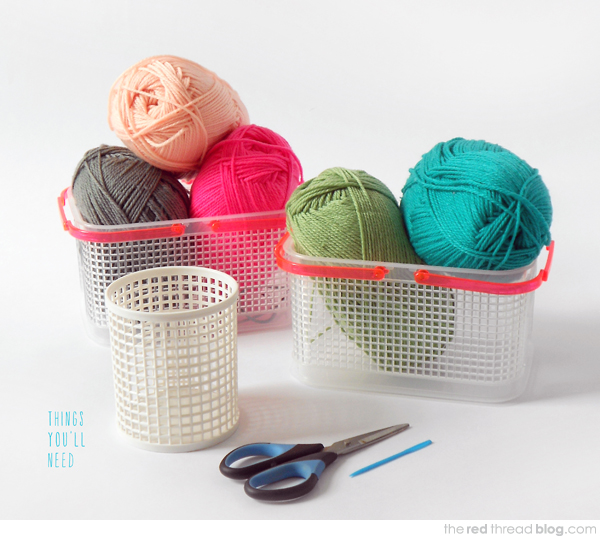
To make embroidered desk accessories you’ll need
Plastic storage containers with holes in a grid pattern. I bought mine from Daiso for $2.80 each.
Coloured yarn
Yarn needle (one with a big hole)
Scissors
Graph paper
Ok, let’s get started on the embroidered chevron container
1. Count the holes on the front of your container and draw a box to the corresponding dimensions on the graph paper and mark the centre.
Start from the center and work out. That way your design will be symmetrical. My chevron stitches are 3 squares deep with a gap between the two colours.
2. When you’ve worked out how the design will fit on your container start from the left hand edge.
Cut a long piece of yarn – the longer the better without it getting tangled and hard to work with – and thread the needle.
Tie the yarn around one of the dividing bars that will be in the center of your first stitch. The stitch covers 3 holes, so I tied the yarn onto the second bar. Your needle and the tail of the yarn should be on the inside of the container.
3. Bring the needle out through the top hole to start the first stitch.
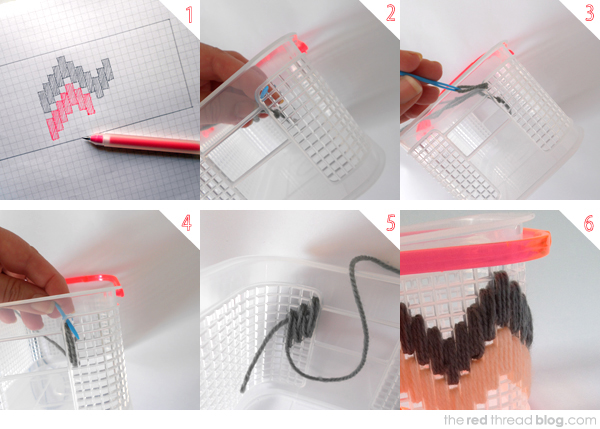
4. Count three holes down and take the needle through to the inside of the container. To fill the holes I made three stitches, you may need to add more depending on the thickness of the yarn and size of the hole. As you are stitching hold the tail over to the side and cover it with the stitches as you go.
5. Continue stitching, making sure you’re covering the tail and following the pattern. When you need to change yarn finish by tying off the existing yarn on a bar within your stitch pattern and tie on the new yarn, making sure when you start stitching again that both tails are covered by the new stitches (just like when you began).
6. The stitches will have a vertical gap between them. When you’ve completed the first colour, go back to the left hand side and start the second one.
7. I finished my storage box by wrapping some neon thread around an indent in the base and adding a neon tassel. Take a look at my tassel tutorial if you’d like to make one.
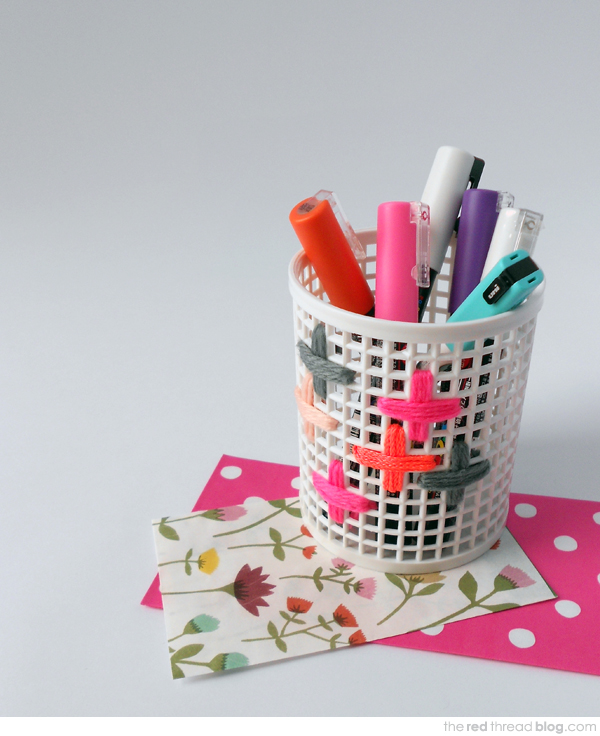
Pencil cup
I followed the same basic steps with randomly placed crosses. If you make a cross design make sure the top stitches on each cross run in the same direction. On my example all the horizontal stitches are on top of the verticals.
Fill up your storage containers with whatever you need to get off your desk – receipts, notepads, lists – or think of something lovely to include for a unique handmade gift.
