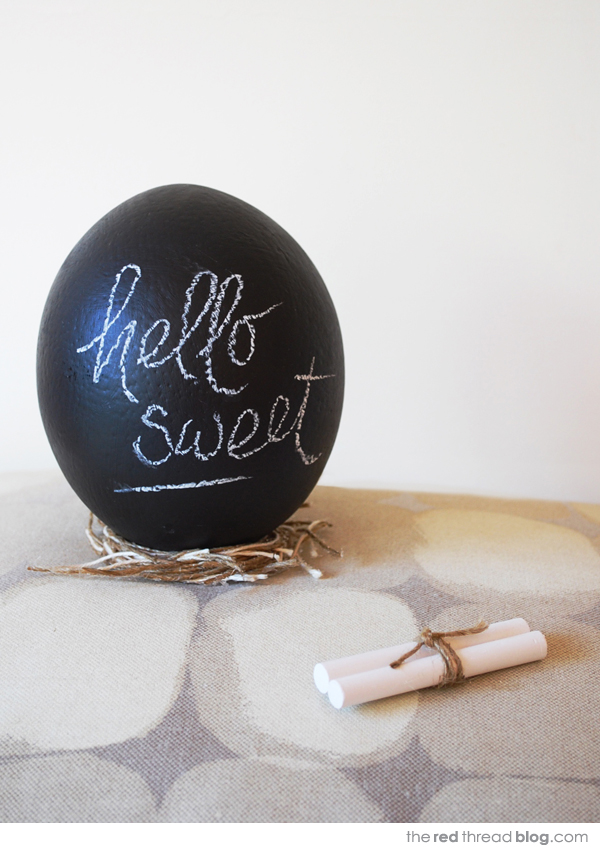
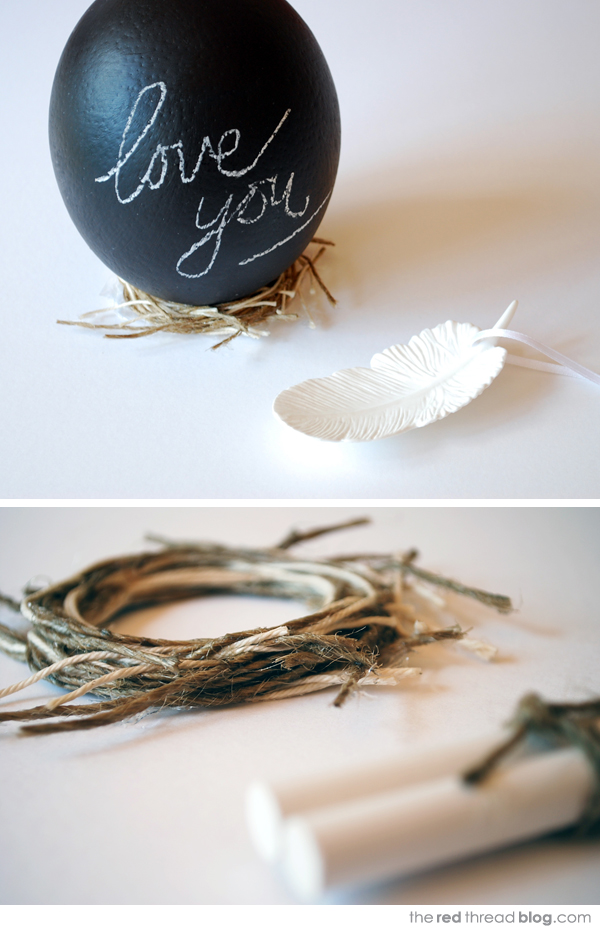
Here’s a fun idea for a chocolate-free Easter gift: chalkboard eggs complete with a nest and chalk. Some years ago I used to make and sell these chalkboard ostrich eggs – but as I am focusing on other things now I thought I’d share a mini tutorial with you. Ostrich eggs are hard, sort of like porcelain, so they are very strong, but will smash if dropped. They are a good size for writing little notes on and they make a great gift with the nest stand.
There’s nothing to stop you using chicken eggs, but your message area will be much smaller and they won’t have quite the same impact as the big and beautiful ostrich eggs. I bought my eggs from Angie’s Eggs here in Australia. If you’re elsewhere try doing an internet search for ostrich egg shells, or egg decorating supplies.
 Let’s make chalkboard eggs!
Making the nest
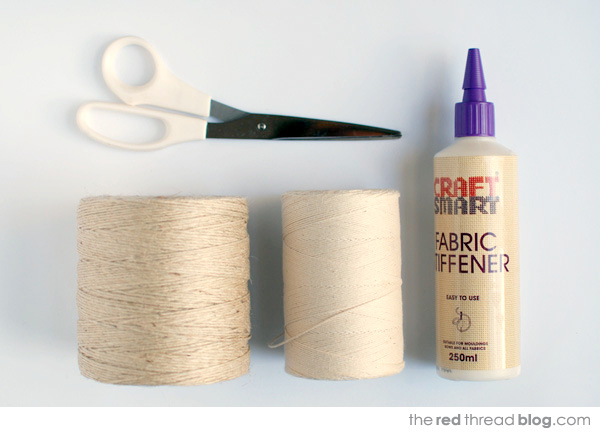
To make the nest you’ll need two to three different types of twine – choose ones that vary in colour thickness and width – and some fabric stiffener. Also some scissors and cling wrap.
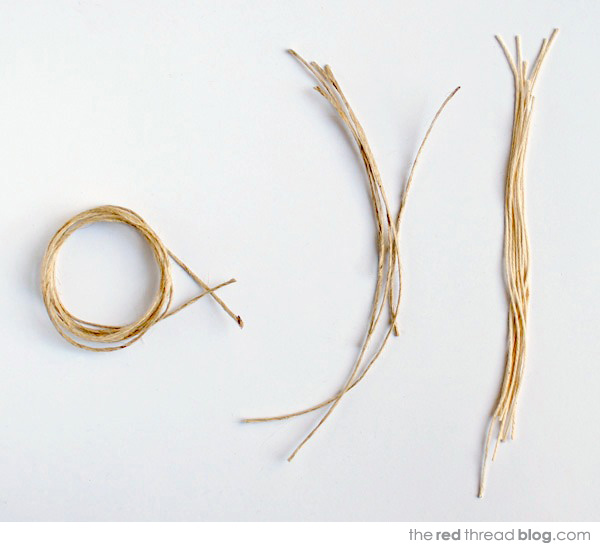
The size you cut the twine to will depend on what size egg you’re using. You’ll need to cut one long piece of twine and wrap it around and around your fingers to form the base. My nests have a diameter of about 6.5 cm (just under 3 inches) and the twine length is about 100 cm (39 inches). Test the size by placing the egg on top. If the egg isn’t supported cut another long piece, coil it up and place it on top of the first one.
Cut at least 10 pieces each of the two types of twine. Vary the lengths of the pieces between about 13 – 18 cm (5 – 7 inches).
Spread a piece of cling wrap on your work surface. Pour the fabric stiffener into a bowl and dip the coil into it, making sure it stays coiled and is completely soaked. Squeeze off the excess fabric stiffener and place the coil on the cling wrap.
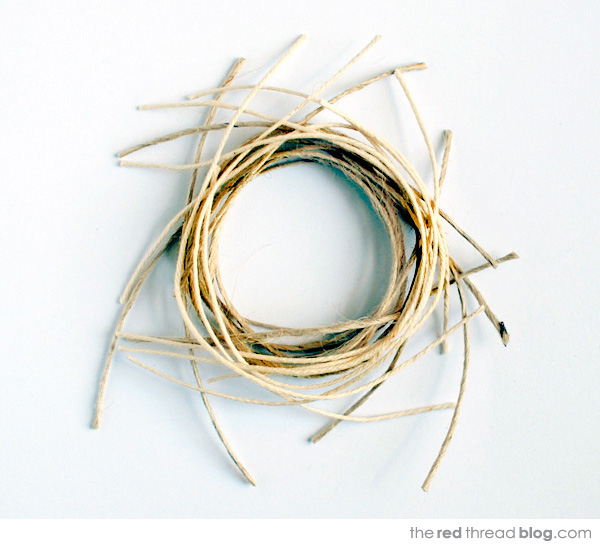
Dip the pieces of string into the fabric stiffener, then lay them on the cling wrap. One at a time place the string lengths on top of the coil base, leaving the ends sticking out at random lengths and intervals.
(The photo below shows how to arrange the string, but it hasn’t been soaked in fabric stiffener)
When you’re happy with the nest put it aside to dry, preferably in the sun or a warm spot. Depending on the air temperature it may take a day or two to be completely dry.
When the nest is dry cut off any excess dry fabric stiffener with a small sharp pair of scissors.
Painting the eggs
Make sure the eggs are completely clean and thoroughly dry.
To get a good coverage you will need two to three coats of chalkboard paint. As with all painting a number of thin coats are better than a thick one. You can rest the egg on a curtain ring to paint all of it except the base. Then the next coat flip the egg over and paint from bottom to top. Or insert a skewer into the hole and secure it to the hole with Blu-Tac.
Give some chalk
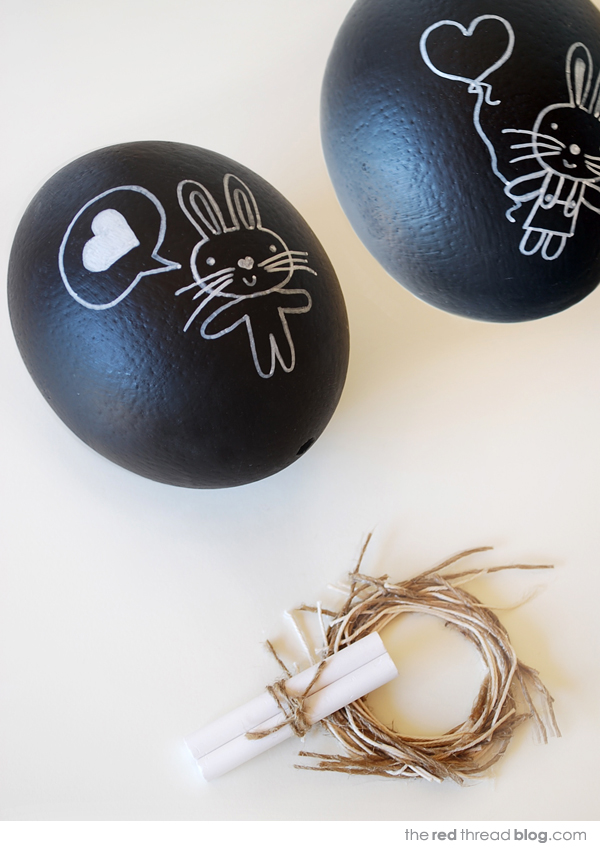
Wrap twine around a couple of pieces of chalk to include with your chalkboard egg gift.
Add a message
Draw a picture or write a message on the egg. You can use a paint marker to add a permanent message on one side of the chalkboard egg, like I did with the bunnies in the second top image.
Buy a nice sturdy gift box and scrunch up tissue paper inside and you’ll have a truly unique Easter gift that’s been made with love.
