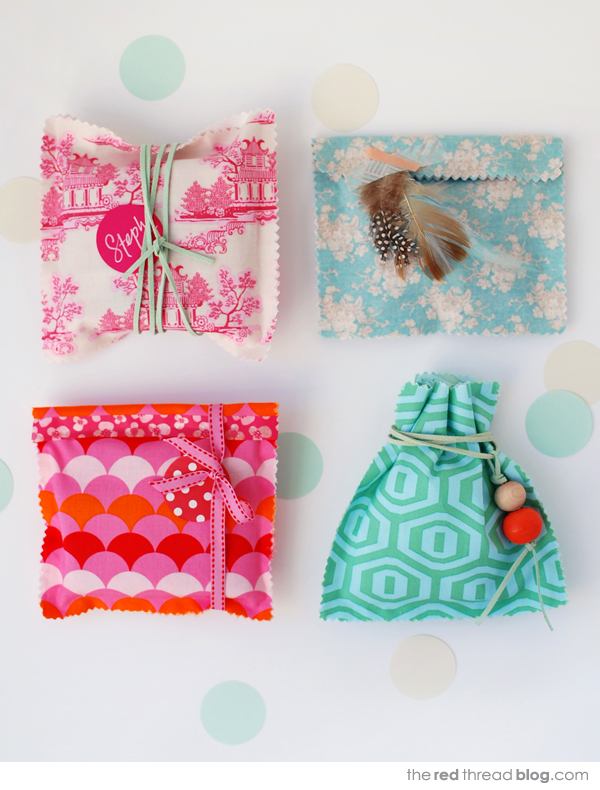
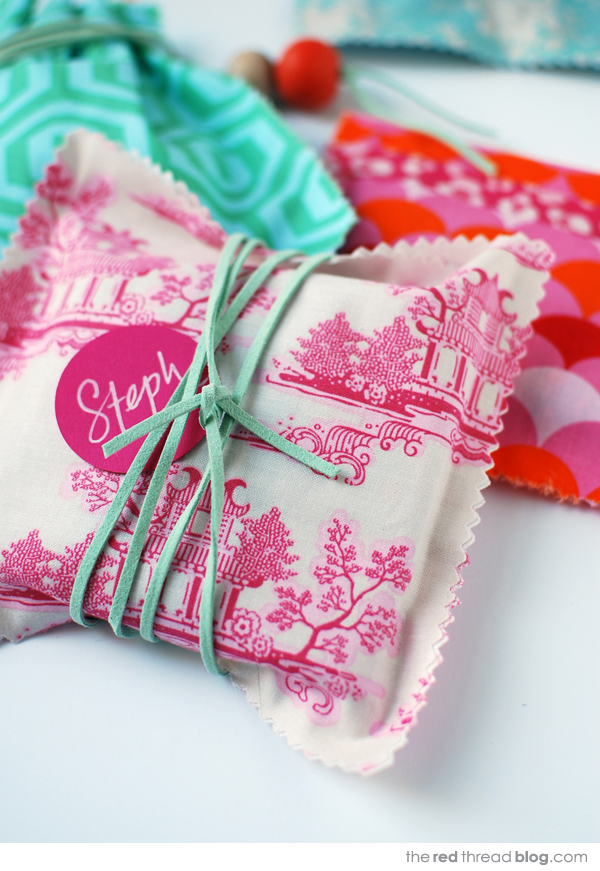
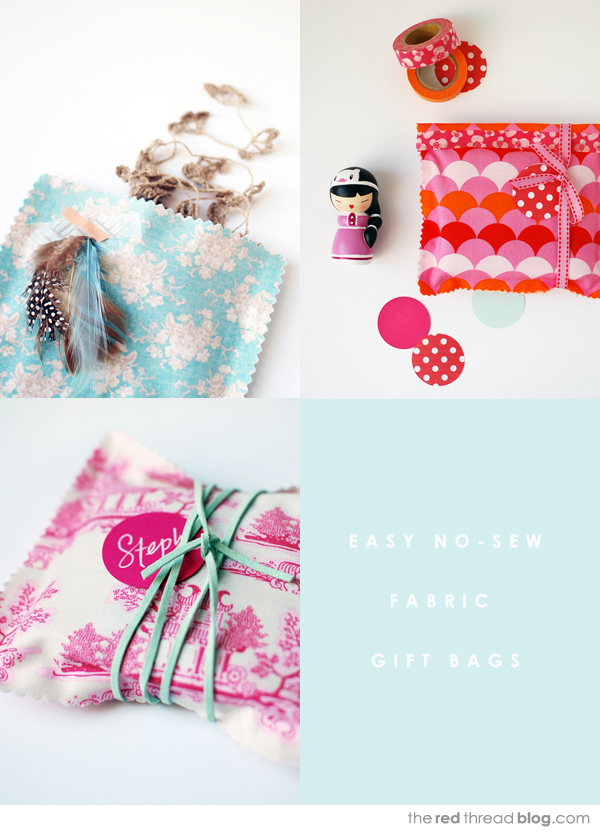
I’m delighted to tell you that I am now contributing craft projects to inspirational blog decor8 (if you follow me on Instagram or Facebook this will be old news!). Holly asked me to create a monthly project that is simple and easily made by beginner crafters. These sweet fabric bags are my first project for decor8 – they are a pretty handmade way to wrap a gift, and they require no sewing.
I think it’s always lovely to put love and care into gift wrapping and this project is all about adding a handmade touch. These fabric gift bags are perfect for small gifts like jewellery, store gift cards, washi tape, individually wrapped sweet treats, or a luxury bar of soap. It’s quick and easy to make a batch in one sitting and it would be handy to have a stash of them ready to wrap little thank you or hostess gifts.
Here’s what you’ll need:
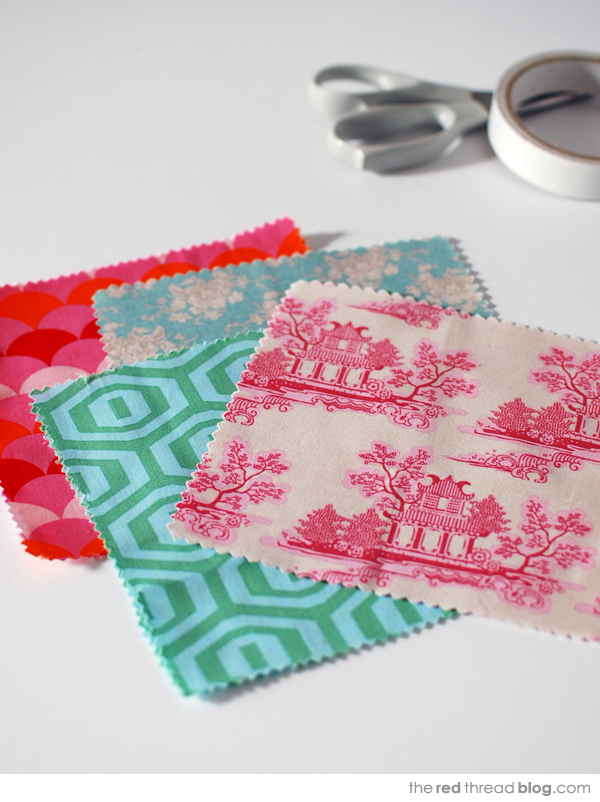
Cotton fabric.
Pinking scissors. These scissors cut with a zig zag line, and while they aren’t essential they will stop the edges from fraying, and give a lovely finish to the bags.
Double sided tape about a half to one centimetre (a quarter inch) wide.
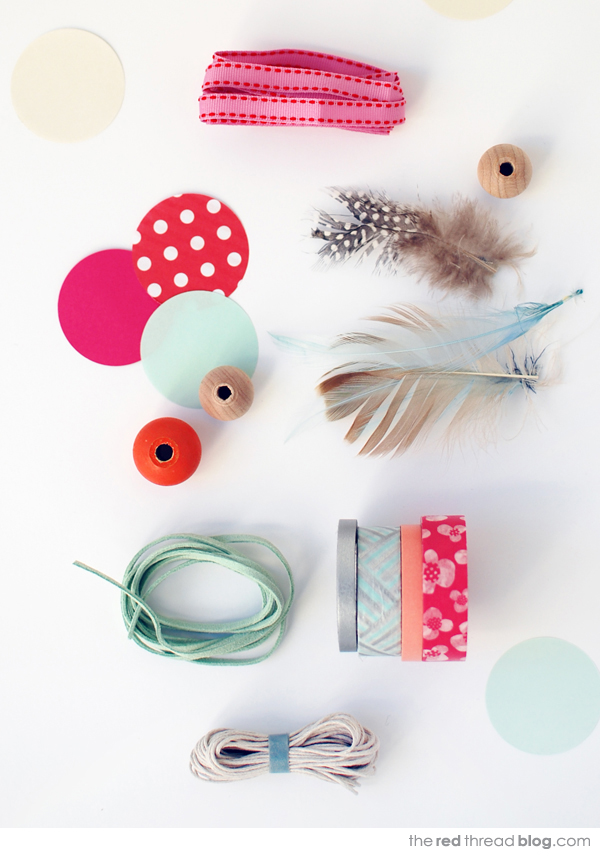
Embellishments like ribbons, leather thonging, feathers, beads, pom poms, flowers, or whatever you have on hand.
Cut the fabric squares
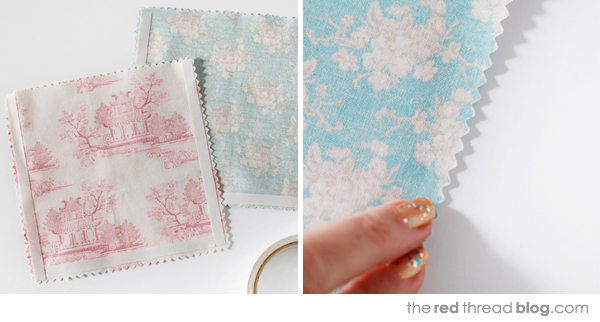
Cut the fabric into 6.5 inch squares with pinking scissors. You’ll need two squares for each gift bag.
You can buy fabric pre-cut to this size at quilting fabric shops. They also sell ‘charm packs’ which are 5 inch fabric squares, and both usually have pinked edges. Or instead of buying new fabric, this is a great way use up any you already have.
Apply the double sided tape
Apply the tape around three edges on the wrong side of one of the fabric pieces.
Assemble the bags
Remove the backing from the tape. Making sure that all the edges align, position another square of fabric on top.
Rub your fingernail along the three taped sides to ensure both pieces of fabric adhere to the tape. That’s the bag made. How easy was that?
Wrap and decorate
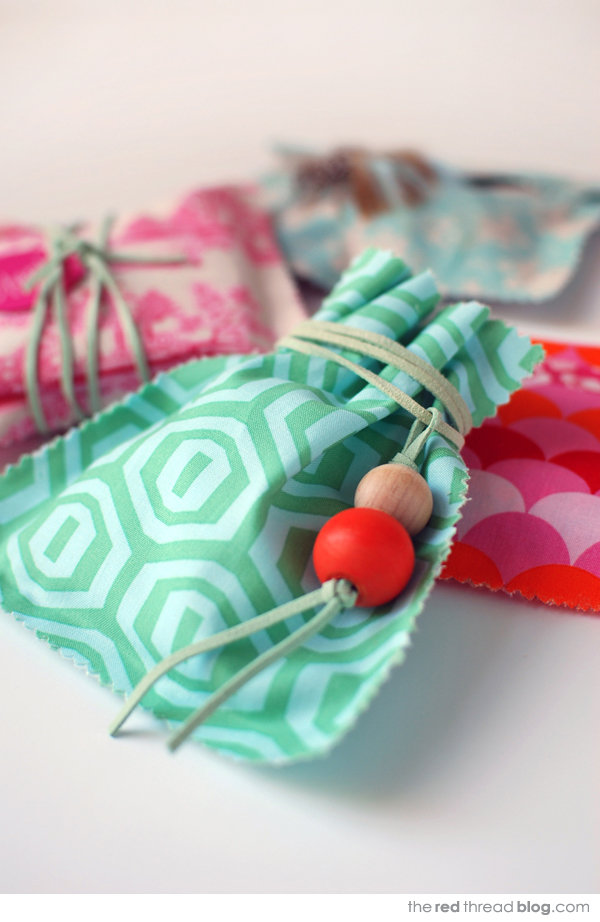
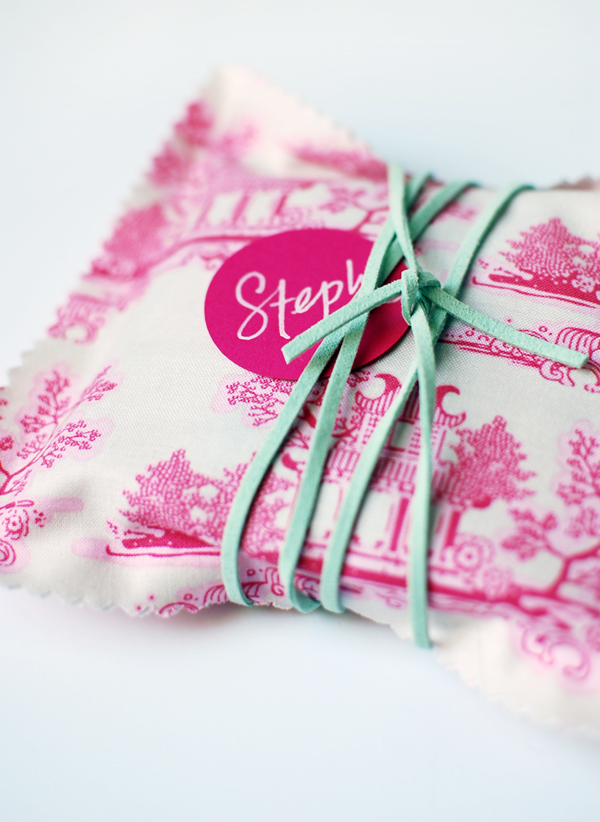
Place the gift in the bag and fold the top over or gather it together. Have fun decorating and add a gift tag if you wish.
This project was first shown on decor8 on May 28 here.
