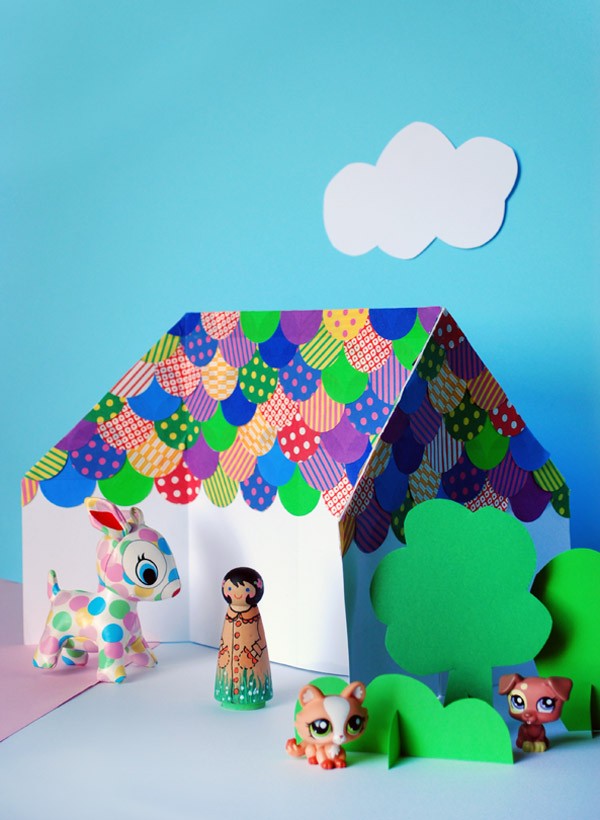
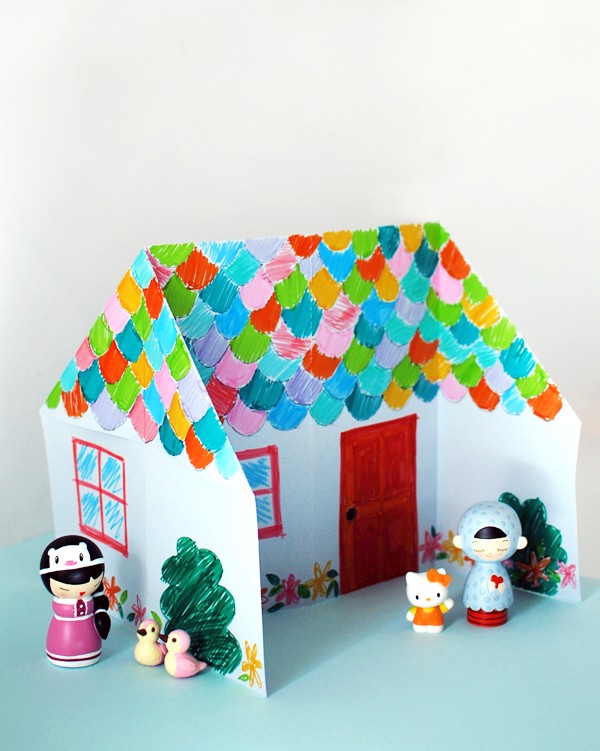
Children don’t need a big expensive doll house with matching furniture and dolls. They don’t mind if the scale of things is a little crazy or if they don’t coordinate. Half the playtime fun with this origami doll house is in the making and decorating. The simple and quick origami folds, and the large scale of the paper used, makes this an achievable project for kids – and craft-challenged adults too!
I’ll show you how to make it and give you three different ideas on decoration… although you’re only limited by your/your child’s imagination.
Something else that’s really great about this origami doll house is that when you’re finished playing, you just open it out flat again for easy storage. When it gets a bit tatty from overuse, just pop it in the recycling and make a new one!
Materials
A piece of lightweight card 50cm (about 20 inches) square.
The finished dolls house is 25.5cm (about 10 inches) wide x 25.5cm tall x 25.5cm deep. But you can start with any size you like. If you’re using a much smaller piece, paper will be much easier to fold.
How to fold your origami doll house
I’ve used a small piece of paper to demonstrate the folds.

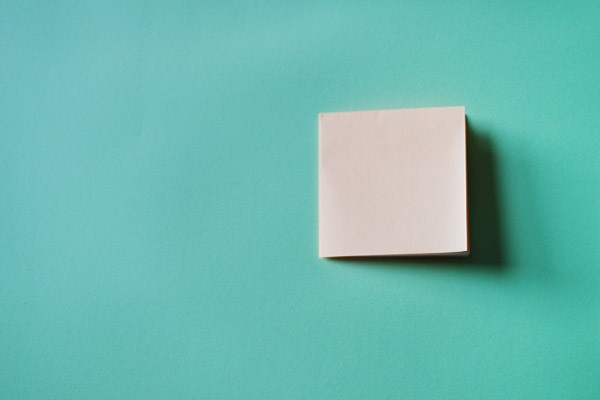
1. Fold the paper in half horizontally to form a rectangle. If there is one coloured side, make sure it’s on the outside when the paper is folded.
2. Fold the paper in half again so it’s a square.
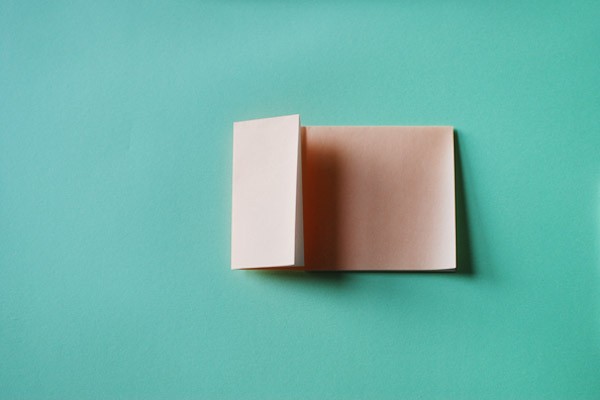
3. Open the last fold.
4. Fold the left side in to meet the middle crease.
5. Fold the right side in to meet the middle crease.
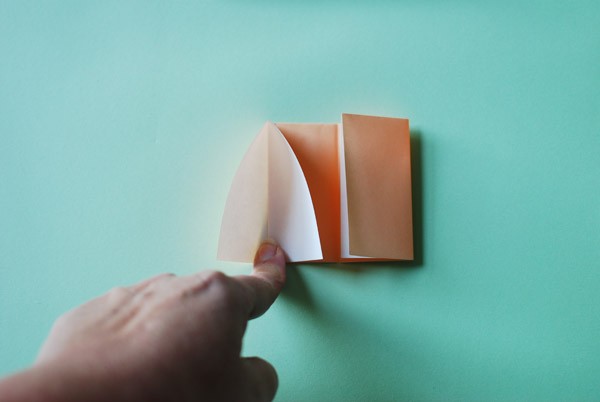
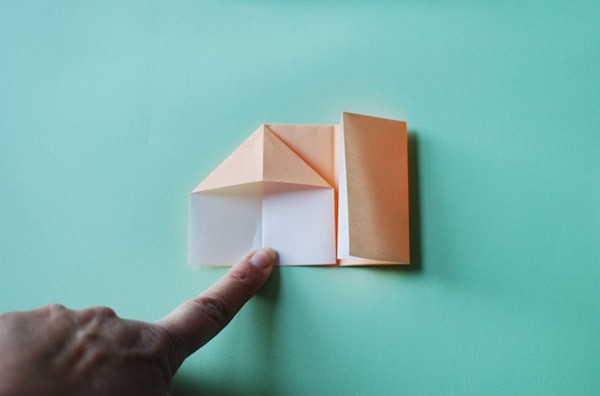
6. Open the left side and place your finger between the two layers of paper. Fold the top down and press flat.
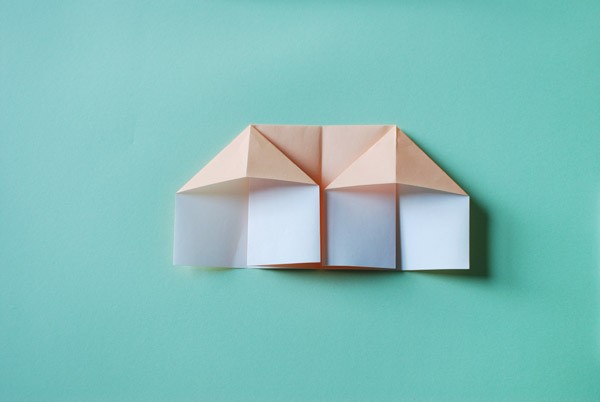
7. Repeat on the right side.
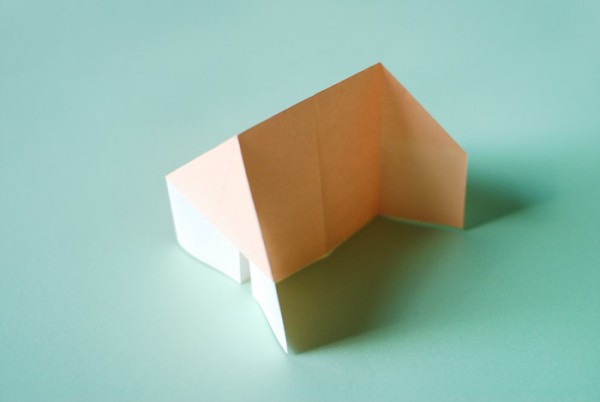
8. Stand the house up and make the sides of the house sit at right angles to the inside wall by re-creasing the side folds.
9. Decorate!
Make a bright and graphic doll house
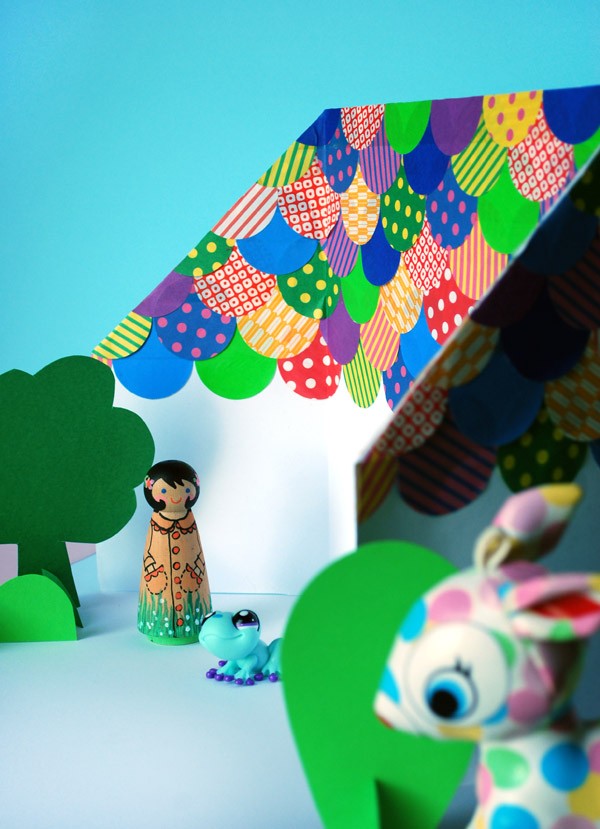
To make a bright and graphic shingle roof, I used a one-and-a-half inch circle punch and patterned paper.
Draw a light pencil line as a guide for the lowest row of shingles and glue them in place so the circles just touch each other.
Continue adding each new row, and overlapping the row below it.
Make some trees
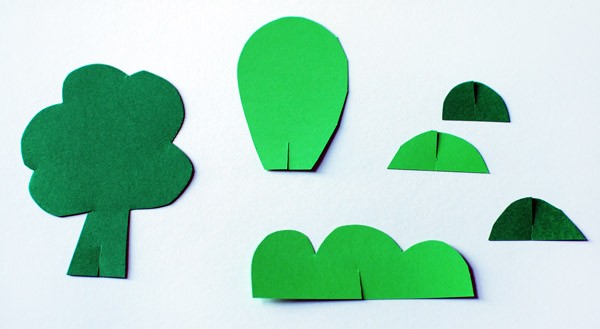
This is an easy way to create a little garden to surround your doll house.
Draw simple tree shapes onto lightweight green card and cut them out. Then cut out small semi-circles to form bases for the trees. Cut slits up from the base of the tress, and down from the top of the bases, then slot the pieces together so they form an X.
Illustrated doll house
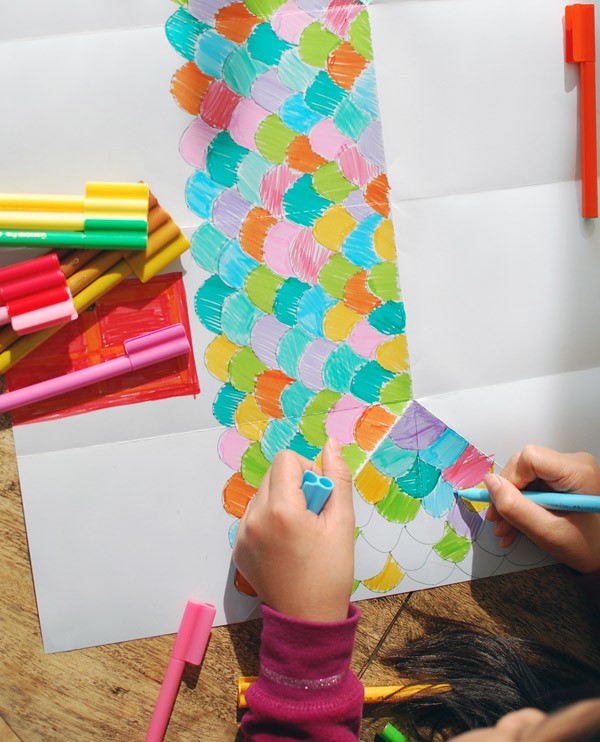
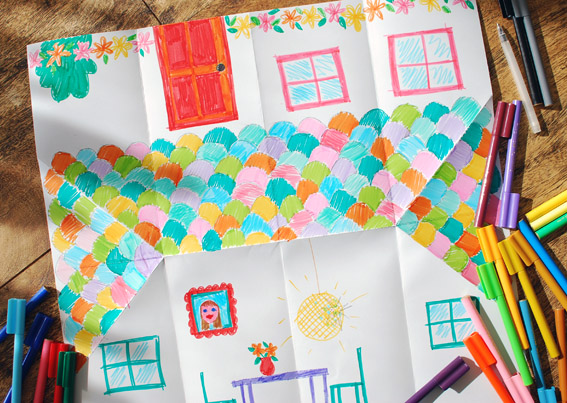
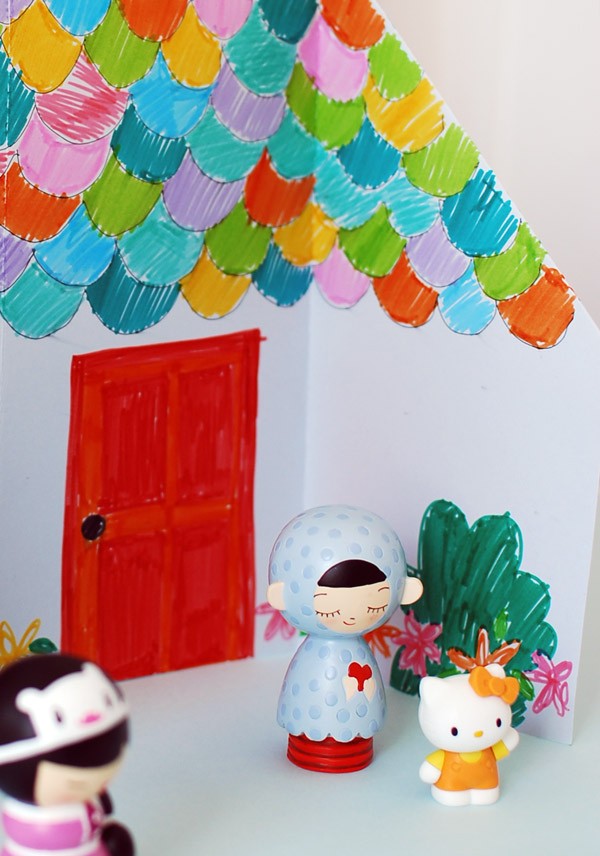
On a long rainy weekend, get the coloured markers out and you’ll have an activity that will last for hours. Draw the outline of a scalloped shingle roof and let your kid/s colour it in, then they can draw exterior windows, doors and garden on one side and the interior of the house on the other (see the second image below for a flat plan).
Modern doll house
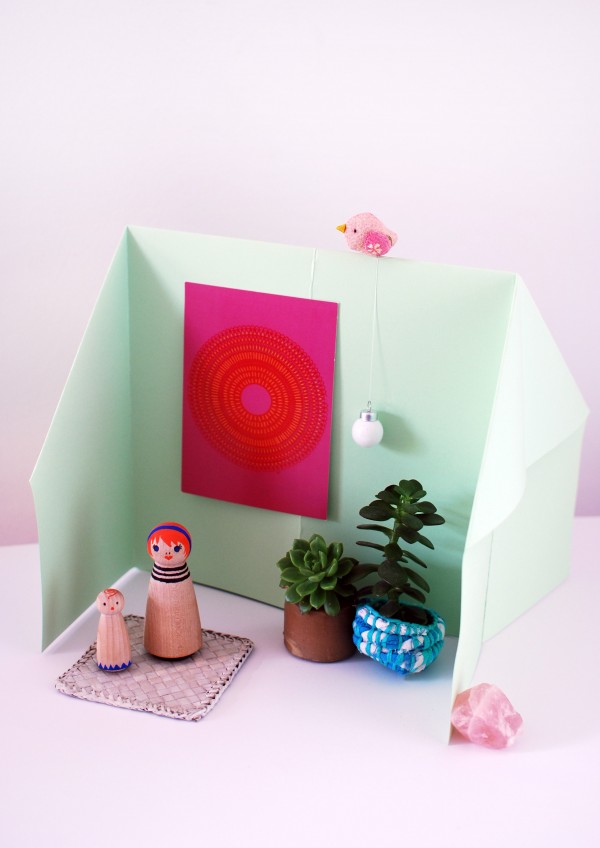
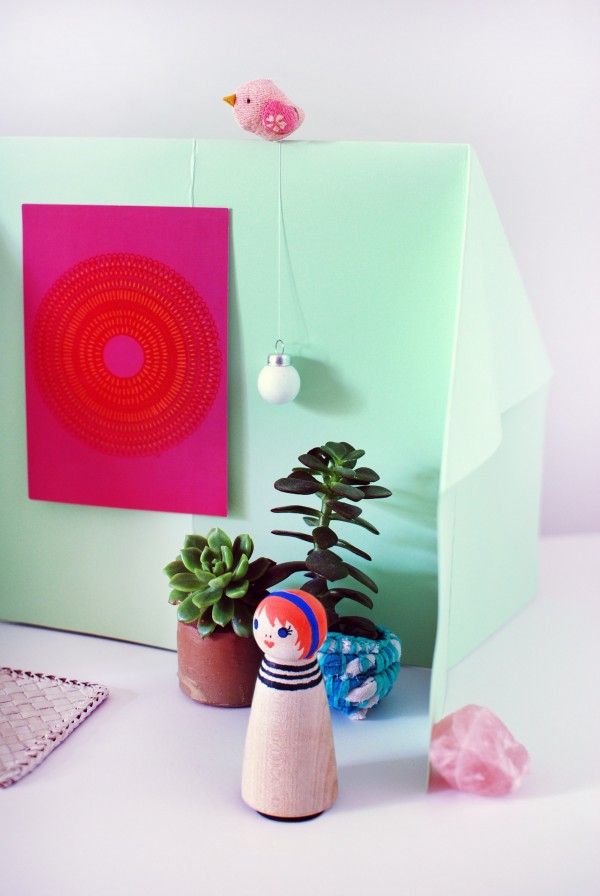
Go for a more minimal, contemporary look by using things you have around home for decorations and furnishings. For my modern origami doll house, pictured below, I popped some succulents in tiny vessels, used a coaster as a floor mat, and a postcard as art. The white pendent light is a mini Christmas bauble hung on cotton thread.
This project would be perfect for when you’re traveling with children, and for something to occupy them when you’re eating out. A piece of paper is usually something you can get your hands on easily, and they can use their imagination to make dolls or animals from anything that’s on hand: a lipstick, teaspoon, or even their fingers with faces drawn on them.
Tutorial and photos by Lisa Tilse for We Are Scout.
[Lisa created the original version of this tutorial for Tuts+.]
