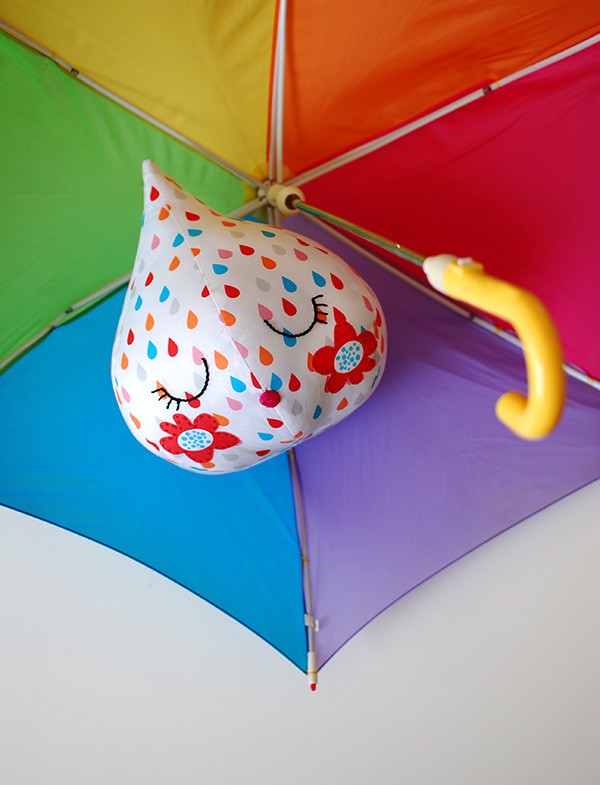
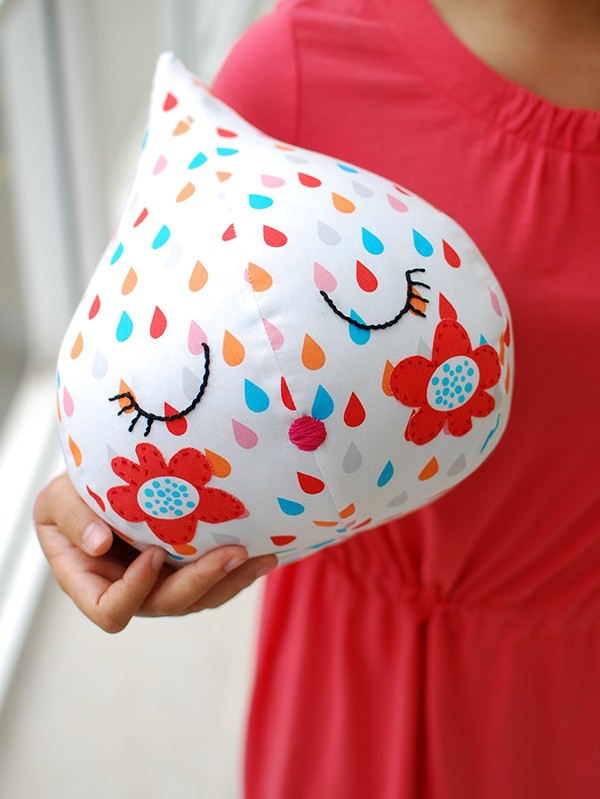
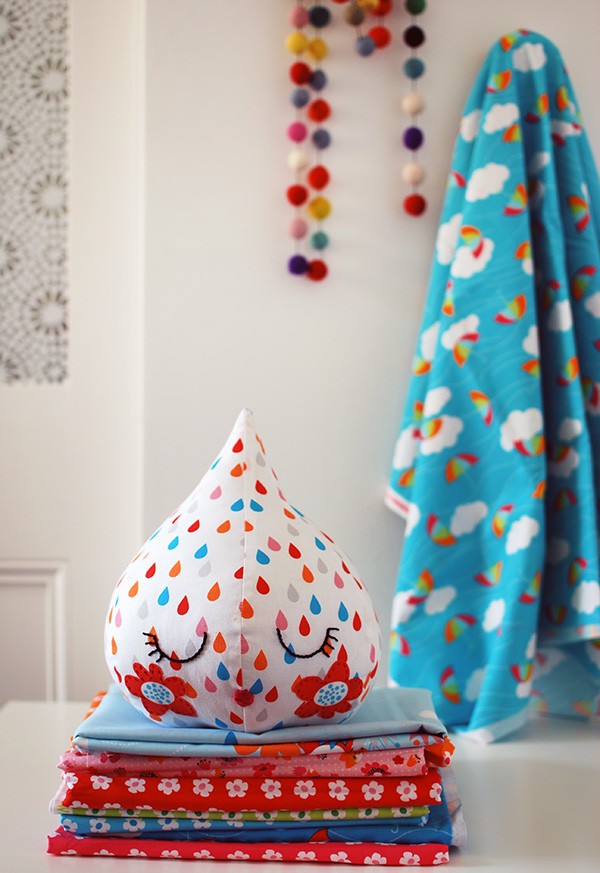
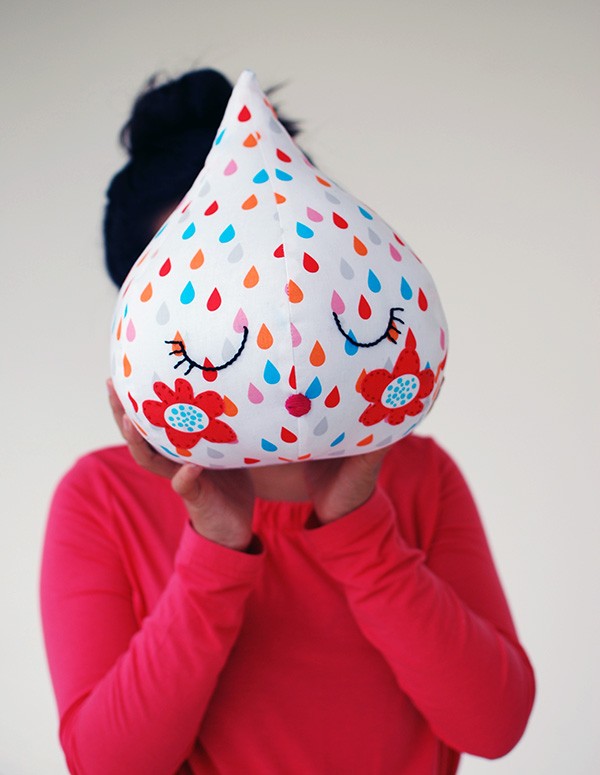
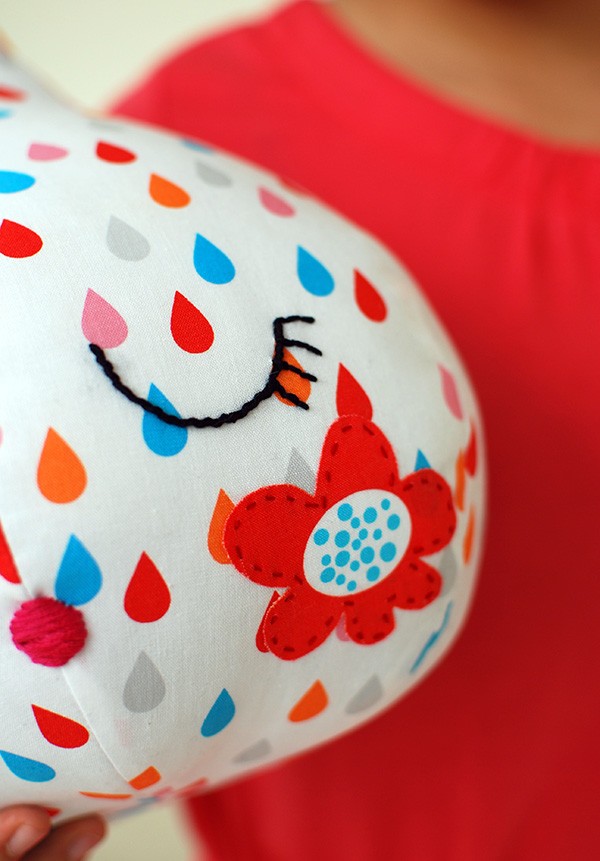
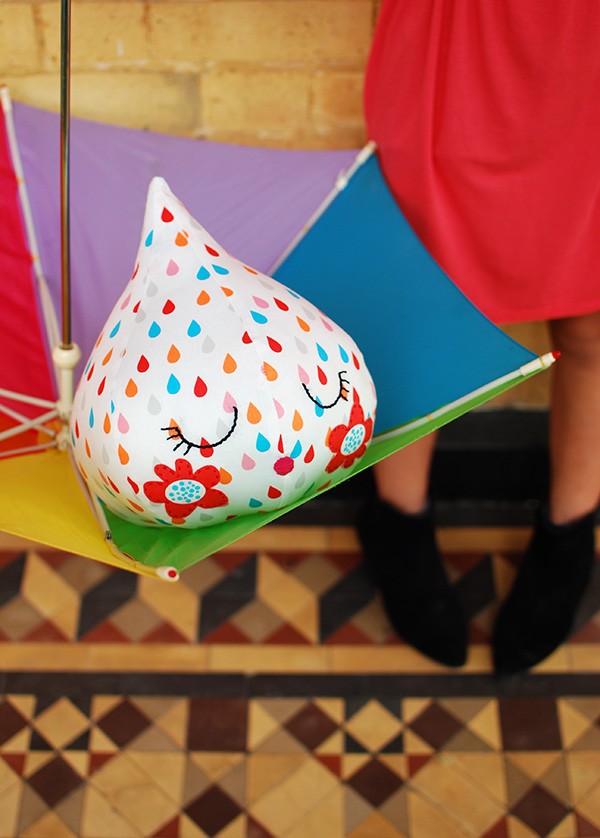
My daughter Roxy has christened this raindrop softie “Drippy”. She says Drippy is super cute and super happy… and how could you disagree with that?
This adorable little raindrop would look so cute with my rainbow pillow too, so while you’ve got your sewing machine out tackle both projects and make someone smile.
Both the raindrop softie and rainbow pillow are available as free downloadable patterns. Let’s get started!
Materials
Raindrop softie sewing pattern – download it here.
Half a metre of raindrop fabric from ‘Whatever the Weather‘ range by the red thread – that’s me! – for Robert Kaufman (see stockists links at the end of this post).
Flowers cut from the cheater quilt fabric from the same range, OR red/pink felt scraps.
A small piece of double-sided fusible web (just big enough for the flower cheeks).
Stranded embroidery floss in red, dark pink and black.
Toy stuffing.
Self-fading air-erasable marker
Standard sewing supplies, including needle, pins, scissors, sewing machine, and iron.
Let’s get started
Cut out the fabric
1. Download the sewing pattern, then print and cut out the pattern pieces. Join the two pattern pieces together as indicated.
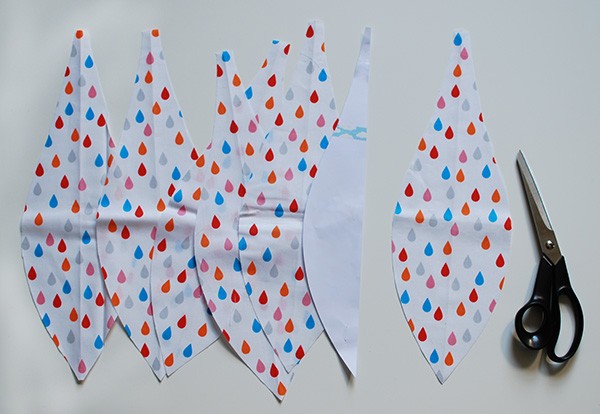
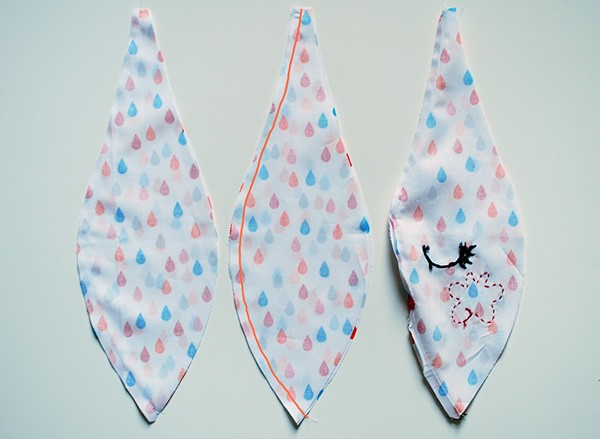
2. Cut six of the pattern piece out, placing the pattern piece on the fold of the fabric each time.
Make the flower cheeks
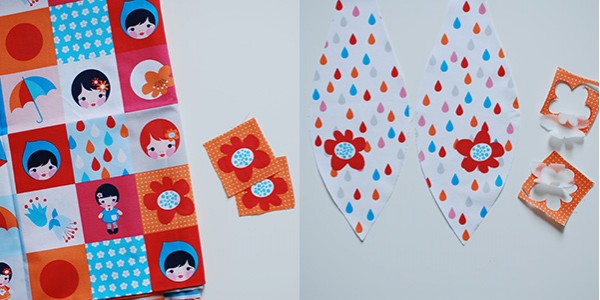
3. Cut two squares containing the red flowers from the ‘Whatever the Weather’ cheater quilt fabric. Alternatively, you could cut two circles from felt. Place the fabric squares onto the rough side of the fusible web and press with your iron. When cool, carefully cut around the flowers.
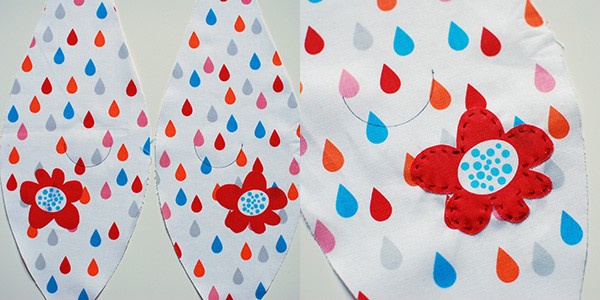
4. Peel the backing off the flowers and place them onto the fabric panels as shown. The bottom of the flower is about 9cm from the bottom point of the panel, and about 12mm in from the outside edge. Press in place.
5. The eye shape is a semi circle with a diameter of 4.5cm. I used the lid of a vitamin bottle as a template to trace around. Position your template above one flower cheek, as shown. If you have an air erasable fabric pen, use it to trace around the eye shape, or just use a very fine black pen or marker. If you sew carefully your stitches will cover the pen line. Repeat on the other face panel.
6. Using three strands of red embroidery floss, sew around the edge of the flowers in small running stitches.
Embroider the eyes
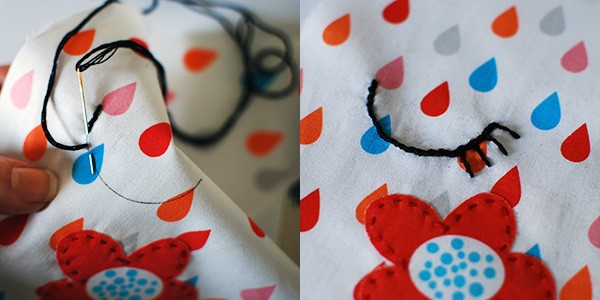
7. Thread a needle with six strands of black embroidery floss. Starting on the inside of the eye, back stitch around the semi circle.
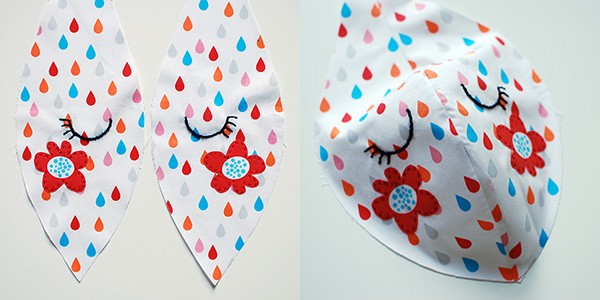
8. When you get to the end on the outside of the eye, stitch four eyelashes as pictured in the photo above.
Assemble the face panel
9. Place the two embroidered panels right sides together. The edges that are to be joined will form the centre of the face (the opposite edge to the eyelashes). Pin together along the edge which is to be sewn. Sew along that edge using a quarter inch seam.
10. Press the seam to one side.
Embroider the mouth
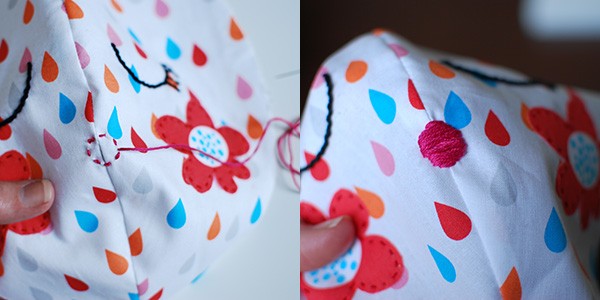
11. Start by creating an outline for the mouth in running stitch, using six strands of pink embroidery floss. The running stitch circle should be about 12mm diameter. You can draw the mouth on first if it’s easier, but make it smaller than the finished size so you can cover the drawn outline with stitching.
12. Embroider and fill in the mouth using satin stitch. Satin stitch is essentially long stitches that are parallel and very close together. Start with one long stitch across the centre of the mouth, then continue filling in the bottom half.
13. Fill in the top half of the mouth.
Assemble the raindrop
14. Join the remaining four panels together. Place two panels right sides together and sew along one side with a quarter inch seam. Repeat with the remaining two panels.
15. Join one of the panel sets to the right hand side of the face, and the other to the left hand side of the face. Always sew with right sides together, and pin the pieces in place before sewing, paying particular attention to the alignment of the seams at the top point and at the bottom of the raindrop.
16. There will now only be one remaining seam to sew at the back of the raindrop. Pin the two edges together and sew the seam, leaving an opening of 6cm for turning and stuffing.
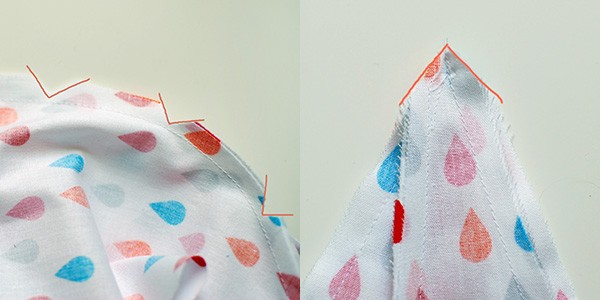
17. Clip ‘V’s into the seam allowance on all sides to stop the fabric pulling when it’s turned right side out. Cut close to the seam stitches, but be careful not to cut into them. Trim excess fabric off the top point of the raindrop.
18. Turn the raindrop out the right way. Use a chopstick to make sure that the top point is pushed right out.
19. Now it’s time to stuff the softie. Take small pieces of stuffing and starting at the top point, add one piece at a time. Push them right up into the point and hold the stuffing in place with one hand, while adding more with the other hand. Continue until the raindrop is stuffed fairly firmly.
20. Close the opening. Fold the seam allowance in and close the opening using small ladder stitches. Click here for ladder stitch instructions.
Tutorial, photos and styling by Lisa Tilse for We Are Scout.
Give the cutest little raindrop softie to someone to love. Or stash it and gift it for Christmas.
‘Whatever the Weather’ fabric range – designed by me for Robert Kaufman – is available now in the US at your favourite quilt fabric store and these US online stockists (although there are many more): Hawthorne Threads and Sew Modern. The range will be available in Australian stores any day now. You’ll find it at Fabric Pixie, The Fabric and Felt Studio, and My Sewing Supplies.
You can see the whole ‘Whatever the Weather’ fabric range here.
Want more DIY craft tutorials for all levels of experience? Click here and be inspired!
