Paper flowers are beautiful and each one is unique, just as in nature. They make gorgeous handmade gift toppers – or paper flowers can be gifts in themselves.
“Imagine the smile on someone’s face when you give them a beautiful bloom that you have crafted with love. Imagine how that smile could warm your heart and make you feel like you’ve done something so right. The warm fuzzy feeling may not last forever but the flower will, and it will always be a reminder of that happy moment,” says Jennifer Tran, self-described Flowersmith, paper artist and photographer.
Jennifer has a new book out which demystifies the art handcrafting and arranging true-to-life paper flowers. There are over 30 flower and foliage projects included, ranging from the most effortless bloom to highly complex arrangements, you’ll also find practical step-by-step instructions and photos, and single-sided templates you can cut out and use again and again.
In this excerpt from Flowersmith, Jennifer shares her step by step guide to making a nasturtium wreath. I love that these paper flowers and the wreath are simple and contemporary – although in Flowersmith you’ll find everything from these nasturtiums to lush layered peonies and dahlias, and pretty little plum blossoms.
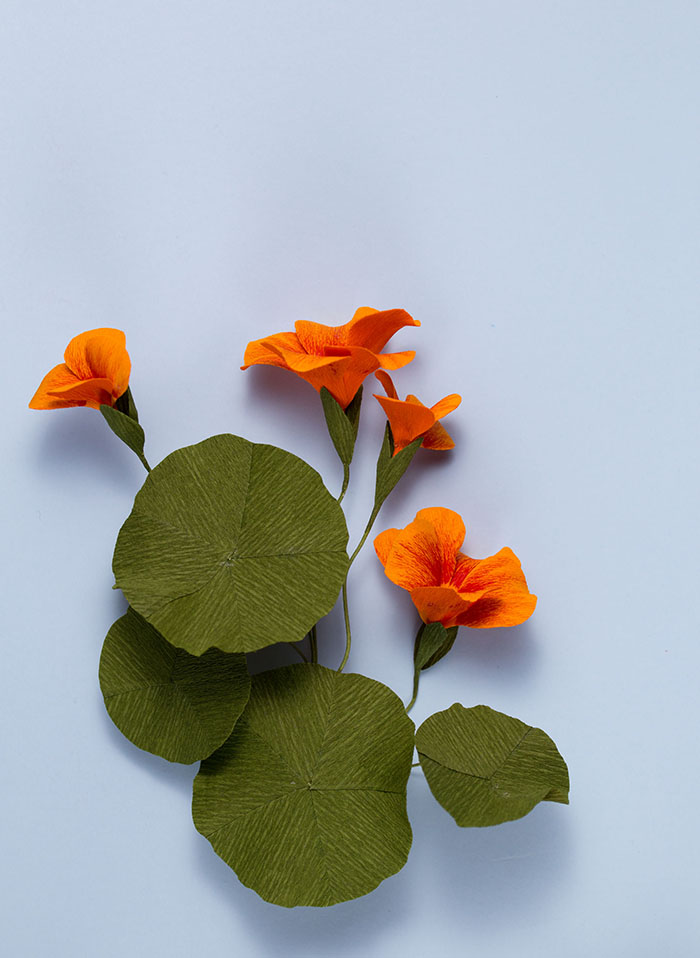
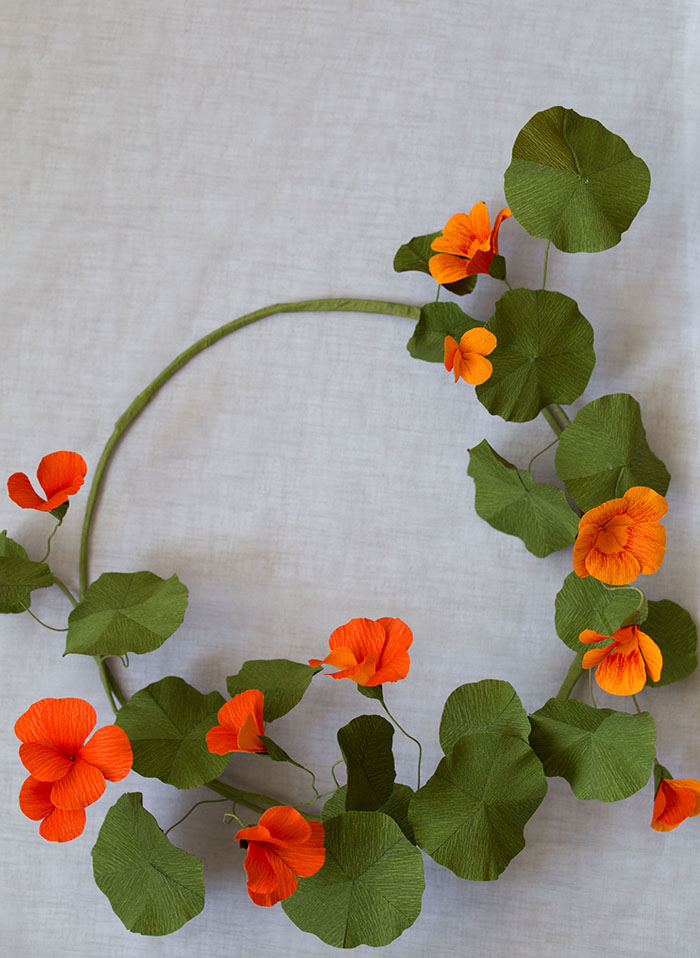
How to make paper nasturtiums
You’ll need:
TOOLS
Pliers
Toothpick
Scissors
Bamboo skewer
PAPER
60gsm crepe paper strip in light green
Double-sided crepe paper in orange/tangerine
Double-sided crepe paper in olive/moss green
OTHER MATERIALS
18-gauge wire
Parafilm tape
PVA glue
22-gauge wire
Flower templates – click here to download
Red marker
NOTE Dimensions are height x length, and paper grain is vertical
Stem
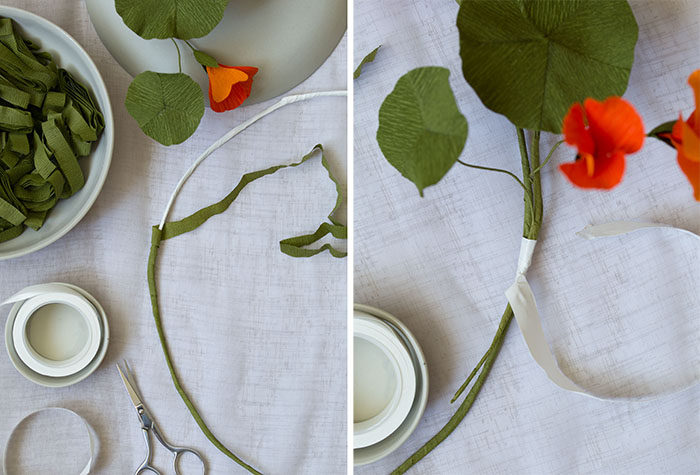
1. Cut three pieces of 18-gauge wire, each 25 cm (10 in) long. Bunch them together and wrap the entire length of the stem with parafilm tape. Wrap the stem with light-green paper strip, securing with PVA glue.
Large flowers
2. Cut one 11 cm (4¼ in) piece of 22-gauge wire. Wrap the entire length of the stem with light-green paper strip, securing with PVA glue.
3. Using orange/tangerine double-sided paper, cut five petals using template A. With the orange side facing up, brush the edge of the red marker against the petals to colour. Curl each petal outwards, then ruffle the middle of the top edge.
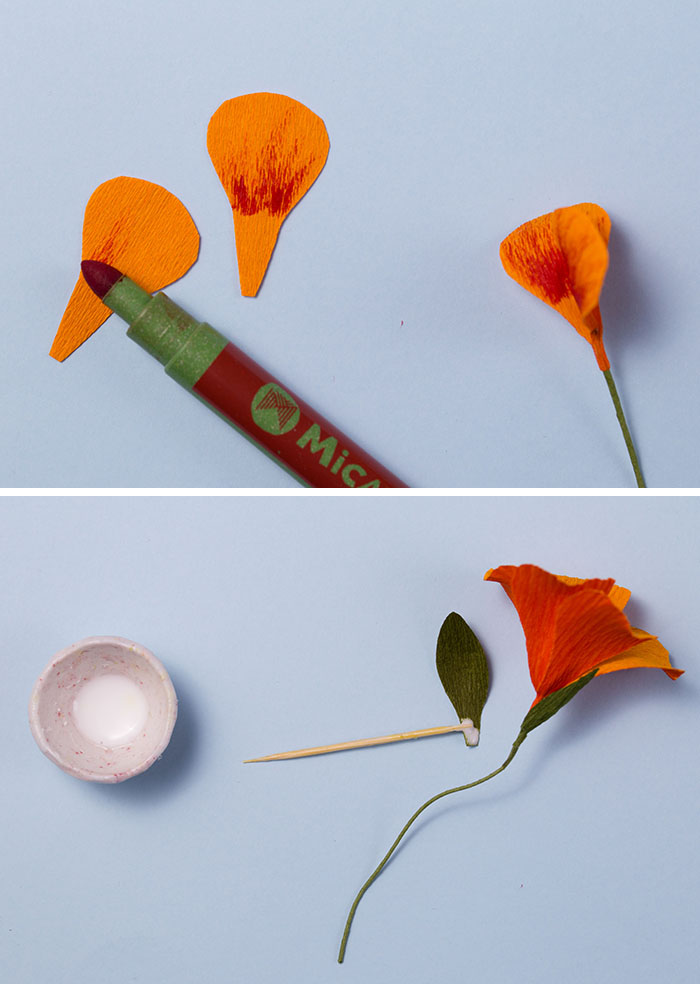
4. Using PVA glue, attach the bottom 1 cm (½ in) of each petal to one end of the stem.
5. Using olive/moss-green double-sided paper, cut two sepals with template B. With the olive side facing up, cup both sepals.
6. Using PVA glue, attach each sepal to the stem, 1–2 cm (½–¾ in) below the base of the flower. Make sure the sepals are opposite each other, with the moss-green sides facing outwards. Cover the base of the sepals with light-green paper strip.
7. Repeat steps 2–6 to make two more large flowers.
Small flowers
8. Cut one 13 cm (5 in) piece of 22-gauge wire. Wrap the entire length of the stem with light-green paper strip, securing with PVA glue.
9. Using orange/tangerine double-sided paper, cut four petals with template C. With the orange side facing up, brush the edge of the red marker against the petals to colour. Curl each petal outwards.
10. Using PVA glue, attach the bottom 1 cm (½ in) of each petal to one end of the stem.
11. Using olive/moss-green double-sided paper, cut two sepals with template B. With the olive side facing up, cup both sepals.
12. Using PVA glue, attach each sepal to the stem, 1–2 cm (½–¾ in) below the base of the flower. Make sure the sepals are opposite each other, with the moss-green sides facing outwards. Cover the base of the sepals with light-green paper strip.
13. Repeat steps 8–12 to make two more small flowers.
Large leaves
14. Cut one 17 cm (6¾ in) piece of 22-gauge wire. Wrap the entire length of the stem with light-green paper strip, securing with PVA glue.
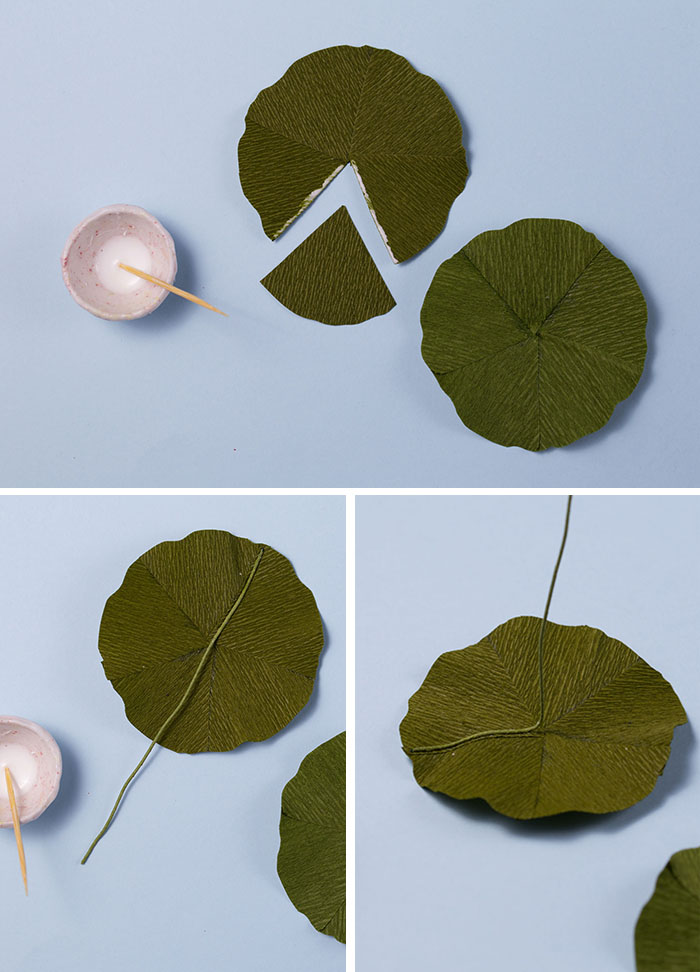
15. Using olive/moss-green double-sided paper, cut five fan shapes with template D. With the olive side facing up, glue the straight edges of all five pieces together using PVA glue, overlapping by a maximum of 3 mm (⅛ in). You will end up with a round leaf. Trim the edge to neaten if necessary.
16. With the olive side still facing up, glue one end of the stems to the leaf: align the stem with one of the joins and attach it from the edge of the leaf to the centre. Allow to dry.
17. Bend the stem at the centre of the leaf to make a right angle.
18. Repeat steps 14–17 to make two more large leaves.
Small leaves
19. Cut one 9 cm (3½ in) piece of 22-gauge wire. Wrap the entire length of the stem with light-green paper strip, securing with PVA glue.
20. Using olive/moss-green double-sided paper, cut three fan shapes with template E. With the olive side facing up, glue the straight edges of all three pieces together using PVA glue, overlapping by a maximum of 3 mm (⅛ in). You will end up with a round leaf. Trim the edge to neaten if necessary.
21. With the olive side still facing up, glue one end of the stem to the leaf: align the stem with one of the joins and attach it from the edge of the leaf to the centre. Allow to dry.
22. Bend the stem at the centre of the leaf to make a right angle.
23. Repeat steps 19–22 to make two more small leaves.
Assembly
24. Take one of each flower and each leaf, and use PVA glue to join together the bottom 3 cm (1¼ in) of the stems. Cover the joins with light-green paper strip.
25. Repeat this process to make two more sprigs.
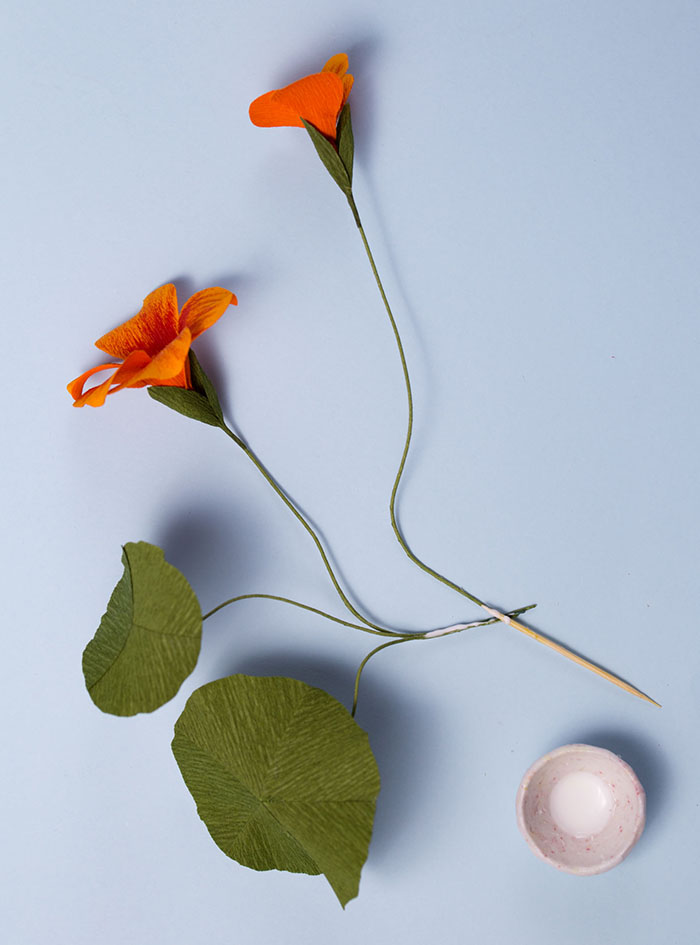
26. Using PVA glue, attach the first sprig firmly to one end of the main stem. Cover the join with light-green paper strip. Attach the remaining two sprigs to the main stem, leaving 8–10 cm (3–4 in) between each sprig. Cover the joins with light-green paper strip.
Finishing
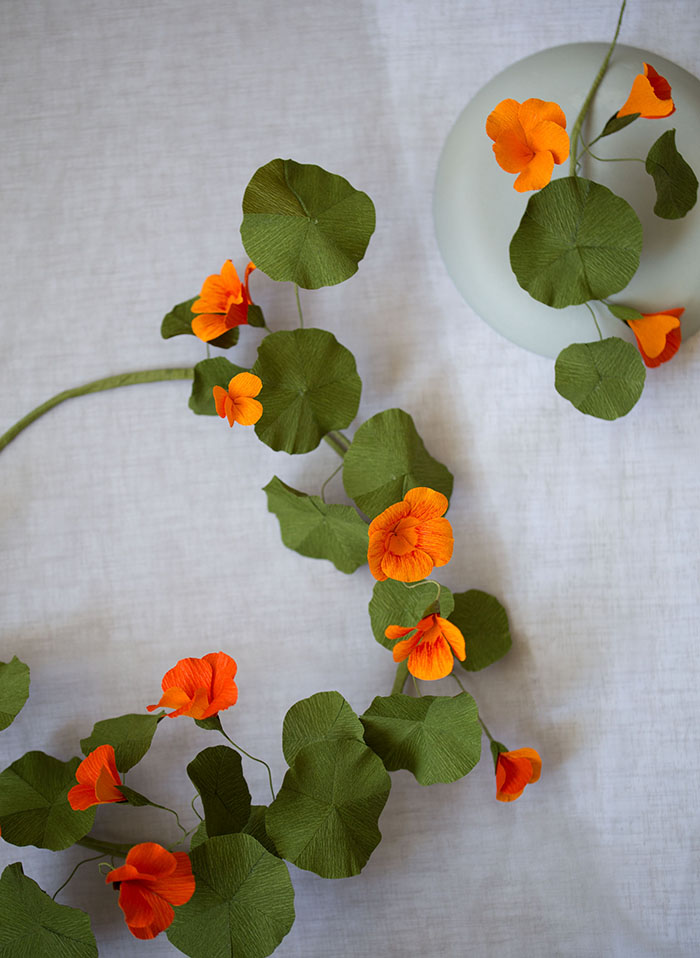
27. Gently bend the stems to create a natural look.
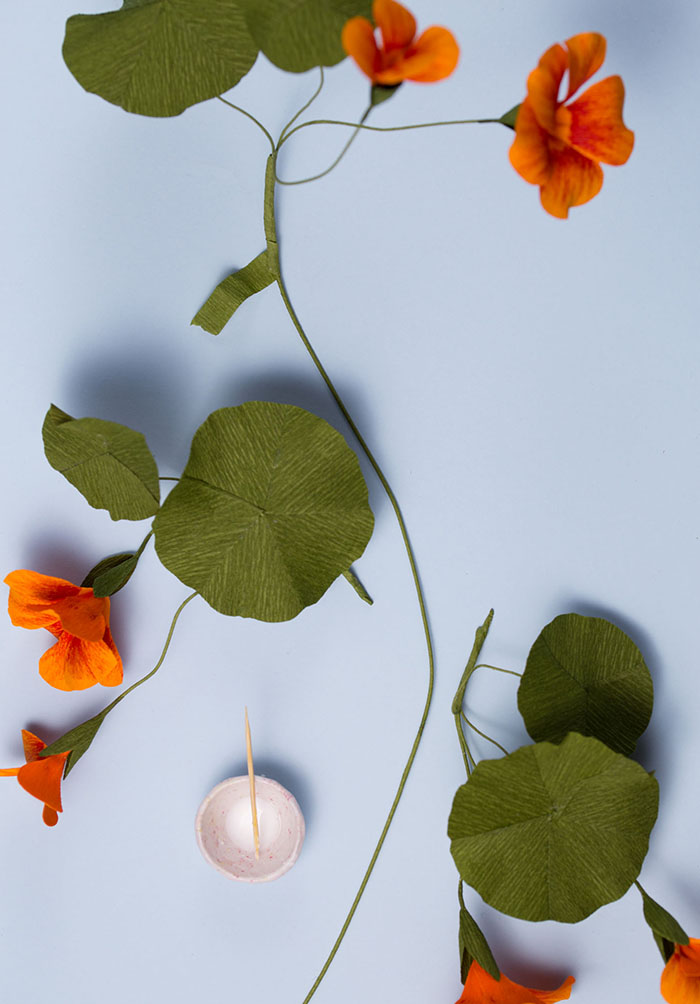
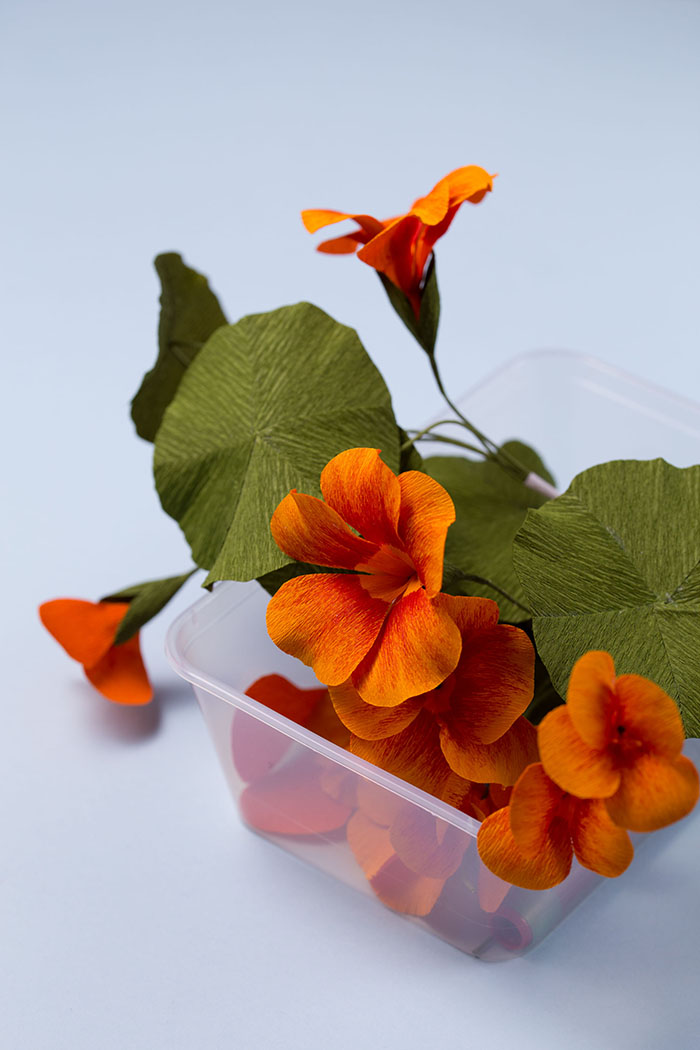
How to make a Nasturtium Wreath
FLOWERS & FOLIAGE
2 Nasturtium vines
MATERIALS
18-gauge wire
Parafilm tape
60gsm crepe paper strip in light green
PVA glue
1. Bunch three 45 cm (18 in) pieces of wire together and wrap them with parafilm tape. Repeat to make three more stems. Using parafilm tape, join the top half of one stem to the bottom half of another.
2. Join on the remaining stems in the same way. Bend the resulting length of wire to create a circle, joining the top half of the first stem to the bottom half of the last stem using parafilm tape.
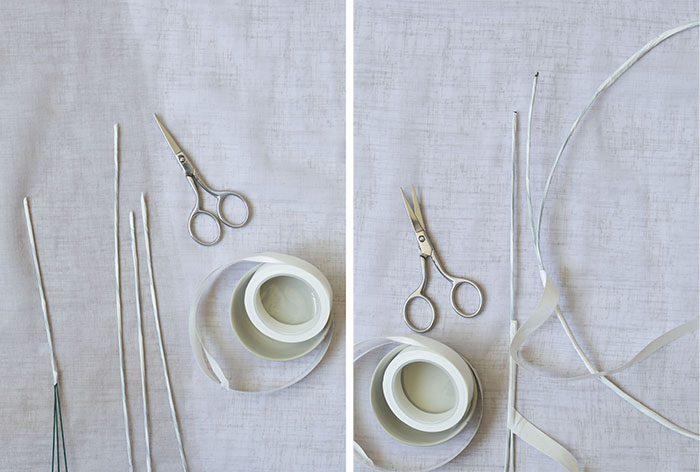
3. Wrap the entire circle with light-green paper strip and secure with PVA glue.
4. Using parafilm tape, attach the Nasturtiums to the circular frame. Cover the joins with light-green paper strip. Bend the flowers and leaves to create a natural look.
This is an edited extract from Flowersmith by Jennifer Tran, published by Hardie Grant Books, RRP $40.00 and is available in stores nationally.
Connect with Jennifer on Instagram @_papetal_ and find Flowersmith stockists here.