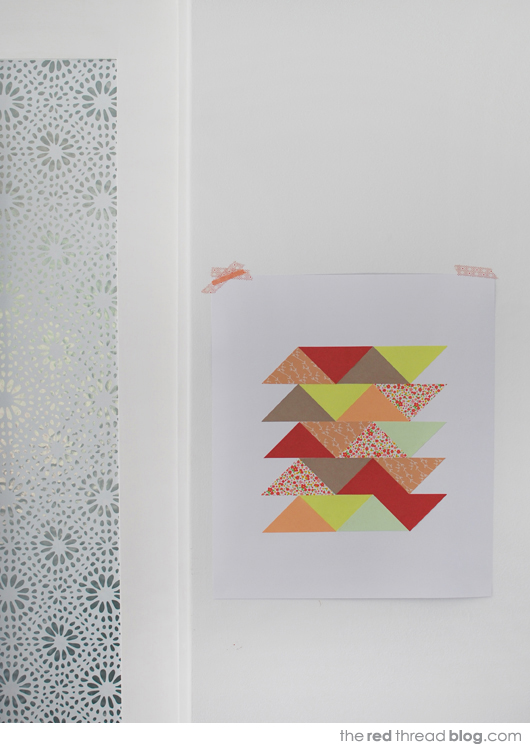
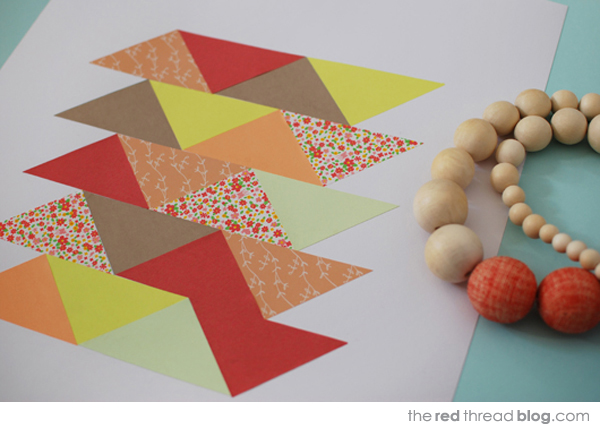
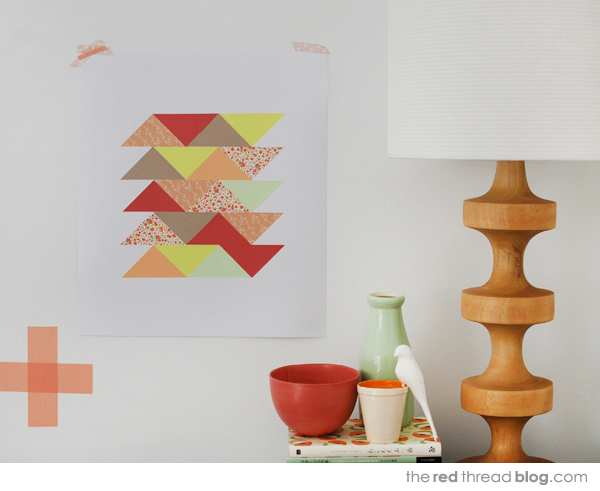
I’m always wanting to change things around and add new colour and art to my home. This patchwork paper art is an easy and budget friendly way to do that, and a great way to use up or recycle paper scraps too. In this tutorial I’ve used wrapping paper and origami paper, but you could also reuse greeting cards, store carry bags, magazine pages, thrifted books, or scrapbooking paper.
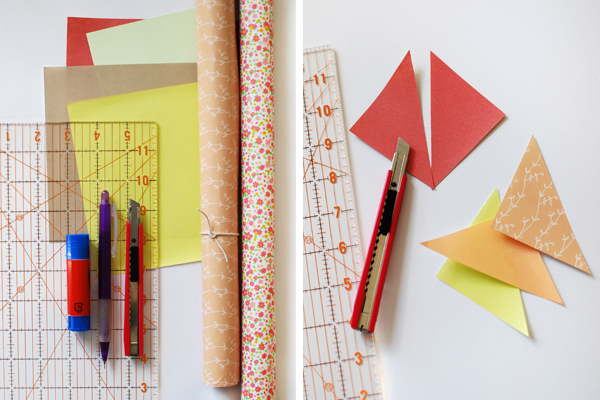
Start by gathering these supplies:
• Coloured and patterned papers
• Good quality white heavy weight paper measuring 16 x 19 inches
• A craft knife and cutting mat
• A pencil
• Glue
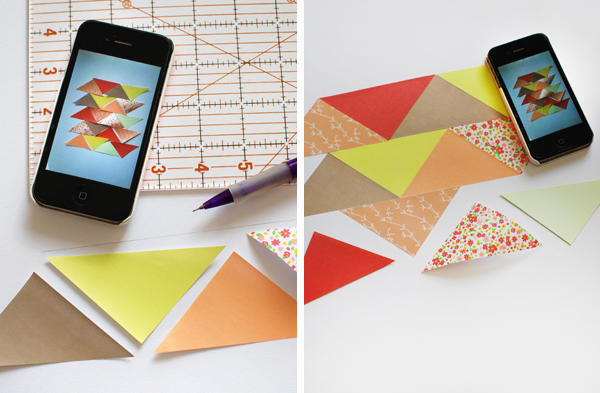
Cut the paper into 3 inch squares, then in half to make triangles.
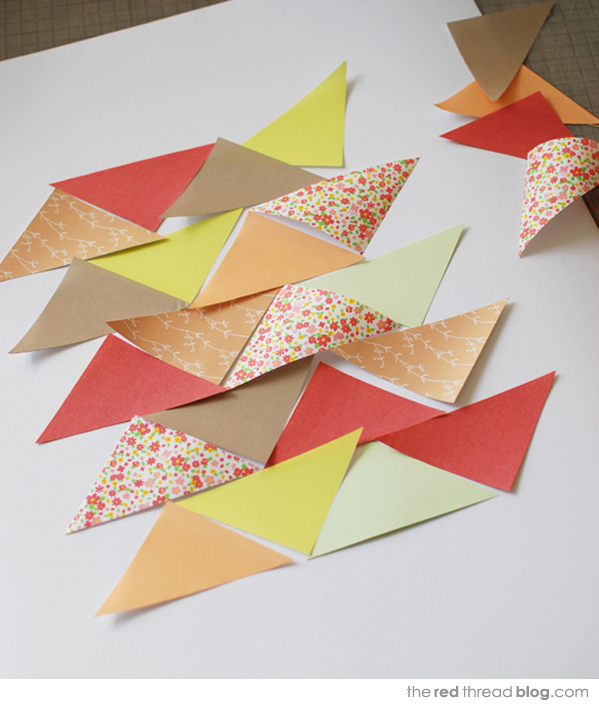
The artwork uses 10 squares, but cut more than you need out of a variety of coloured and patterned papers so you can play around with the placement to get your design looking good.
Lay the triangles on a separate sheet of white paper and move them around until you are happy with their placement. When designing it’s best to do it on a white background so you can see how the finished piece will look. Try the colours in different patterns or arrange them to look randomly placed like I have.
When you’re happy with the design take a photo for reference just in case your masterpiece is accidentally disturbed by a child, a pet, or a breeze!
Now to assemble the art. Rule a light pencil line 6 inches down from the top of the white piece of paper. Start the line 4.5 inches in from the left hand edge and finish it 2.75 inches in from the right.
The top of the second row of triangles will align along this pencil line.
Start by gluing on the second triangle in the second row. Make sure you add glue to all points of the triangles and smooth them down so they adhere. Align the left hand point of the triangle with the beginning of the pencil line.
Now add the rest of row two, being careful to align the edges accurately.
Continue onto row three, then add all the rows underneath, and lastly the top row of triangles.
Take a look at all the points of the triangles to make sure they are stuck down, then stand back and admire your art.
I like using washi tape to stick things to the wall, or you could frame your art in a thrifted frame sprayed white – with or without glass they can look great. Either way you’ll have a lovely new piece of art for your wall that cost next to nothing!
If you liked this DIY you may also like to check out my large scale geometric paper patchwork wall art tutorial.
