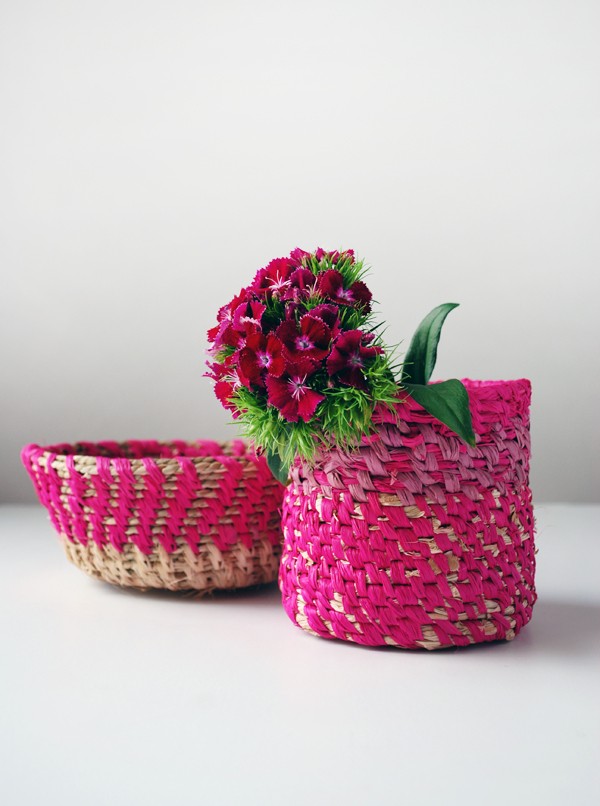
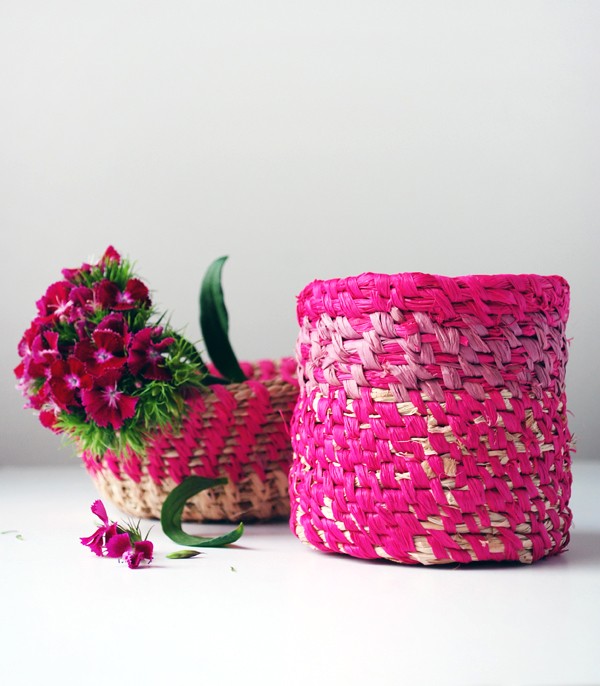
If you’re looking for a relaxing and portable craft, making coiled raffia baskets and bowls might be the craft for you. The minimal materials make it easy to transport, and the whole process of winding and weaving is very meditative.
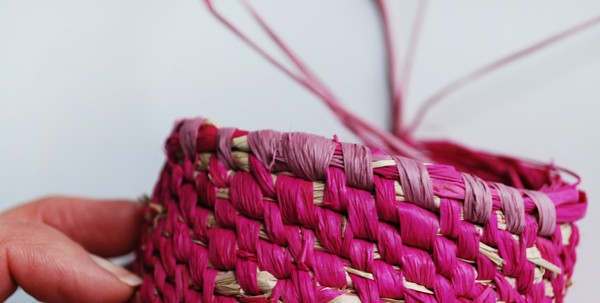
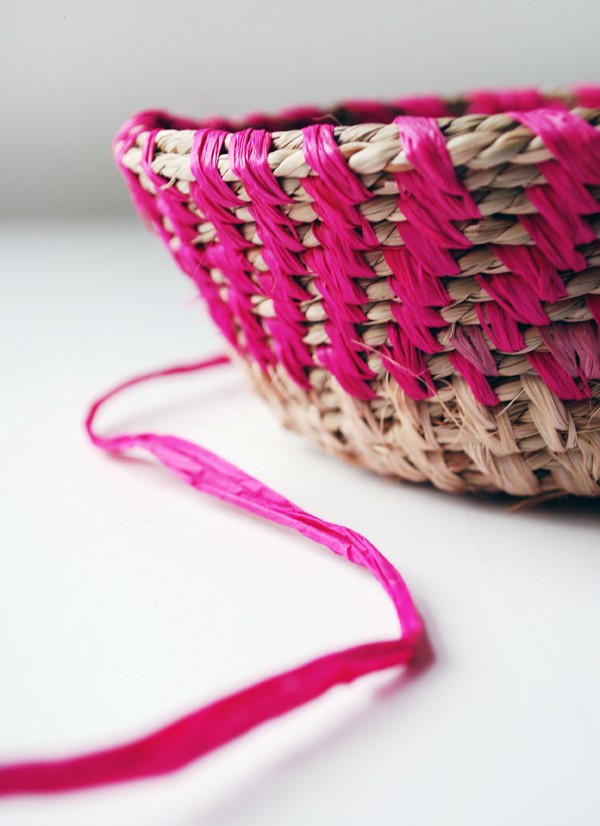
Once you’ve learned the technique of making a coiled raffia basket, you can make any shape – like a ring dish, a bowl or a vase (just pop a jar inside) – and any size. They are super-practical home decor, and make a lovely gift too. You can make your stitches random (like I did on my vase), or more uniform, (as seen on my bowl). They are both beautiful finishes – it just depends on the look you’re after.
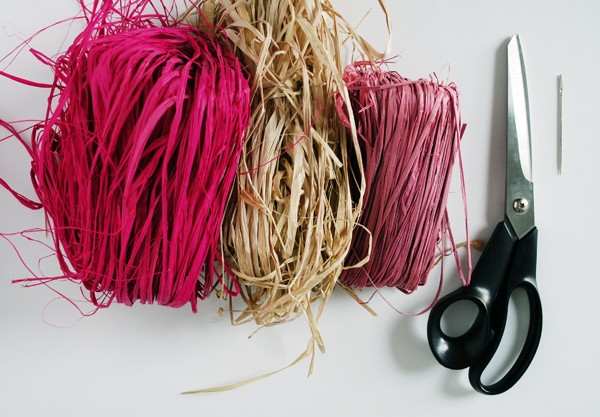
You’ll need
Raffia in two or more colours (I bought 100g of natural, and 50g each of the colours, however I only used around 20g of the colours)
Scissors
Large needle
How to Make a Vase
1. Make the base
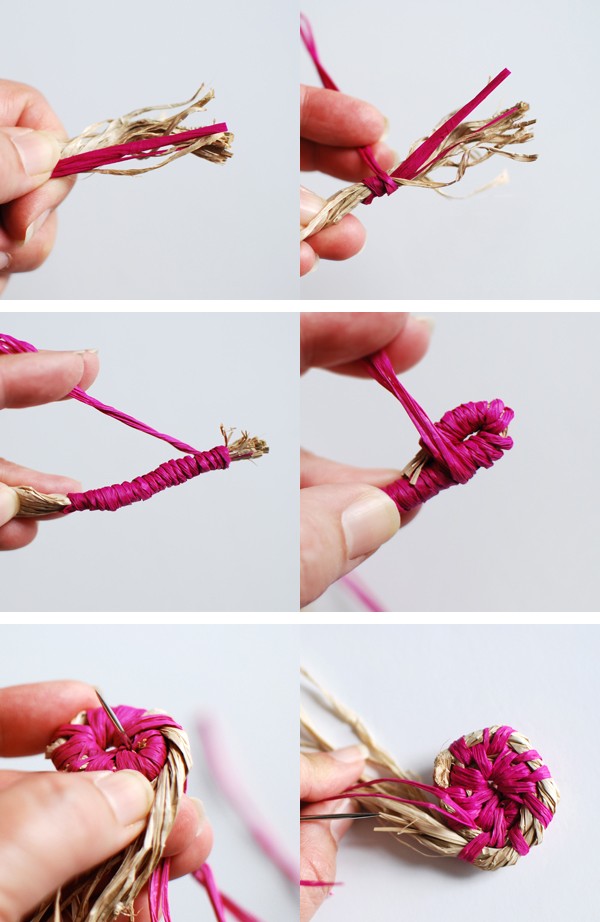
Start by gathering about a dozen strands of natural raffia (not quite as thick as a pencil), and line up the ends.
Take one piece of dark pink raffia and place it alongside the bunch of natural raffia.
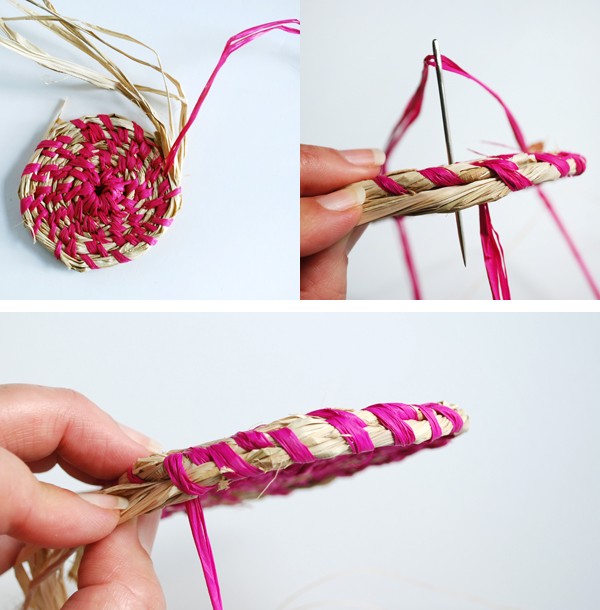
Starting about 4cm from the end, take the long end of the dark pink raffia and wind it fairly tightly around the ends of the bunch. Stop about 1cm from the end.
Now fold the wrapped bunch over to form a ‘U’ shape. Wrap the dark pink raffia around both ends of the ‘U’ a few times to secure them together. The centimetre of the natural raffia will be sticking out.
Thread the needle with the loose end of the dark pink raffia.
Wind the bunch of raffia around the ‘U’, so the raffia becomes a circle, and starts to form a spiral. As you wind the raffia, twist the bunch to create a more solid shape.
The natural raffia is called the base raffia.
Holding the spiral in place with one hand, pass the threaded needle up through the central hole in the spiral. Pass the needle over the top of base raffia and back up through the central hole.
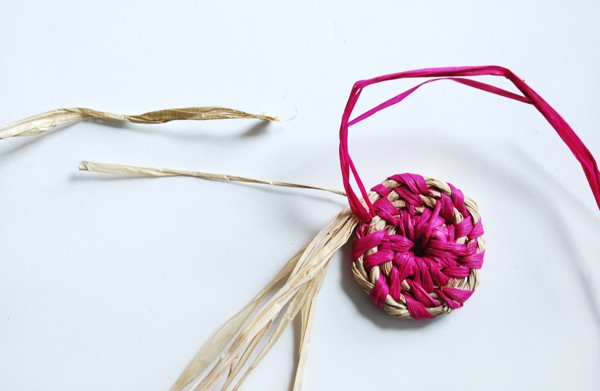
Continue stitching like this until you’ve gone all the way around the second round of the spiral (the first round was created with the ‘U’). You will have joined the first two rounds together.
When you get to the beginning of the third round, your stitches will pass through the space between the first and second rounds, and join rounds two and three together.
Continue stitching, coiling and twisting the base raffia as you go. The stitches will always go over the current and previous rounds of base raffia.
2. Add new raffia
Raffia pieces are always different lengths, so you can replace the base raffia pieces individually when required. Just overlap the ends of the old and new pieces by about 5cm, and twist them into the base raffia bunch.
When you run out of the dark pink raffia lay the last 5cm of the finished dark pink strand along the base raffia. Take a new length of dark pink raffia and align the end of it with the end of the old piece. The new piece of raffia will run along the base raffia towards the spiral and you can recommence stitching.
3. Build up the Sides
When you’re happy with the size of the base, you can start to coil up the sides of the vase.
To do this, just bring the base raffia up so that instead of coiling it next to the previous round it will sit on top of it. The stitches will continue as before: joining the new round with the previous one, but they will be building vertical walls instead of a flat base.
4. Change colours
Change colours of both the base raffia and the raffia stitches to add interest.
To change the base raffia, just overlap the ends of the old and new colours by about 5cm. Trim the ends of both so they are staggered in length to avoid having a thick section where they overlap. Then just twist them together and continue stitching.
5. Finish off
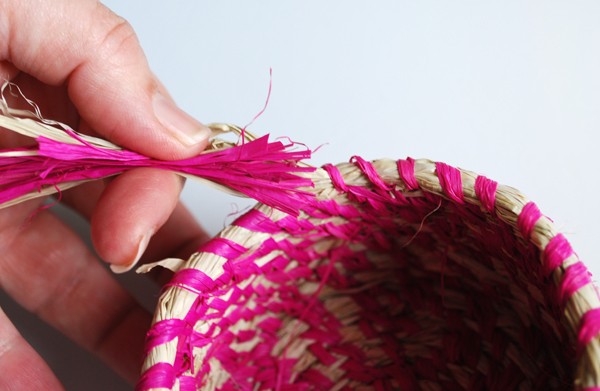
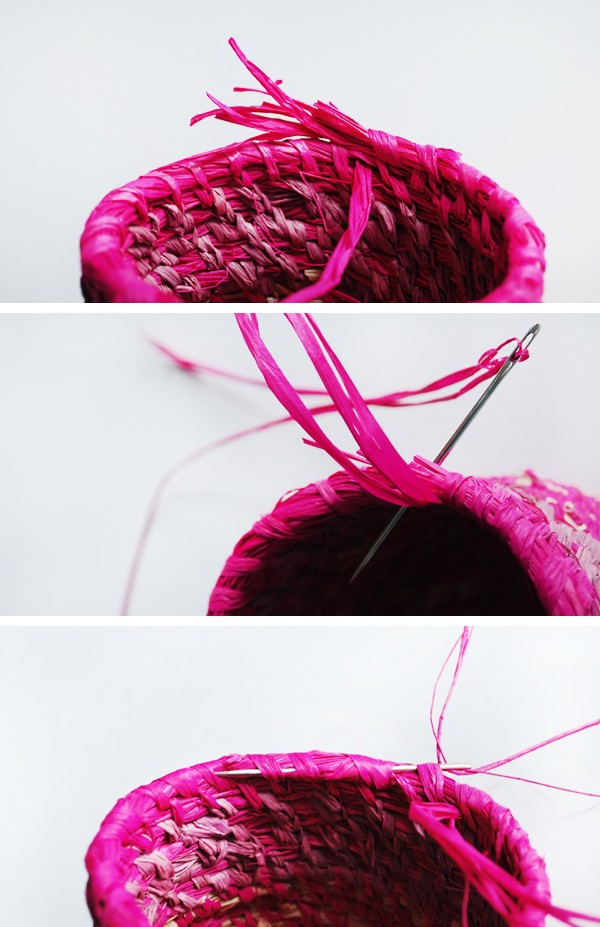
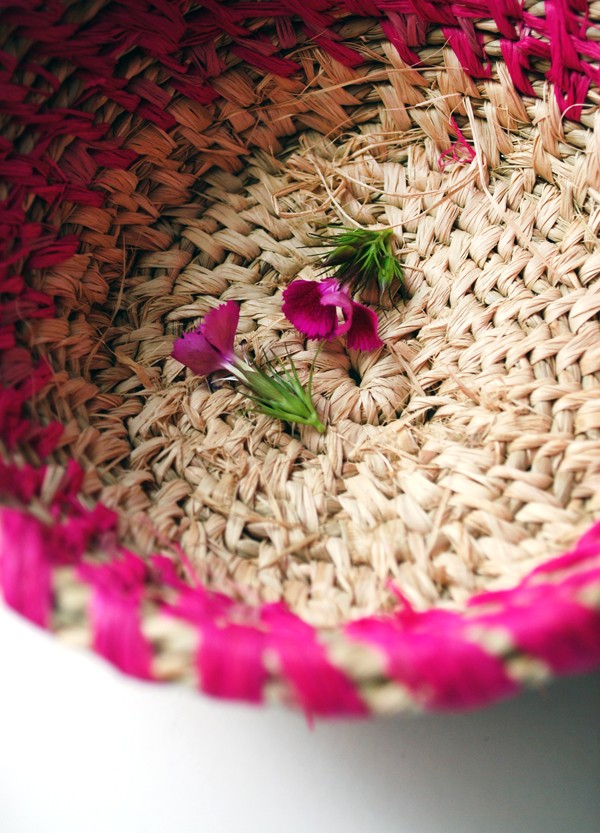
Cut the ends of the base raffia so they are staggered in length over about 3cm to 4cm and continue stitching until you’ve covered all the ends.
Then feed the needle back through the stitches on the inside of the vase, and trim the end.
Using Seagrass
I used seagrass for the bowl (available at craft stores – I got mine at Spotlight) as the base material instead of raffia. I used two strands at a time, and although it’s less pliable and much harder to work with, the bowl is extremely dense and sturdy. Although I’d recommend using raffia as your base when you’re learning as it’s a lot easier.
To make a uniform pattern with the stitches, all you need to do is always pull the needle through immediately to the right (or left if you’d prefer) of the stitch below it.
You may also like to take a look at my tutorials on how to make coiled fabric bowls and fabric crochet baskets (both great for using up scraps), as well as coiled rope vessels.
I hope you’ve had fun learning how to make a coiled raffia basket, but be warned… like a lot of crafts, it’s very addictive! Let me know how you go – I’d love to hear from you.
Photography and styling by Lisa Tilse for We Are Scout.
