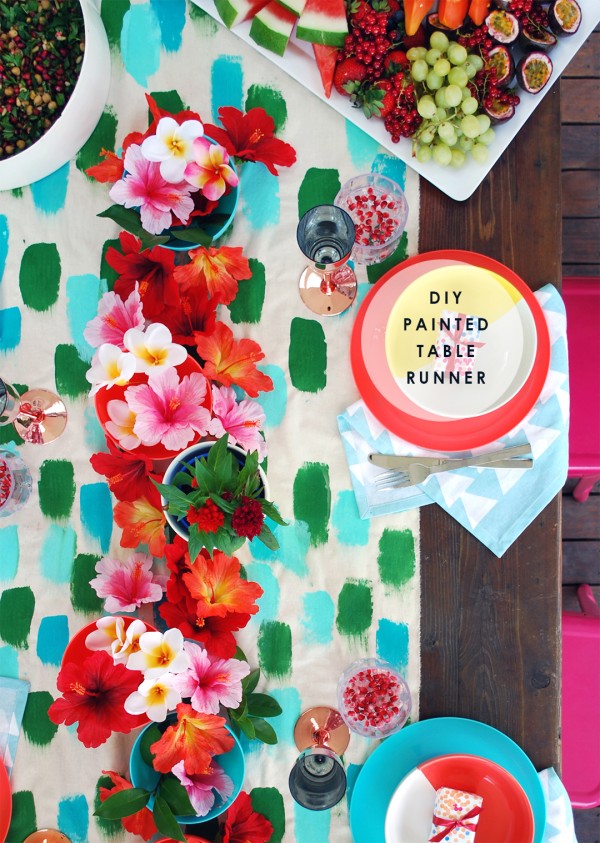
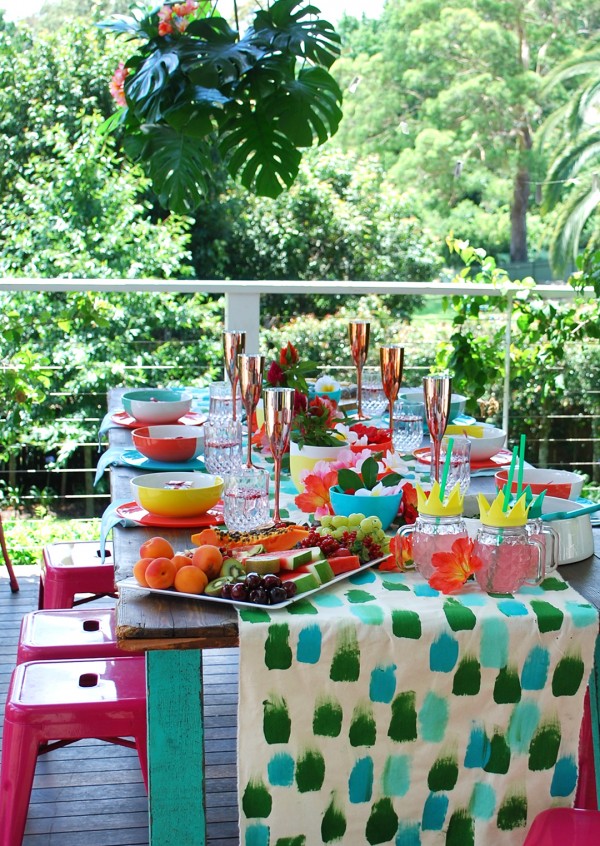
Add instant colour and style next time you entertain with this DIY hand painted table runner. It’s fun and inexpensive… and it’s easy – there’s no sewing needed! Use it a beautiful base to create a unique and impressive table setting that will wow your guests.
Start by deciding on a colour pallet for the event. Consider the colours of your dinnerware, flowers, vases, candle holders and anything else you’ll be using. For this tropical table I chose to paint my runner in cool colours to compliment the bright red, peach, yellow and pink of the summer flowers and layered plates.
Materials
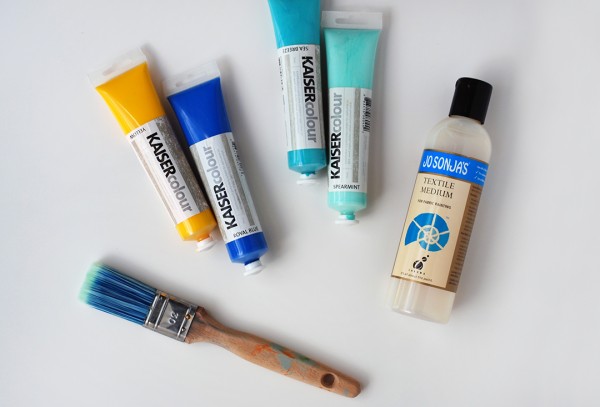
Unbleached calico – it’s very affordable and the perfect weight
Acrylic paint in 3 colours
Textile medium
3 – 4 cm wide paint brush
3 plastic plates, bowls or container lids
A drop sheet or newspaper
Let’s get started
1. Measure your table and calculate the length and width of the table runner. I like it to hang about 55cm below the table on either end. There’s no need to add a seam allowance because we won’t be sewing seams!
2. Tear the fabric to the correct size. Cut a small nick a couple of centimeters long in the fabric then tear the rest of the way. All four sides of your runner should have a torn and frayed edge.
3. Pre-wash and iron the fabric to remove any finishing agents.
4. Cover your work surface with a drop sheet or newspaper. Because of the size of the runner I found it easiest to work on the floor.
5. Mix your paint. I like to use acrylic paints and add a textile medium, but of course you can use textile paints instead. It’s more economical to use acrylics and you have a wider colour choice. You don’t use a lot of textile medium, so you can mix it with other colours for your next project. A tablecloth perhaps?
I used teal and aqua straight from the tubes and mixed yellow and blue to make green. Add the textile medium according to the product directions.
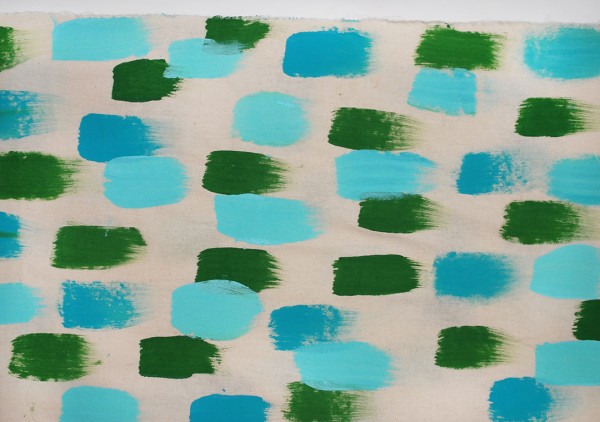
6. Start by painting the darkest colour first. The key to getting nice looking brush strokes is to apply pressure at the beginning of the stoke, then lift your brush as you move along to create a feathered end. Keep in mind that the effect is to be painterly not perfect!
Place the brush strokes randomly, leaving space between them for the other two colours.
7. Add the second colour, again with random placement. I didn’t allow the green to dry completely before I started painting the teal, so they mix in places where they overlap which adds interest.
8. Finally paint the lightest colour in the spaces and overlapping the other colours.
9. Allow the paint to dry completely before heat setting it according the the textile medium directions. In this case, all I had to do was iron the fabric again.
10. Pull off any long threads from the frayed edges.
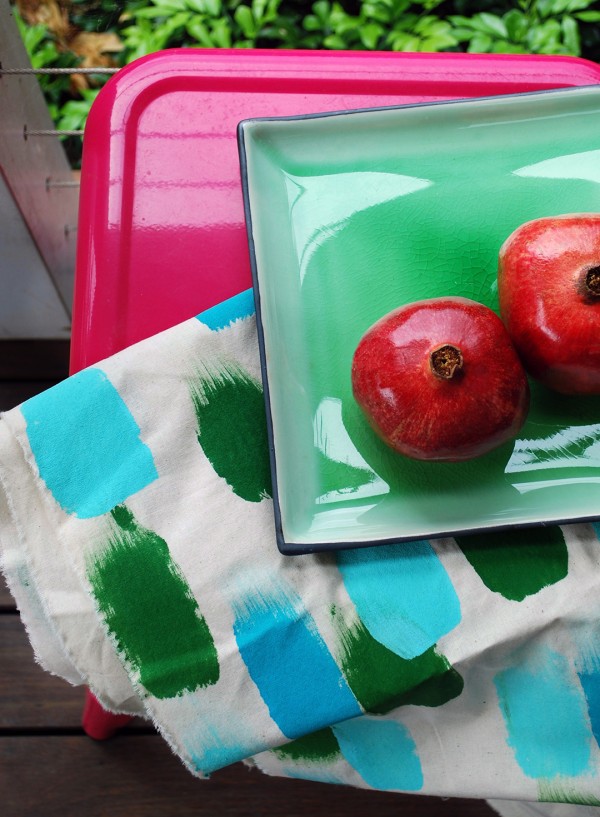
11. Throw your finished runner over the table and start creating a beautiful table setting.
Then stand back and admire your work and get ready to field questions from your guests about where you got your gorgeous table runner.
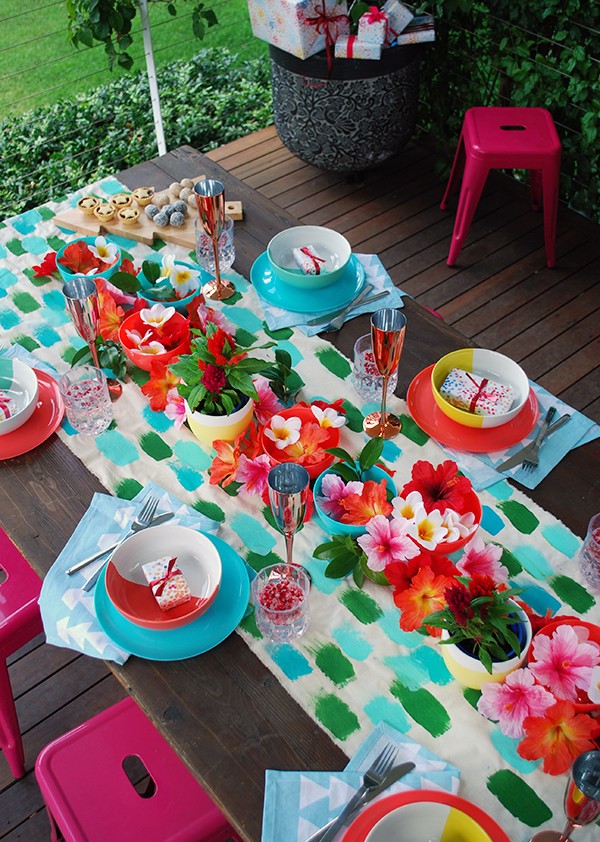
If you like the look of this tropical table setting click through to see more photos and read how we created it for a bright outdoor Australian Christmas.
Want more DIY ideas? Have a look at all of our craft projects.
Photography and styling by Lisa Tilse for We Are Scout.