I’m excited to show you my new bedroom sideboard – it’s an IKEA hack using Annie Sloan Chalk Paint and decoupage and I’m so happy with it.
Yes, decoupage. This isn’t the dated decoupage that your Gran may have crafted with Victorian motifs! Taking inspiration from the gorgeous oversize floral photographs that are trending in interiors right now, my sideboard is bold and contemporary. Decoupage is a fabulous technique, and used in the right way, combined with beautiful on trend colours, it looks anything but dated.
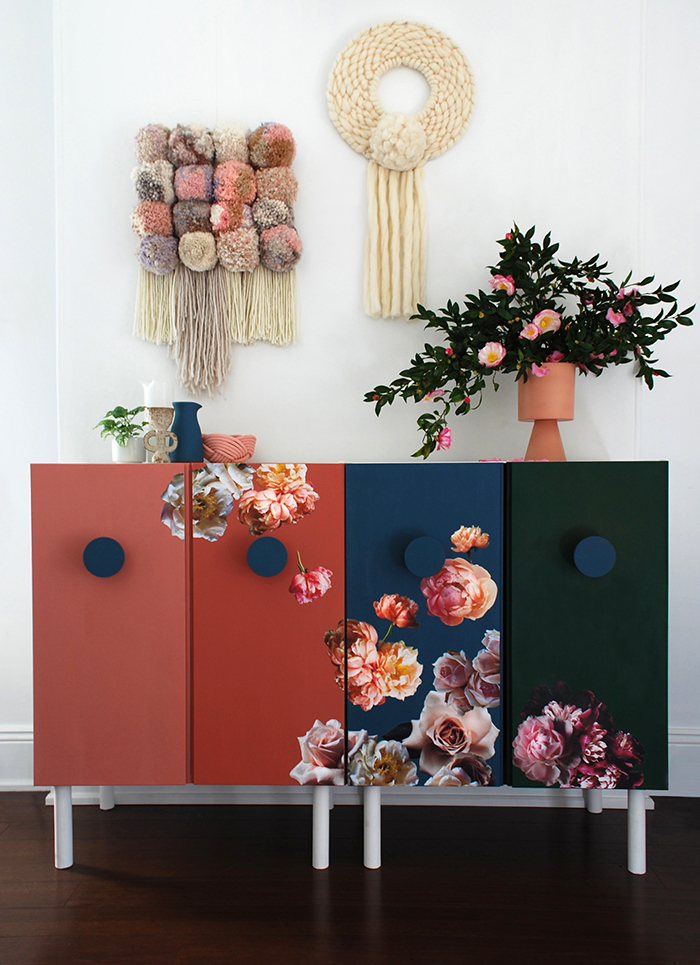
Previously I had some shelves along this wall of my bedroom and they were looking messy and over-stuffed. So when the team at Annie Sloan asked if I’d like to use their products to makeover a piece of furniture I knew immediately that I wanted to use the IVAR cupboards from IKEA to hide all the mess. They are simple box-like cupboards that make the perfect blank canvas, they’re readily available, and inexpensive. Now the blank canvas has become a bold and beautiful piece of statement furniture. Let me show you how to make your own.
Materials for this IKEA HACK
2 x IKEA IVAR cupboards
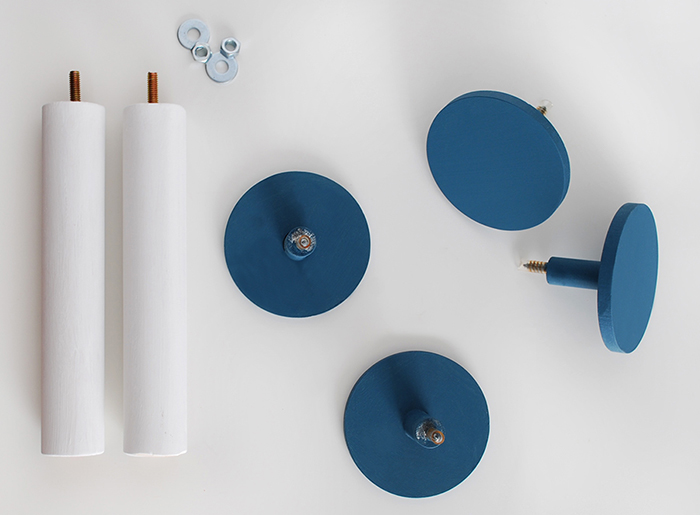
4 x wood handles. I bought round wall hooks from Kmart for $3 each.
8 x furniture legs. I got mine from my local hardware store.
8 x nuts and washers to secure the legs
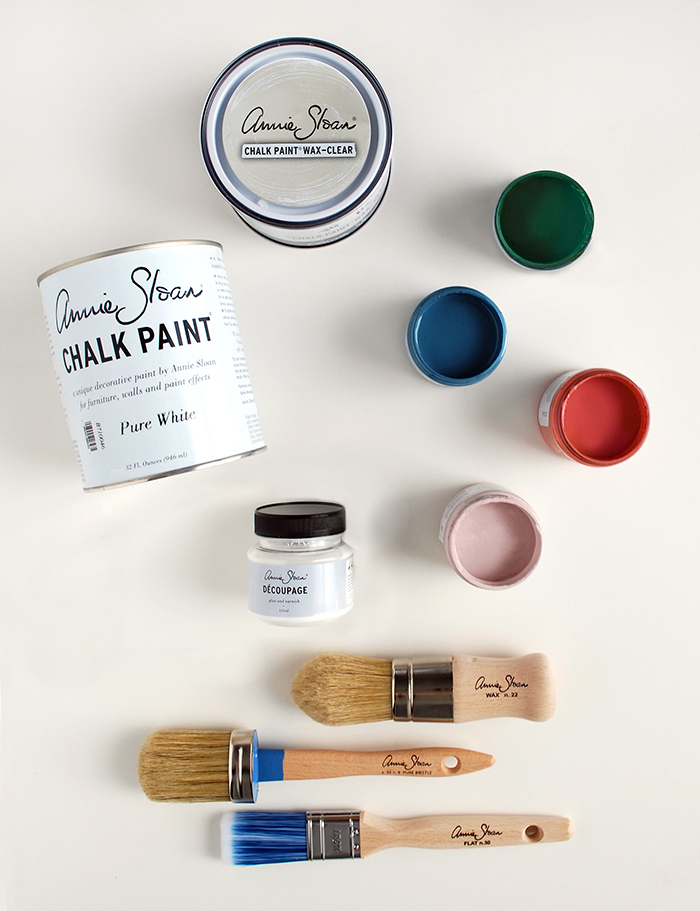
Annie Sloan Chalk Paint
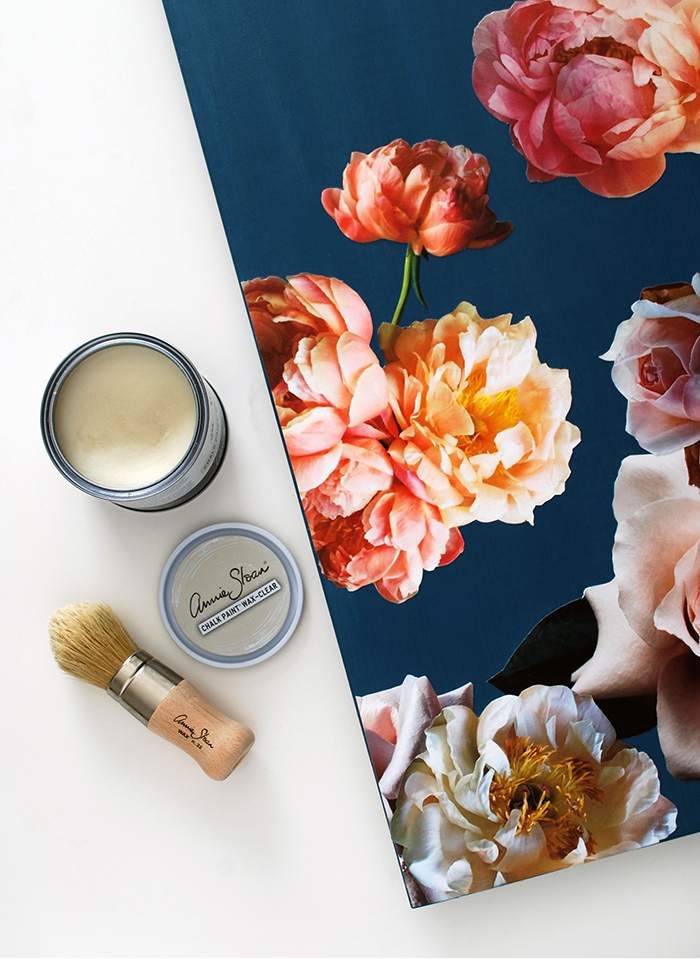
Annie Sloan Chalk Paint Wax – clear
Colour copies of flower photos
Scissors
Annie Sloan Decoupage Glue & Varnish
Paint brush
Wax brush or lint free cloth
Drop sheets
Painting
Assemble the cupboards – excluding the doors – and paint the outside surfaces in Pure White. I only applied one coat of white to the exterior of the cupboards because I like the way that a hint of the grain still shows – I didn’t want them to look like cheap laminate.
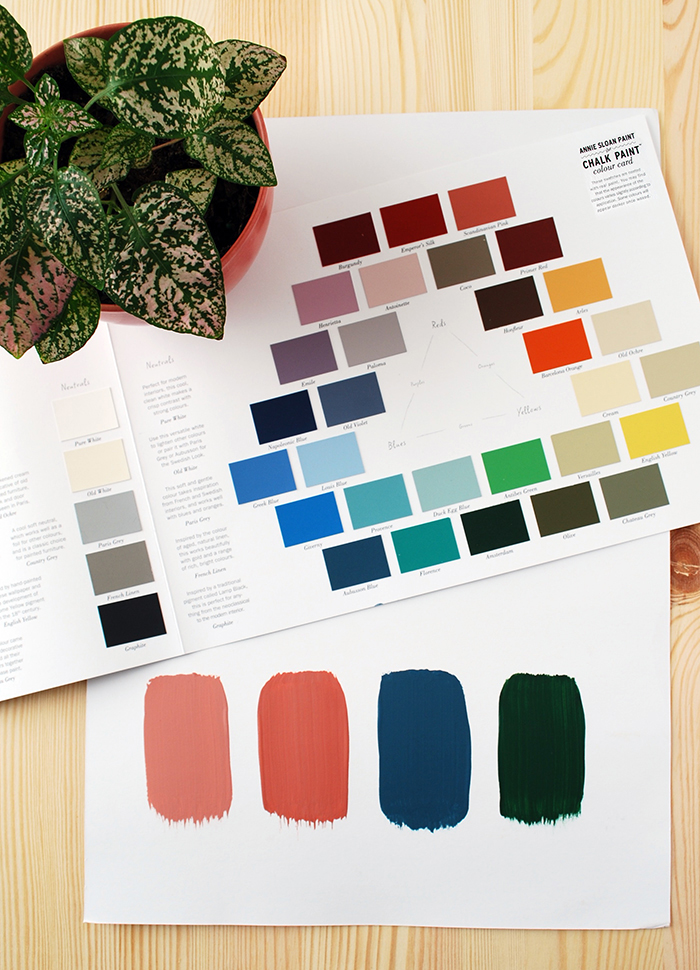
For the doors I chose my colour palette from the Annie Sloan Chalk Paint range. The colours I used are Pure White, Antoinette, Scandinavian Pink, Aubusson Blue and Amsterdam. I really love the soft blush pink of Antoinette, but it was too pale in comparison to the other colours, so I mixed it in equal parts with Scandinavian Pink. The resulting colour is shown at the bottom of the photo below, on the far left.
Before you start painting the cupboard doors tape around the back of them, about 1cm in from the edges. That way you can paint the front, sides and a little on the back to create a seamless finish. You could paint the back of the doors if you wish to, but I was happy to leave the inside of the cupboard and doors unpainted.
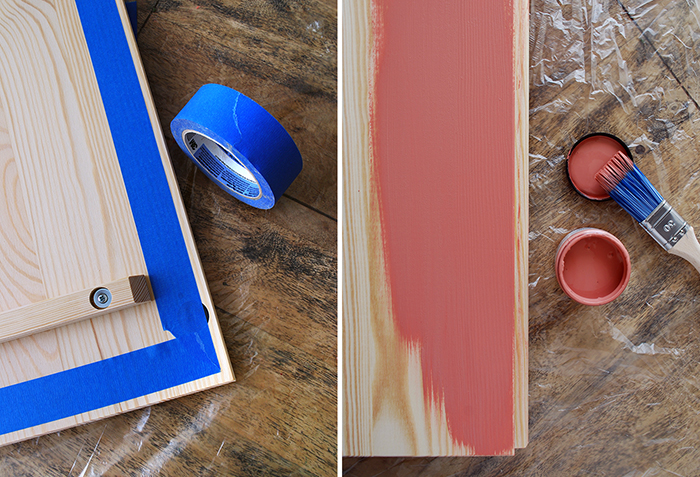
If you haven’t used Annie Sloan paint before you’re in for a treat. It goes on really easily and you don’t have to sand, prime or prepare your surface at all. I know, right?! The finish is matte and smooth and truly gorgeous. I know that you’re thinking this is a sponsored post and I have to say that, but I’m always honest, and thruthfully this paint is a dream and unlike anything else I’ve ever used.
I used two coats of Chalk Paint on the doors because I wanted a very rich and dense finish. It will dry darker than it looks in the pot and when it’s wet. When you apply the finishing wax it will intensify again.
Paint the legs Pure White and the handles Aubusson Blue.
Decoupage
I used some flower photos that I’d taken myself as well as others I found online. After enlarging them on my computer I had them printed on A3 pages at my local Officeworks.
Cut individual blooms out and group them according to colour.
To work out the placement of the flowers lay the painted doors out on a table or the floor and move the flowers around until you’re happy with them. I started with darker hues on the darkest door, on the right, and worked across to the left and up, to the brightest and lightest doors and flowers.
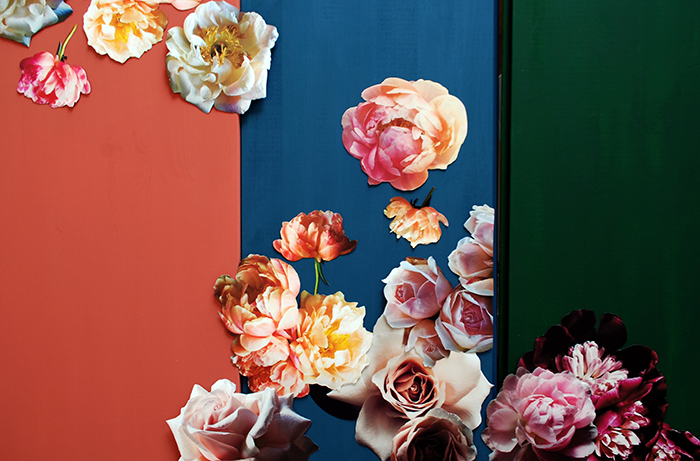
When you’re happy with the layout take a photo with your phone to refer to as you work.
Leave the flowers in place and work with them one at a time. Before you remove each flower draw tiny pencil marks on the door to use as a placement guide. For flowers that butt up to the edges of the doors rule a pencil line on the flower and cut the straight edge before gluing it in place.
Paint the entire back of the flower with Decoupage Glue & Varnish, being particular to coat the edges. Place it on the door and smooth it down, pushing any air bubbles out by working from the centre out to the edges.
Paint Decoupage Glue & Varnish over the whole front of the flower, overlapping slightly onto the door.
Waxing
This wax finish is beyond beautiful. Forget having to add 10 layers of varnish like your Gran did with her decoupage. I only did one application of the Annie Sloan Chalk Paint Wax and the finish is perfect. The gloss of the Decoupage Glue & Varnish disappears and you’re left with a smooth matte surface. If you prefer gloss you can always buff it with a lint free cloth.
Apply the wax in long strokes over the entire door and flowers with the special wax brush (or you can use a lint free cloth). You can find video instructions showing how to use the wax finish here.
Assembly
Drill holes for the handles and legs. Attach them and the doors to the cupboards.
Stand back and admire your handiwork!
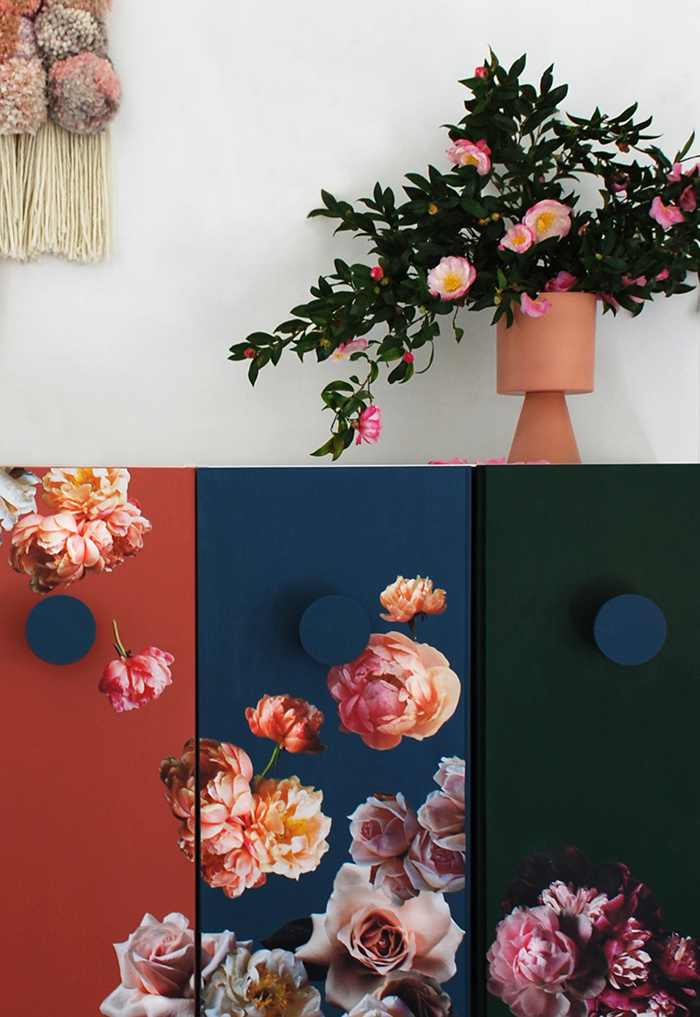
To say that I’m thrilled with how this IKEA hack turned out is an understatement. Sometimes I have a project in my mind that doesn’t quite translate to the real world, but this is exactly how I imagined. I really couldn’t recommend Annie Sloan Chalk Paint, Soft Wax and Decoupage Glue & Varnish highly enough – they are all so easy to work with and they’re pretty much fool proof.
I’ve previously used these products on a small scale when I made some vintage storybook blocks.
You can see the full range of Annie Sloan products here. And click though for Annie’s tips and tricks on how to use the Chalk Paints and how to achieve lots of different techniques and finishes here.
Annie Sloan supports small businesses and her products are only sold through a network of small independent stores. Find a stockist in your area.
Disclosure: This post was produced in partnership with Annie Sloan. I only partner with brands that are a good fit with We Are Scout, our aesthetic and what you, our readers, enjoy. Concept, product selection, words and opinions are all my own. Thanks for supporting the brands that allow me to keep on scouting.