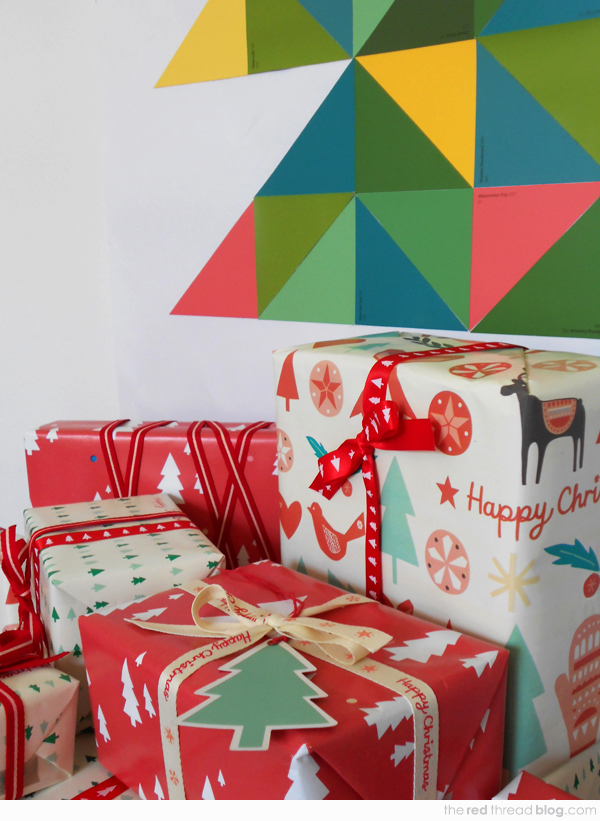
Christmas is coming and Roxy is urging me to put the Christmas tree up. This will be our first Christmas in our apartment and I’m wondering where I can put it. They take up a lot of space! With that in mind I thought I’d create a tutorial for a paper Christmas tree wall hanging. I made it with paint chips, but you could also use origami or other coloured paper. My paper wall hanging is a very graphic and contemporary interpretation of a tree and I love it… but I might need to convince the 8 year old who is all about ornaments and sparkles!
The pile of presents has been making me happy every time I look at it. kikki.K sent me a bundle of their beautiful Winterland Christmas wrap, lovely ribbons and gift tags to use, and I also added the fun deer tags to my tree as ornaments.
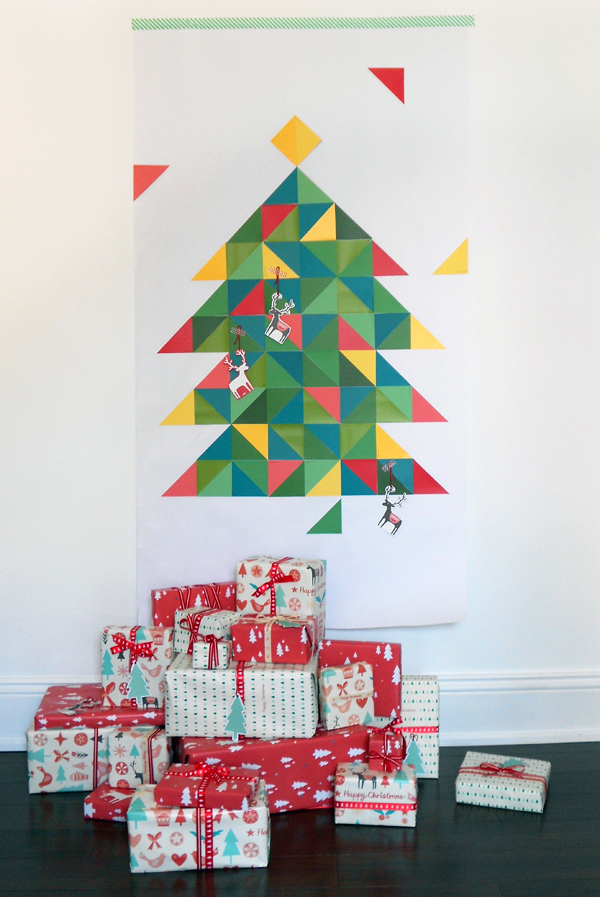
How to make a paint chip Christmas tree
This project is pretty simple and you can probably figure out how to do it without a tutorial, but I thought I’d just give you a some steps and tips to make it easier.
You’ll need
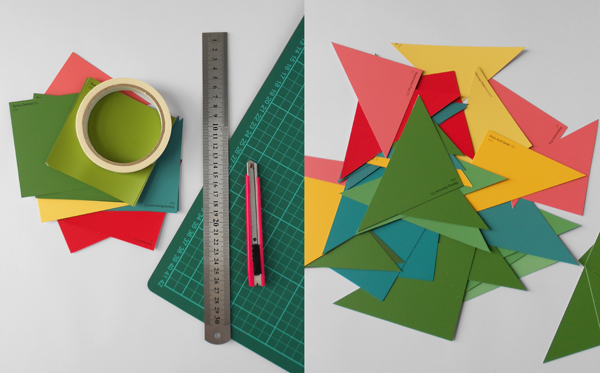
Paint chips or origami paper, or other coloured paper
Self healing cutting mat
Craft knife
Metal ruler
Double sided tape (wide is good)
A large sheet or roll of white paper (I have a big roll of paper that I bought from Reverse Garbage) The piece I used for this project is 92 x 165 cm (36 x 65 inches)
Washi tape – optional. I used wide washi tape to hang the wall hanging
Start by cutting the paint chips into squares then in half into triangles.
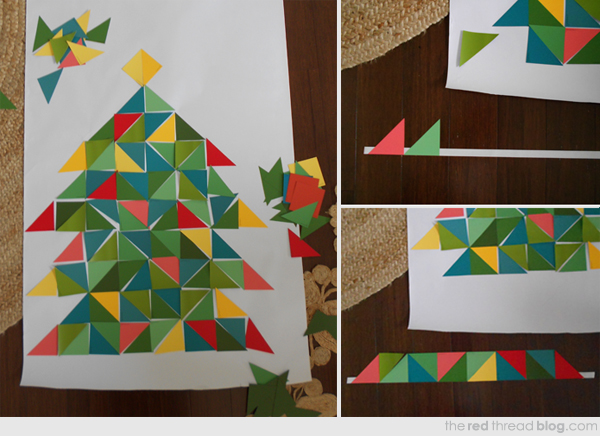
Then start working out the design of the tree. When I’m working on something that is large scale I like to lay a big piece of white paper or fabric on the floor to make a neutral backdrop.
When you’re happy with the design take a photo so you have it for reference when you’re assembling the wall hanging.
Lay a strip of double sided tape on the floor and fold the edges over a tiny bit so it sticks to the floor and stays in place. This only works if you don’t have carpet of course! A nearby table might be better in that case.
Starting at the bottom row pick up the triangles one at a time and stick them along the tape, making sure the bottom edges align. Continue along the whole row, then trim off the extra tape at either end.
Turn the piece over and add another row of tape along the top edge. Label the back with a number 1. Set aside.
Continue until all the rows are complete. Make sure you number each row on the back.
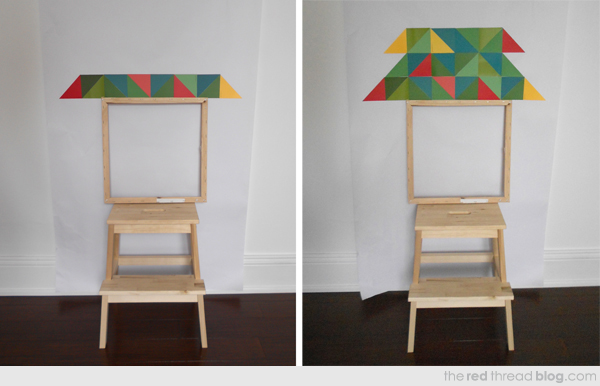
Hang the white paper on the wall and find something that you can use as a guide to stick the rows on straight. I used a step/stool and a frame. Use something the right height so you can start somewhere in the middle of the tree. You could always measure and rule guides, but this is quicker and easier.
Start adding the rows on one at a time – first the center row and above, then remove your guides (steps/frame) and add the rows below.
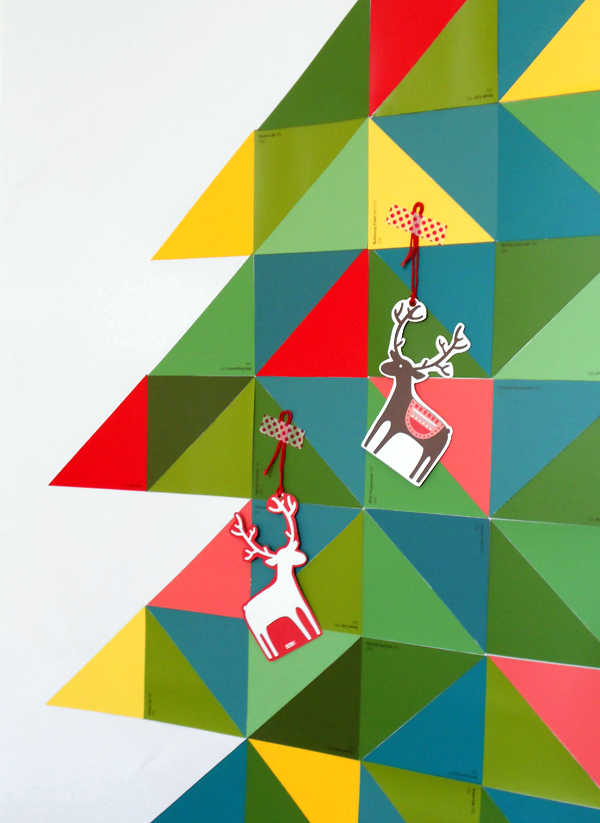
Add a few random triangles around the tree and some tags as ornaments and you’re done.
Wrap some presents!
Looking for Christmas craft inspo? Head to the craft + DIY page for loads of things to make all year round.
