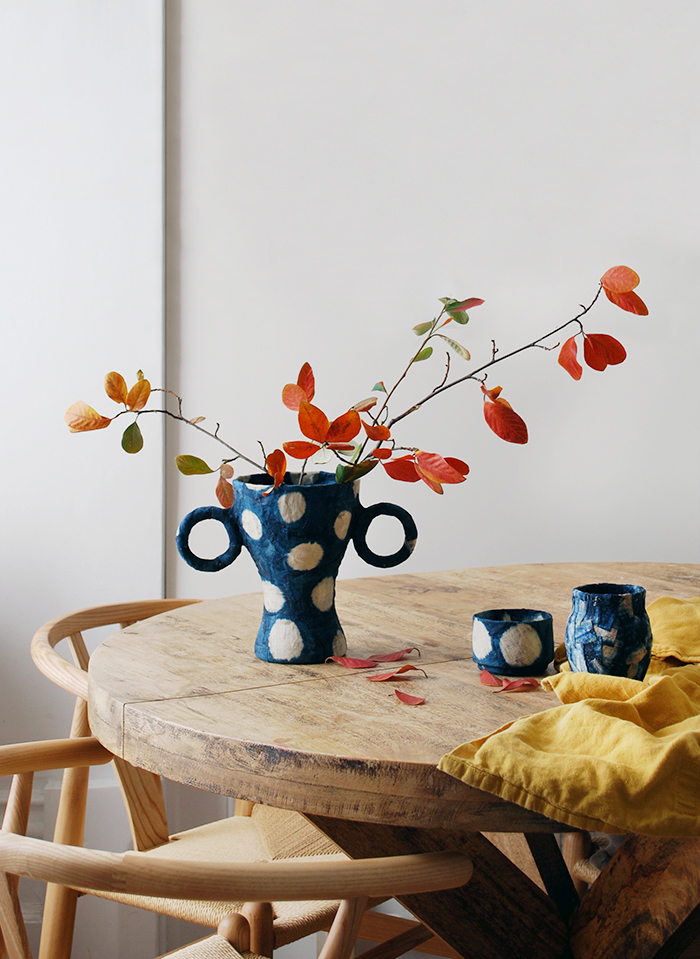
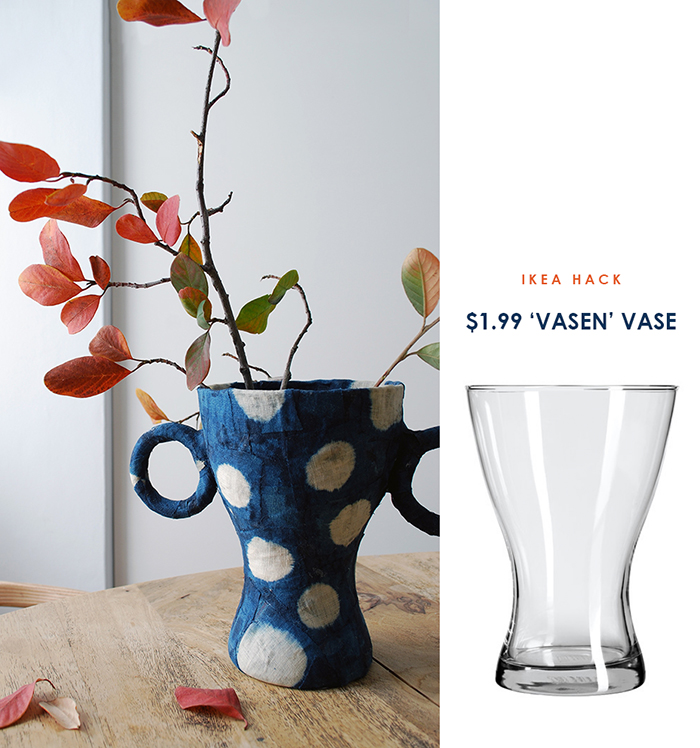
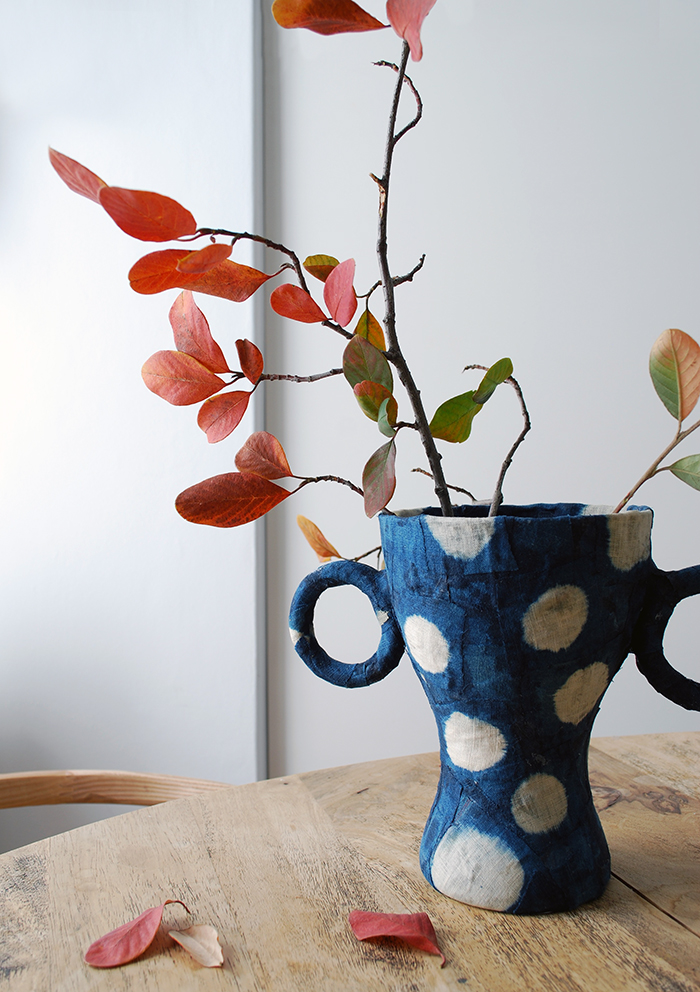
I love a good IKEA hack – you might remember my IVAR cupboards hack, how to make an on trend totem planter from IKEA bowls, and the modern DIY cat scratcher I made? I’m also a bit obsessed with the shapes and large ornamental handles that a lot of contemporary ceramicists are making at the moment. So when I was wandering around IKEA last month and I saw the $1.99 VASEN glass vase I could see the potential to make it into something rather special. I grabbed a small glass vase and a glass bowl from the op shop for 50 cents each and, including all materials, I ended up making three unique indigo vessels for under $6.
The texture of the fabric and the overlapping shapes give the vase a feeling of Japanese wabi sabi – embracing the beauty in imperfection – which I really love.
Materials for this Ikea Hack
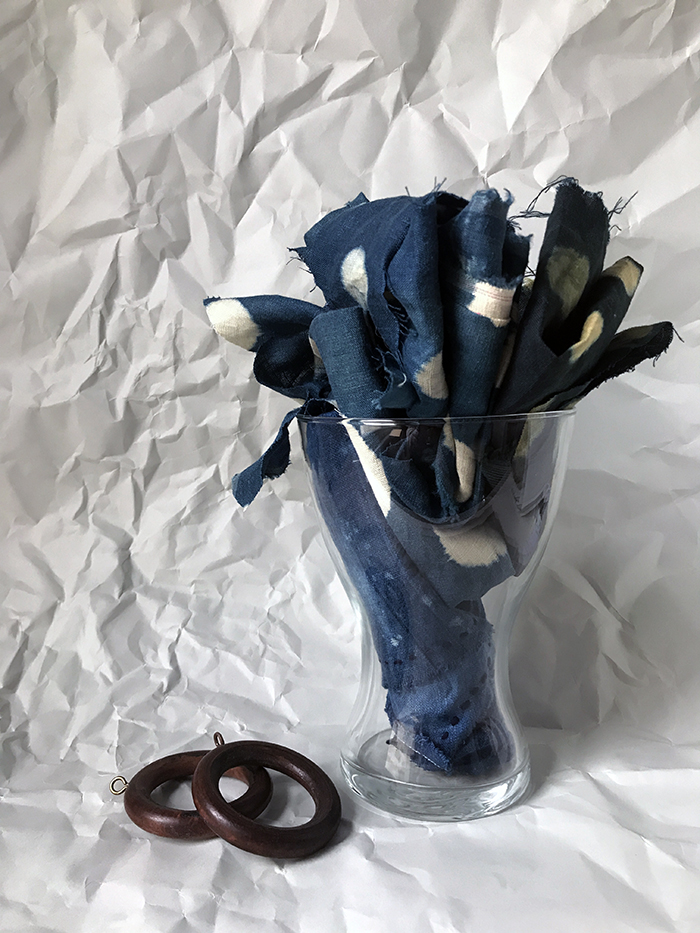
IKEA Vasen Vase
Wooden curtain rings – I got a bag full from the op shop for $1
Fabric – I bought a bundle of shibori scraps from a destash at the Happenstore
Glue – Annie Sloan decoupage glue or Modge Podge
Small flat paintbrush
Scissors
Let’s get started…
Wipe down the vase and the curtain rings to remove any dust. Remove the metal hooks from the curtain rings.
Cut the fabric into small rectangular and square pieces roughly between 3cm and 5cm. Start with about 40 pieces and you can always cut more later. Also cut 12 or so strips that measure about 1cm x 7cm.
Begin by covering the curtain rings. Paint the glue onto a section of the ring and lay a piece of fabric over it. Paint the edges of the fabric down. The glue will dry clear so don’t worry about putting on too much. Keep adding and overlapping the pieces of fabric until the whole ring in covered. It’s the same process as paper mache.
Cover both rings and set them aside to dry.
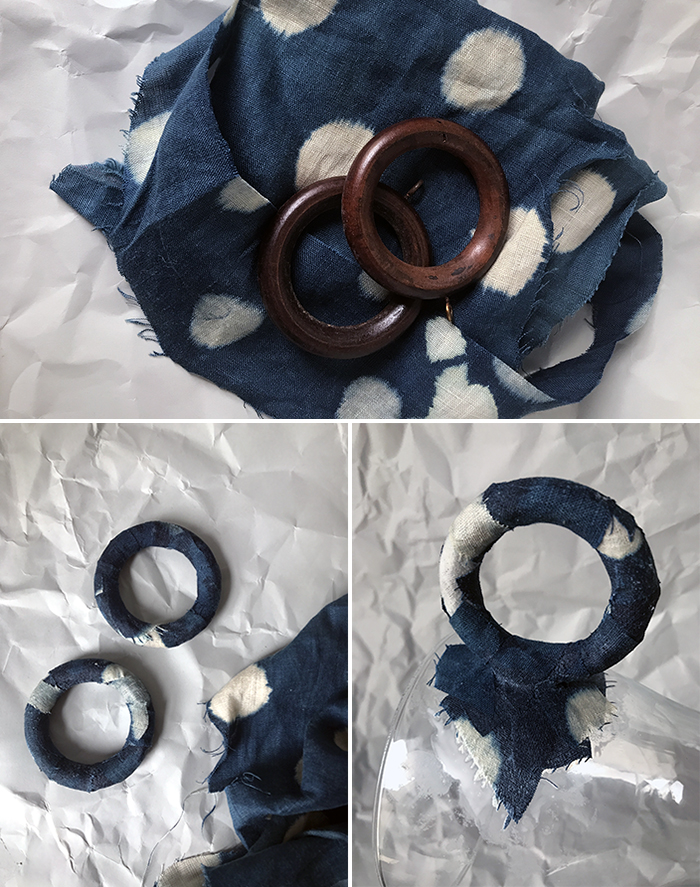
Attach the rings to the vase
(photo above right)
Paint glue onto the area of the vase where the the ring will attach – cover an area of about 6cm square. Glue pieces of fabric over the top, making sure they overlap. Paint a layer of glue over the fabric. This will be the base to attach the ring to.
Allow the area to dry somewhat before attaching the ring.
Lay the vase down – I found it easiest to sit with it laying along the top of my legs. Attach the ring to the vase using the strips of fabric. Paint glue onto a strip of fabric and place it through the centre of the ring. Position the ring on the vase and glue the ends of the strip onto the vase. Press the ends of the strip down with the paintbrush.
Hold the ring firmly in place while adding a couple more strips one at a time, crossing them over each other to form an ‘X’ . Glue and press the ends of the strips onto the vase.
Now glue some fabric strips and squares on the vase over the strip ends to keep them more secure. Hold the ring in place for a short time while the glue begins to dry. I sat in front of the window in the sun to help the drying. If it’s winter sit by the heater!
Keep the vase laying down. When the ring feels like it will stay in place without you holding it you can lay the vase somewhere (so you can get up and do something else) until it is completely dry. When the glue dries it will have formed a strong bond. I can pick my completed vase up by the handles and they will stay put and carry the weight of the vase.
Once dry, add the second ring to the opposite side of the vase.
Cover the vase
Use the paper mache method to cover the vase in fabric squares. Paint glue onto the vase and add the fabric squares, making sure they overlap. Place the squares at random angles as you proceed. Paint a thin layer of glue over the fabric pieces, making sure the edges are glued down. Wrap pieces under onto the base, and over the top edge into the vase.
Set it aside to dry, then add fabric pieces inside the vase. I covered the inside to about half way.
Allow the vase to dry completely and check to see that there aren’t any gaps.
If you plan to use the vase as a functional piece put water into a glass or jar and put that inside the vase, rather than filling your vase directly with water.
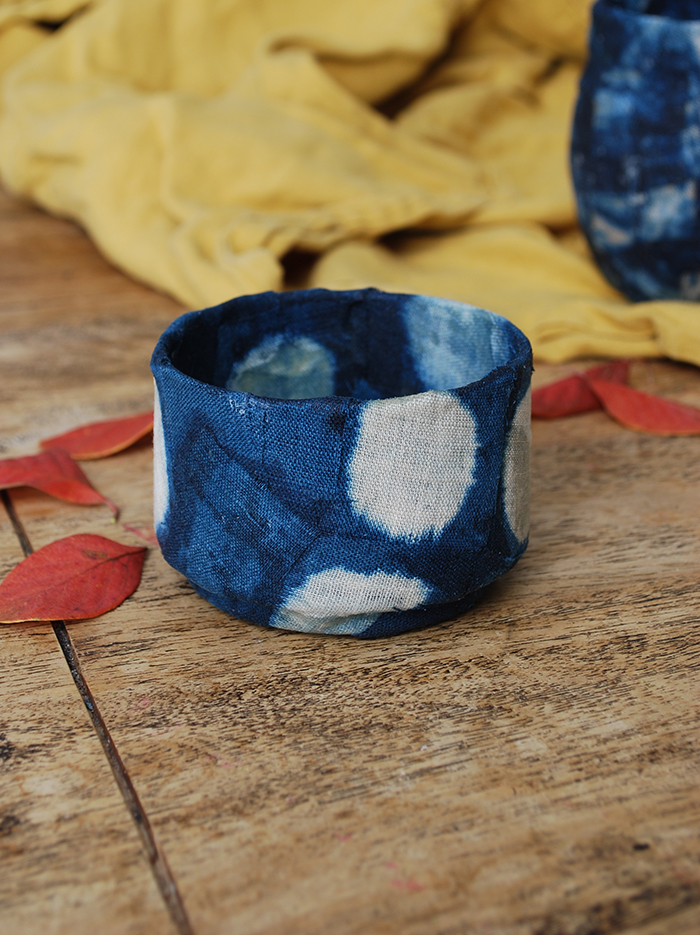
I cut small rectangles to cover the mid size vase – I like that the smaller shapes work with the pattern on this fabric. Larger squares suit the fabric with the white spots.
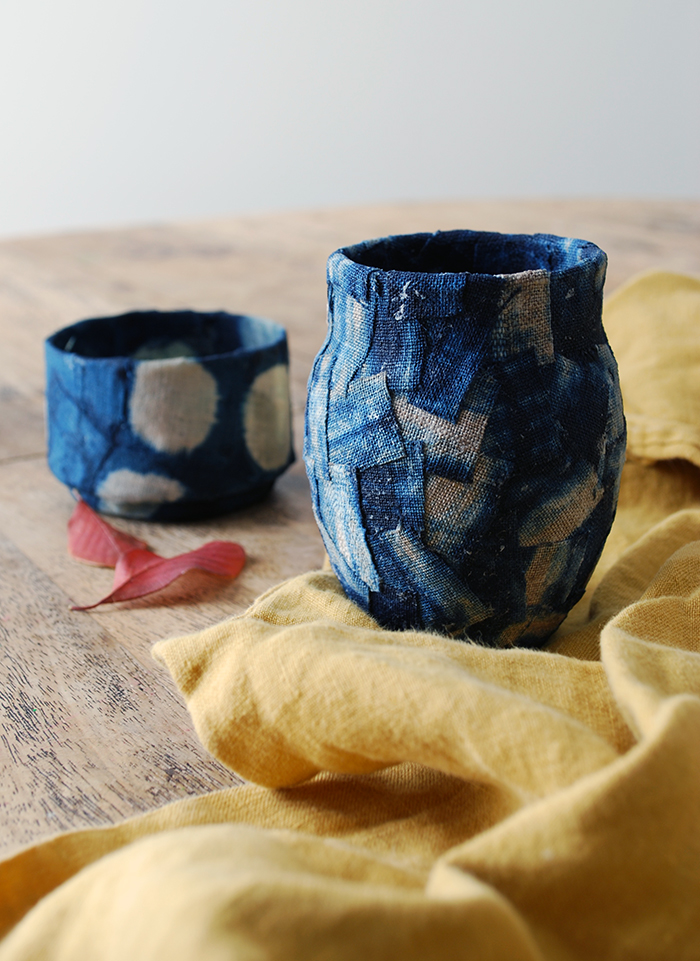
I’m so happy with how these vessels turned out. They’re such a bargain and they look like they came from a gallery rather than an IKEA hack!
I first used this method of fabric mache some years ago now when Roxy was little as a craft activity for kids (without the glass vases of course!). You can see my tutorial for kids craft fabric mache here, but please excuse the quality of the photos… it was so long ago and before I had a ‘good’ camera!
If you’re interested in craft ideas for yourself or kids’ craft activities don’t forget to pop over to the Craft + DIY page for all my tutorials. And when you share your creations on Instagram don’t forget to tag me @we-are-scout-lisa and use #wearescoutcraft. Happy Making!